Custom sprays (logos) in Half-Life let you leave your personal mark on walls in-game.
This guide explains how to make colourful sprays by preparing an image, converting it to the correct .wad format,
and applying it in-game.
Step 1: Prepare Your Image
- Choose an image:
- Use a square image (logos are displayed square).
- Max resolution: 256×256 px. Recommended: 128×128 for compatibility.
- Edit the image:
- Use Photoshop, GIMP, Paint.NET, or similar.
- Crop/resize to square. Avoid too much detail—sprays are low-res.
- Transparency isn’t supported → use a solid background colour.
- Optimise the colour palette:
- Half-Life sprays use a 256-colour indexed palette.
- Convert your image to indexed colour in your editor.
- Save as
.bmp.

Step 2: Convert the Image to .WAD
Sprays in Half-Life are stored in tempdecal.wad. You can convert your BMP using one of the following tools:
Option A: Using Wally
- Download Wally: Wally Tool
- Create your logo:
- Open Wally → create a new
.wad. - Import your BMP image.
- Apply the Half-Life palette (Wally can remap if needed).
- Save your new logo WAD.
- Open Wally → create a new
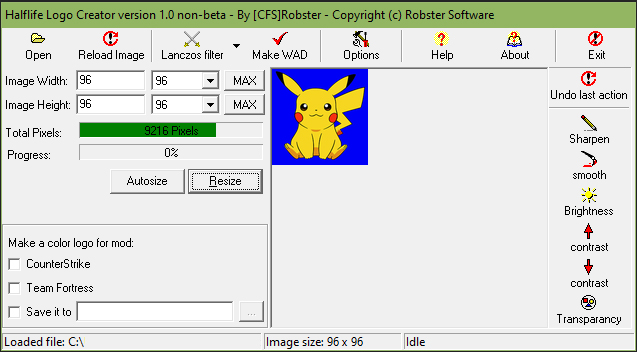
Option B: Using HL Logo Creator
- Download: HL Logo Creator
- Convert the image:
- Load your BMP into HL Logo Creator.
- The tool resizes and converts automatically.
- Save the result as
tempdecal.wad.
Step 3: Place the Logo in the Game
- Locate your Half-Life folder:
C:\Program Files\Steam\steamapps\common\Half-Life\valve - Copy the file: Replace
tempdecal.wadwith your new one. - Lock it: Set the file to Read-Only (to stop the game overwriting it).
Step 4: Test In-Game
- Launch Half-Life or a mod (e.g. Counter-Strike).
- Go to Multiplayer → Options → select your spray logo.
- Join a server or start a local game.
- Press the spray key (T by default) to test your spray on a wall.
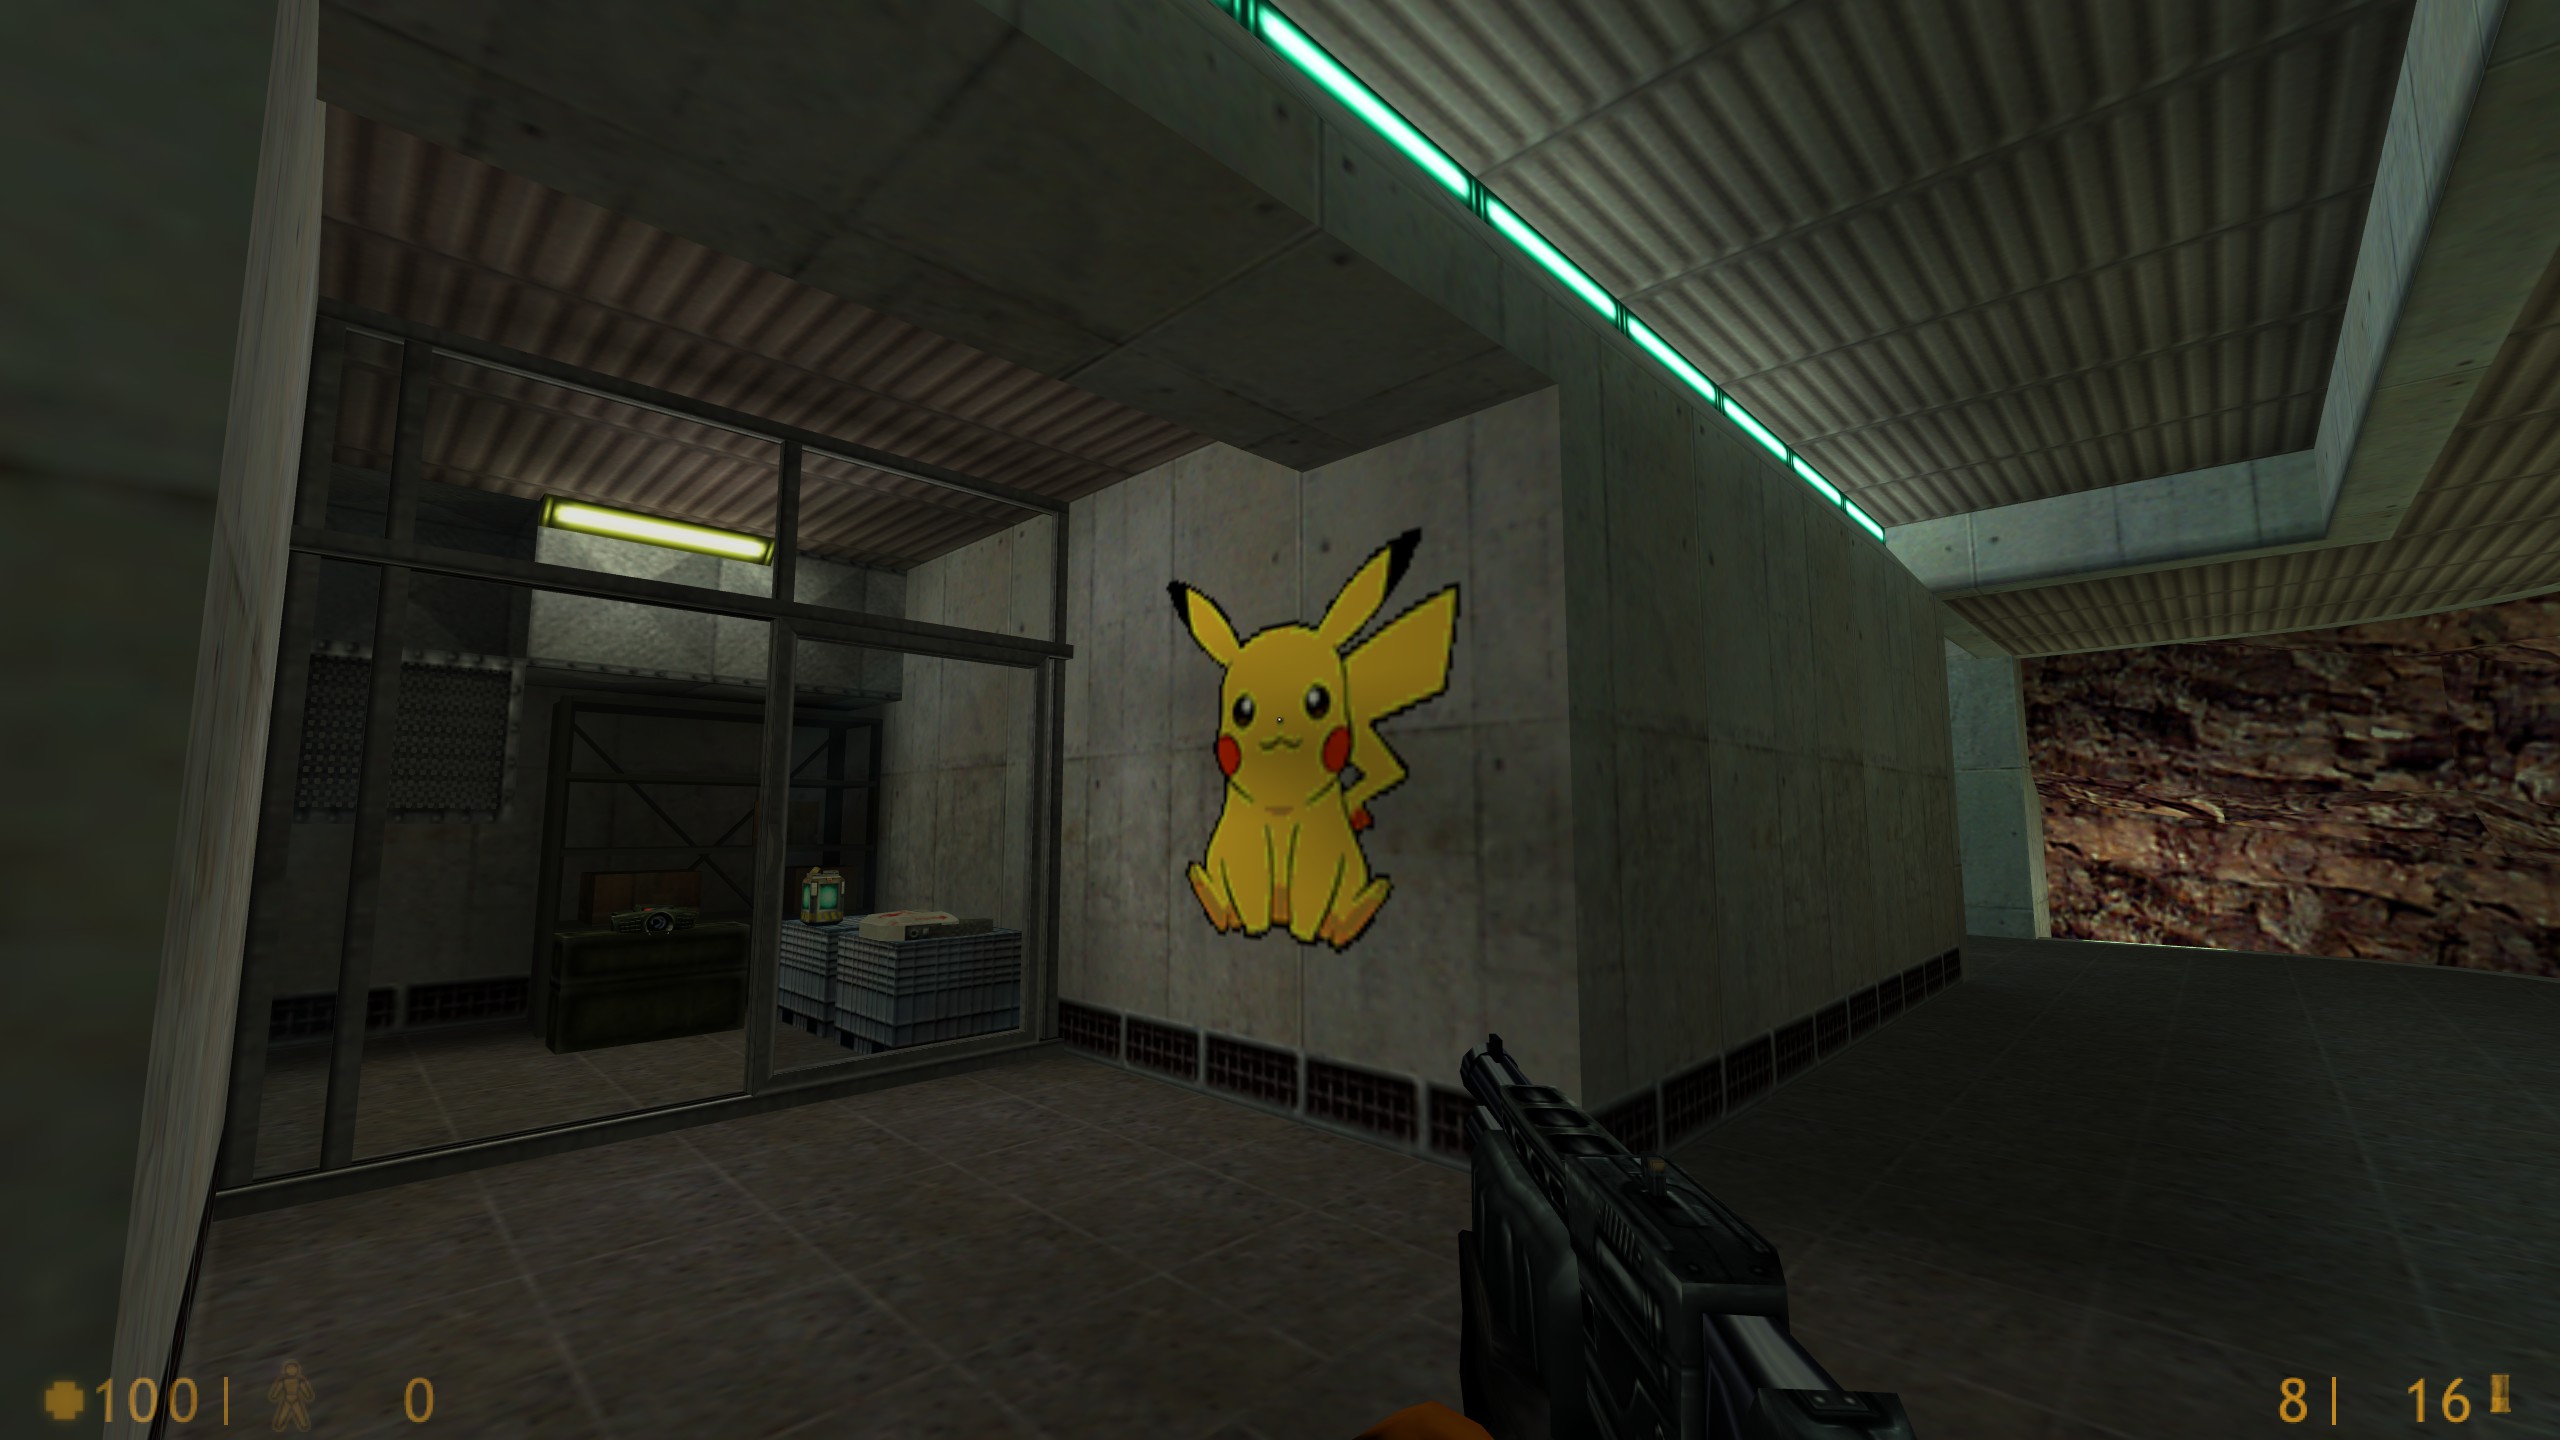
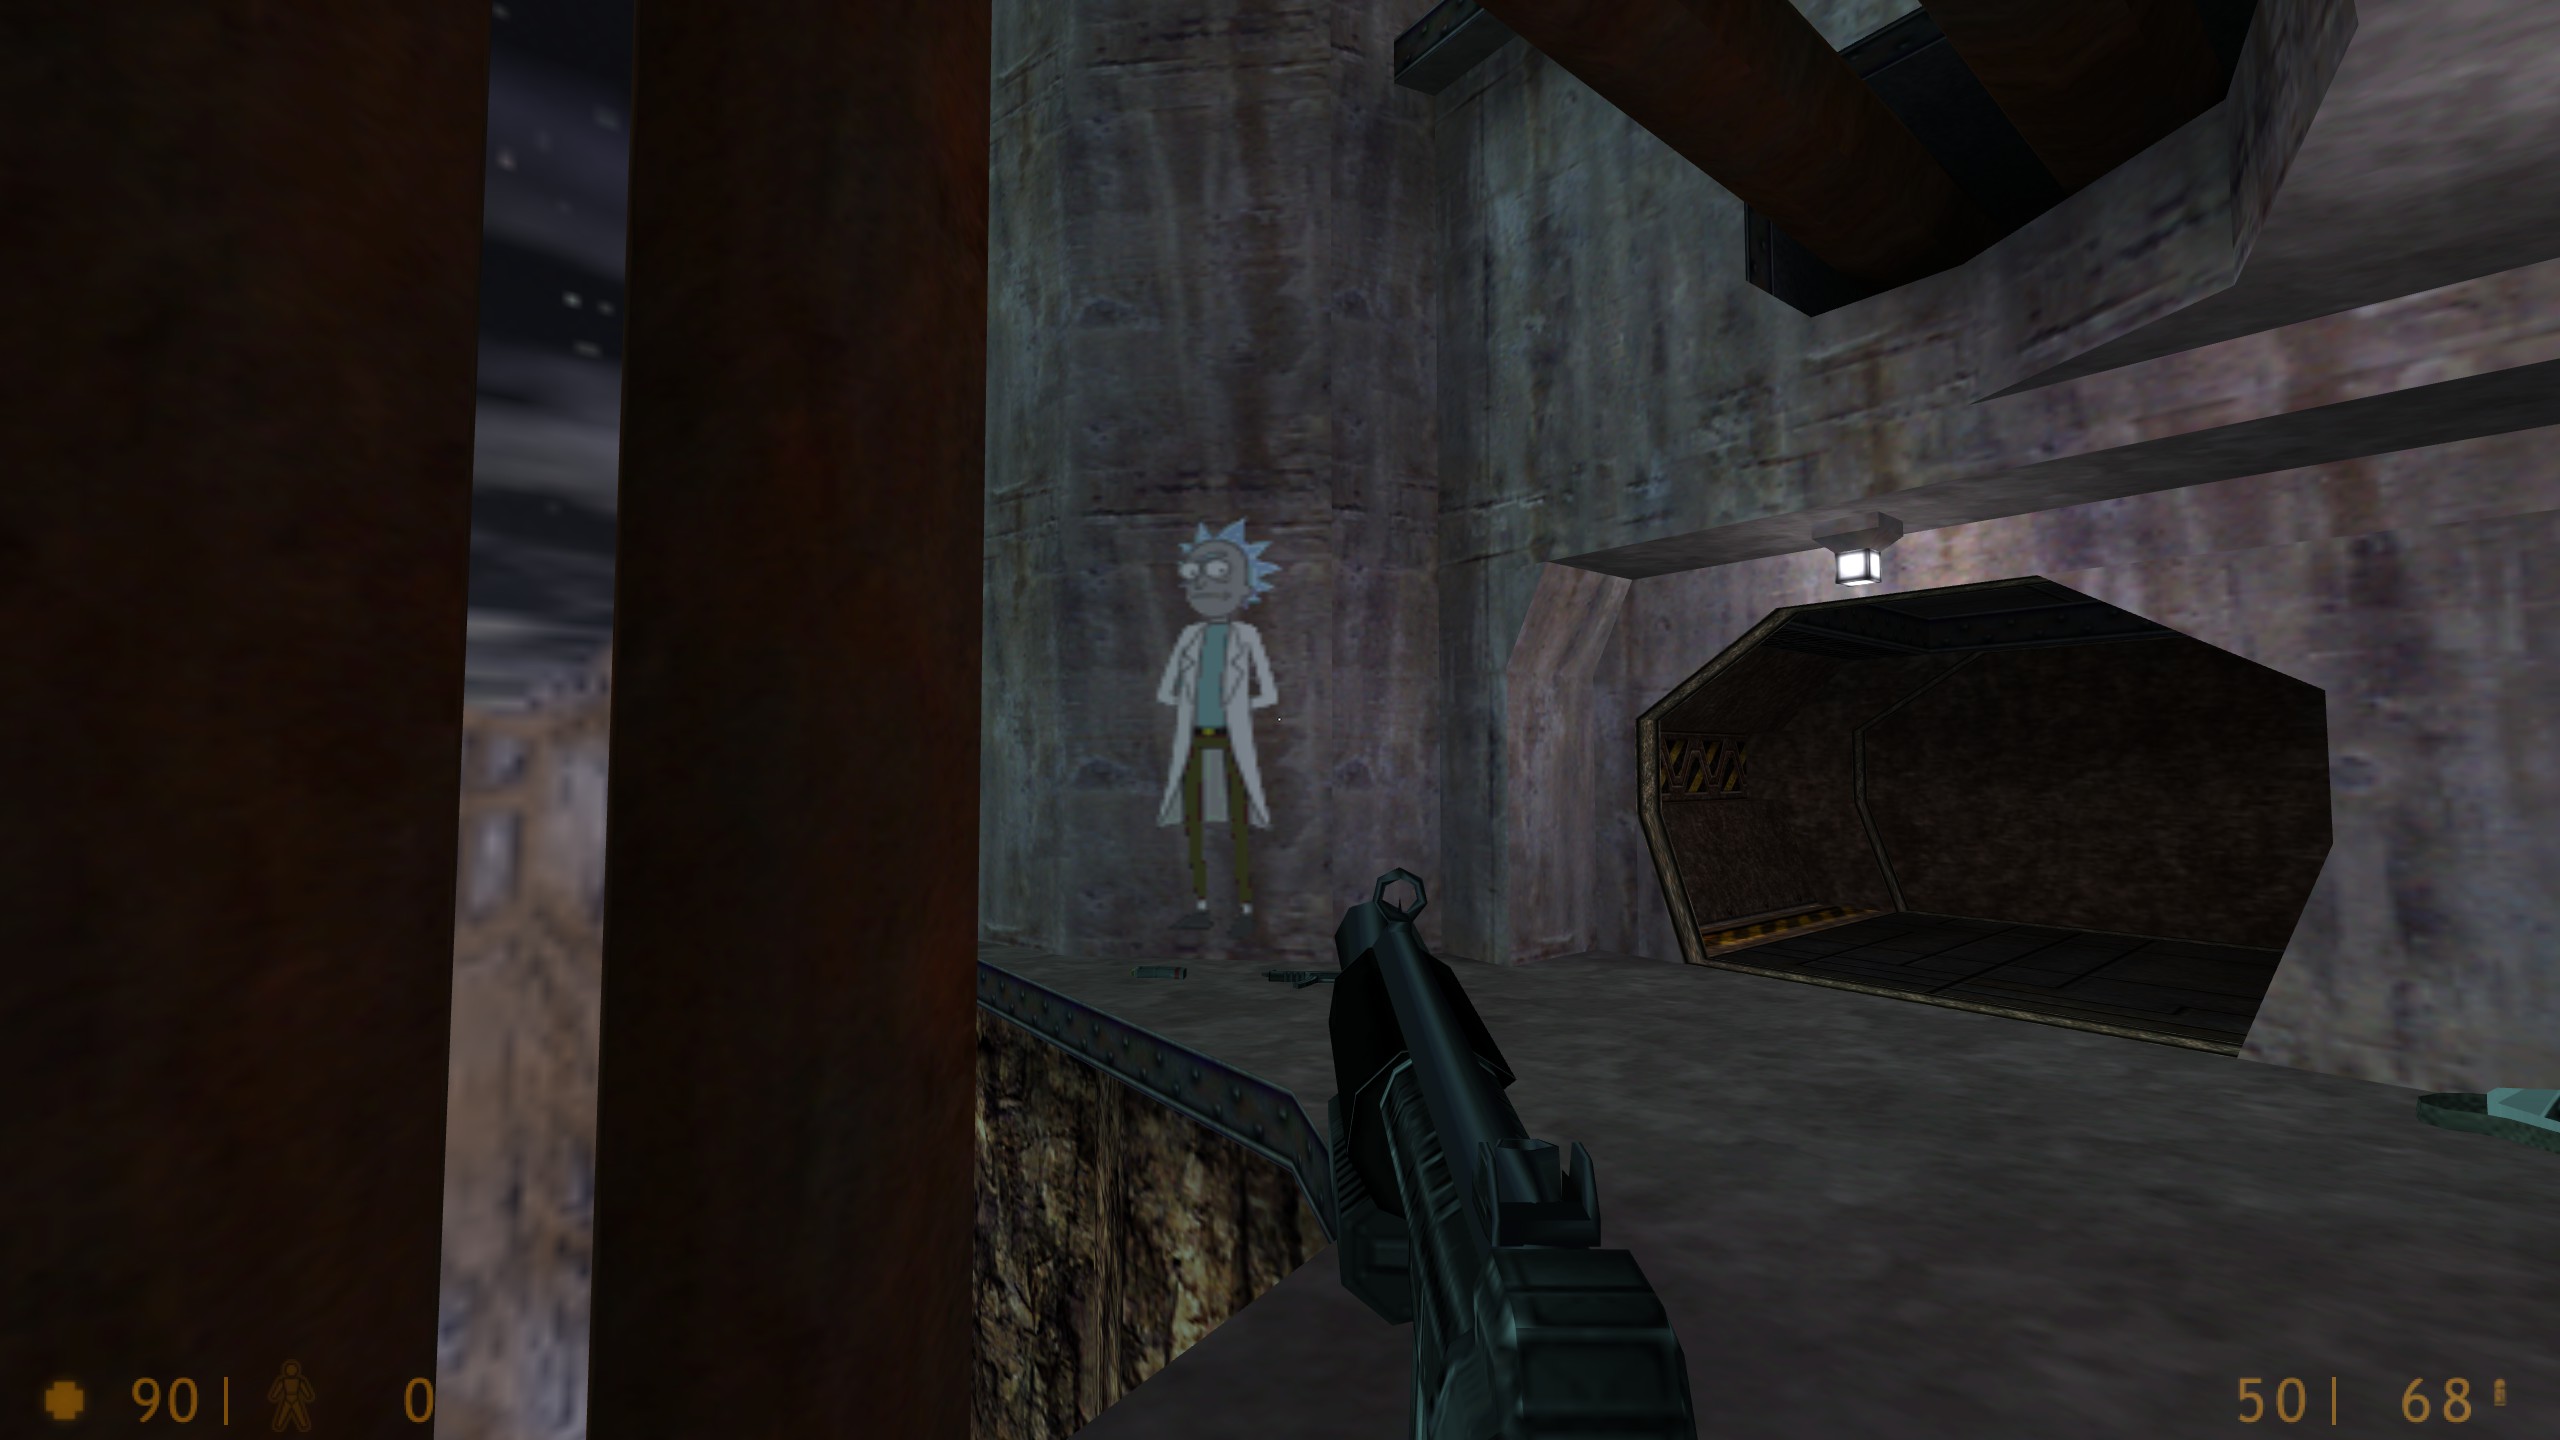
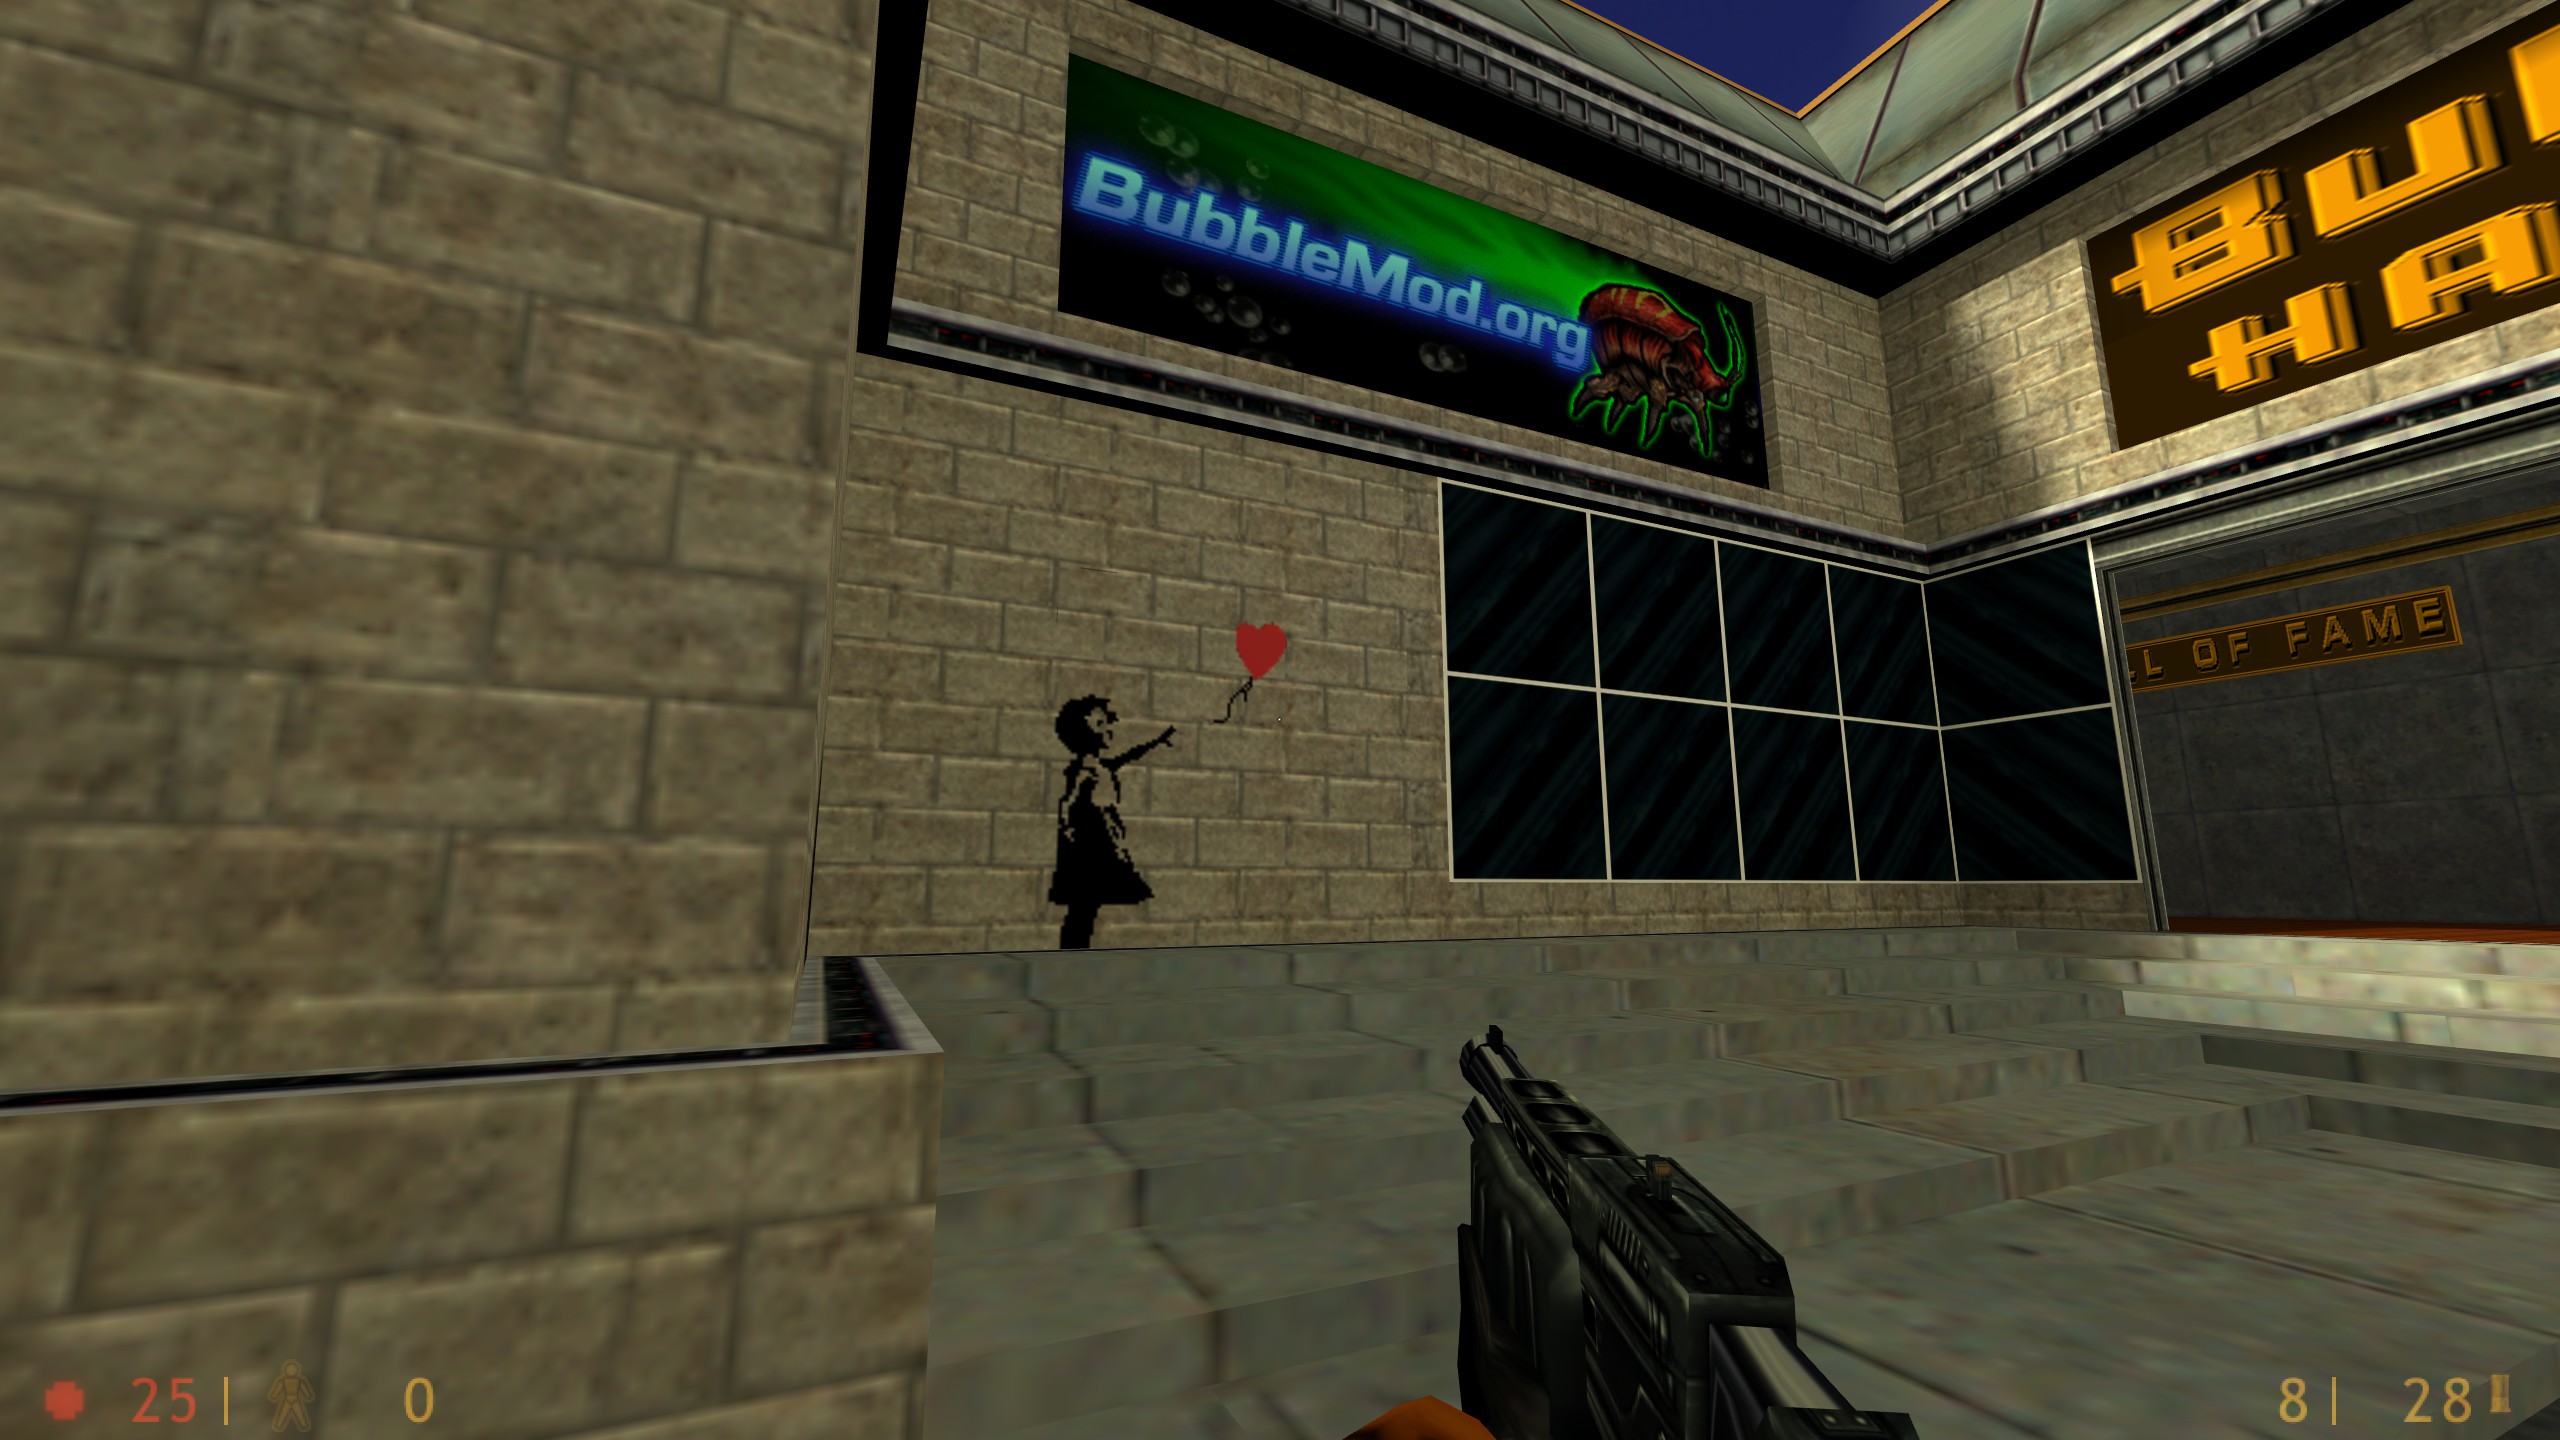
Examples
Downloads
Summary
- Max size: 256×256 (128×128 recommended)
- Must use 256-colour indexed palette
- Transparency not supported
- Stored in
tempdecal.wad - Set to Read-Only to keep your spray
