Half-Life HD Textures
This HD texture pack breathes new life into Half-Life while preserving its classic gameplay. By replacing core textures, it makes the game sharper and more immersive without altering its identity.
Note: Maps with custom WAD files will still use their own textures, but for most stock maps this pack delivers a fresh look for seasoned players and newcomers alike.
Downloads
Examples (Before vs After)
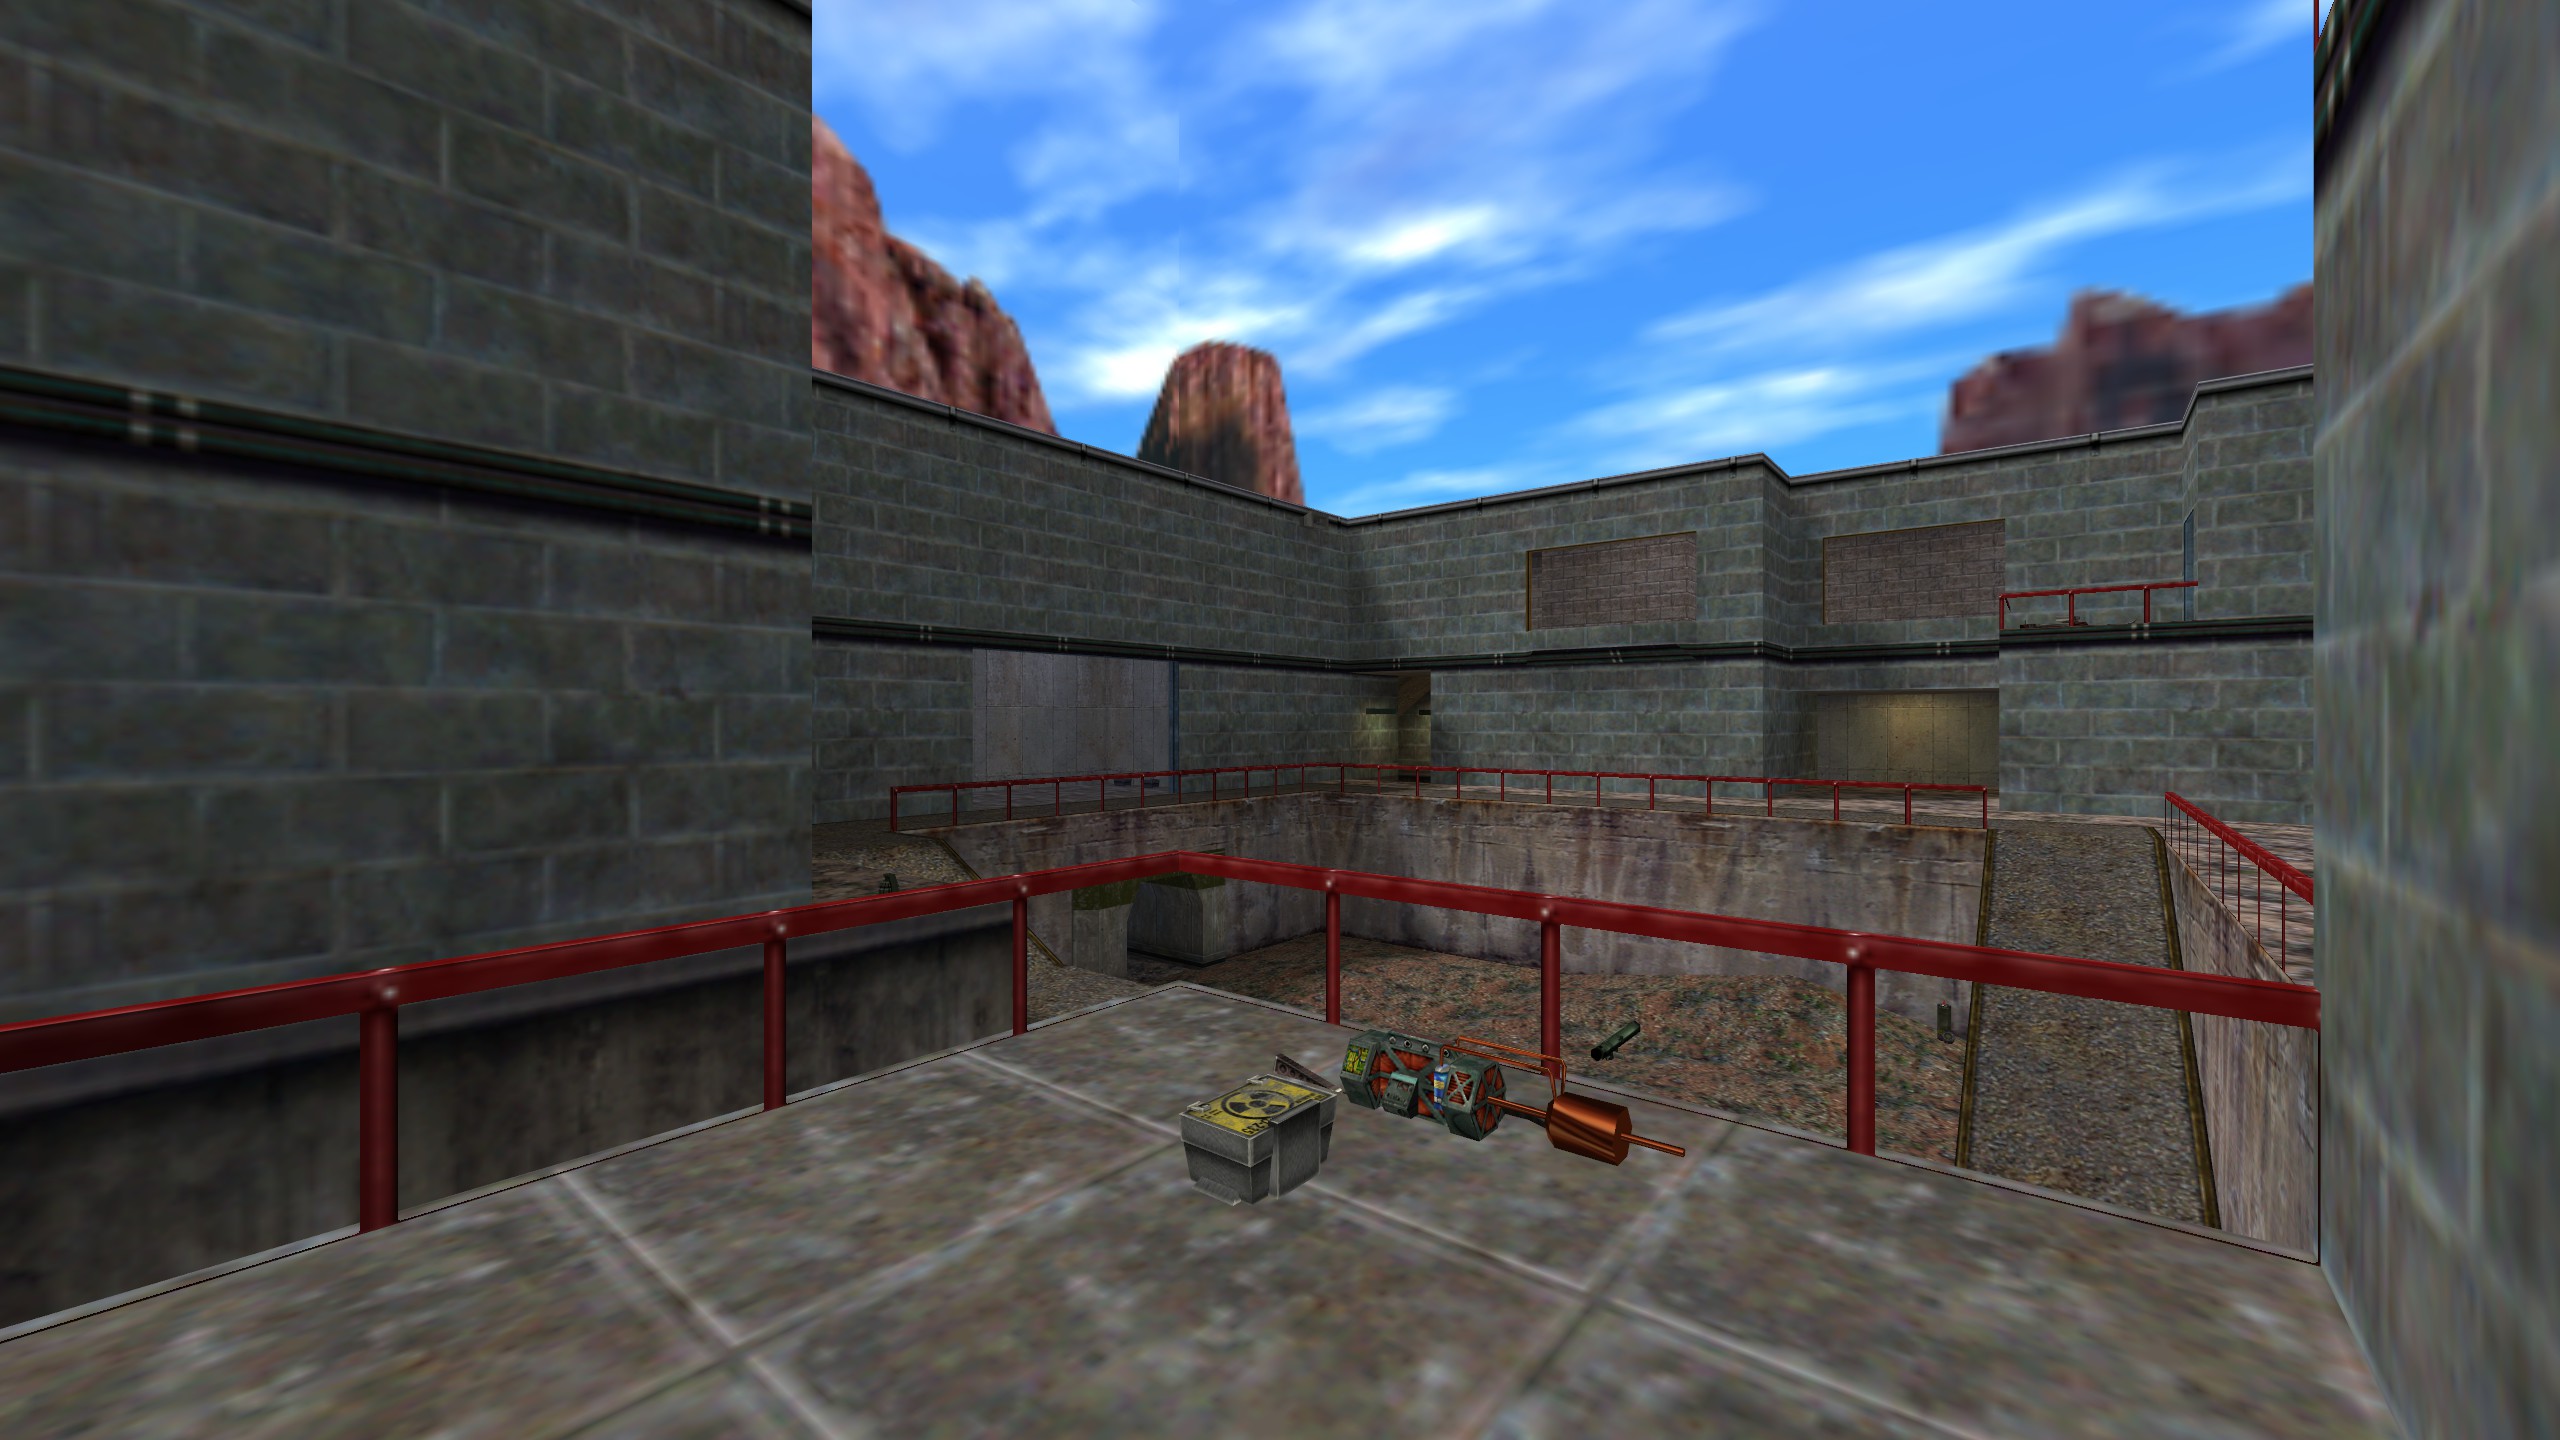
Crossfire (Original)
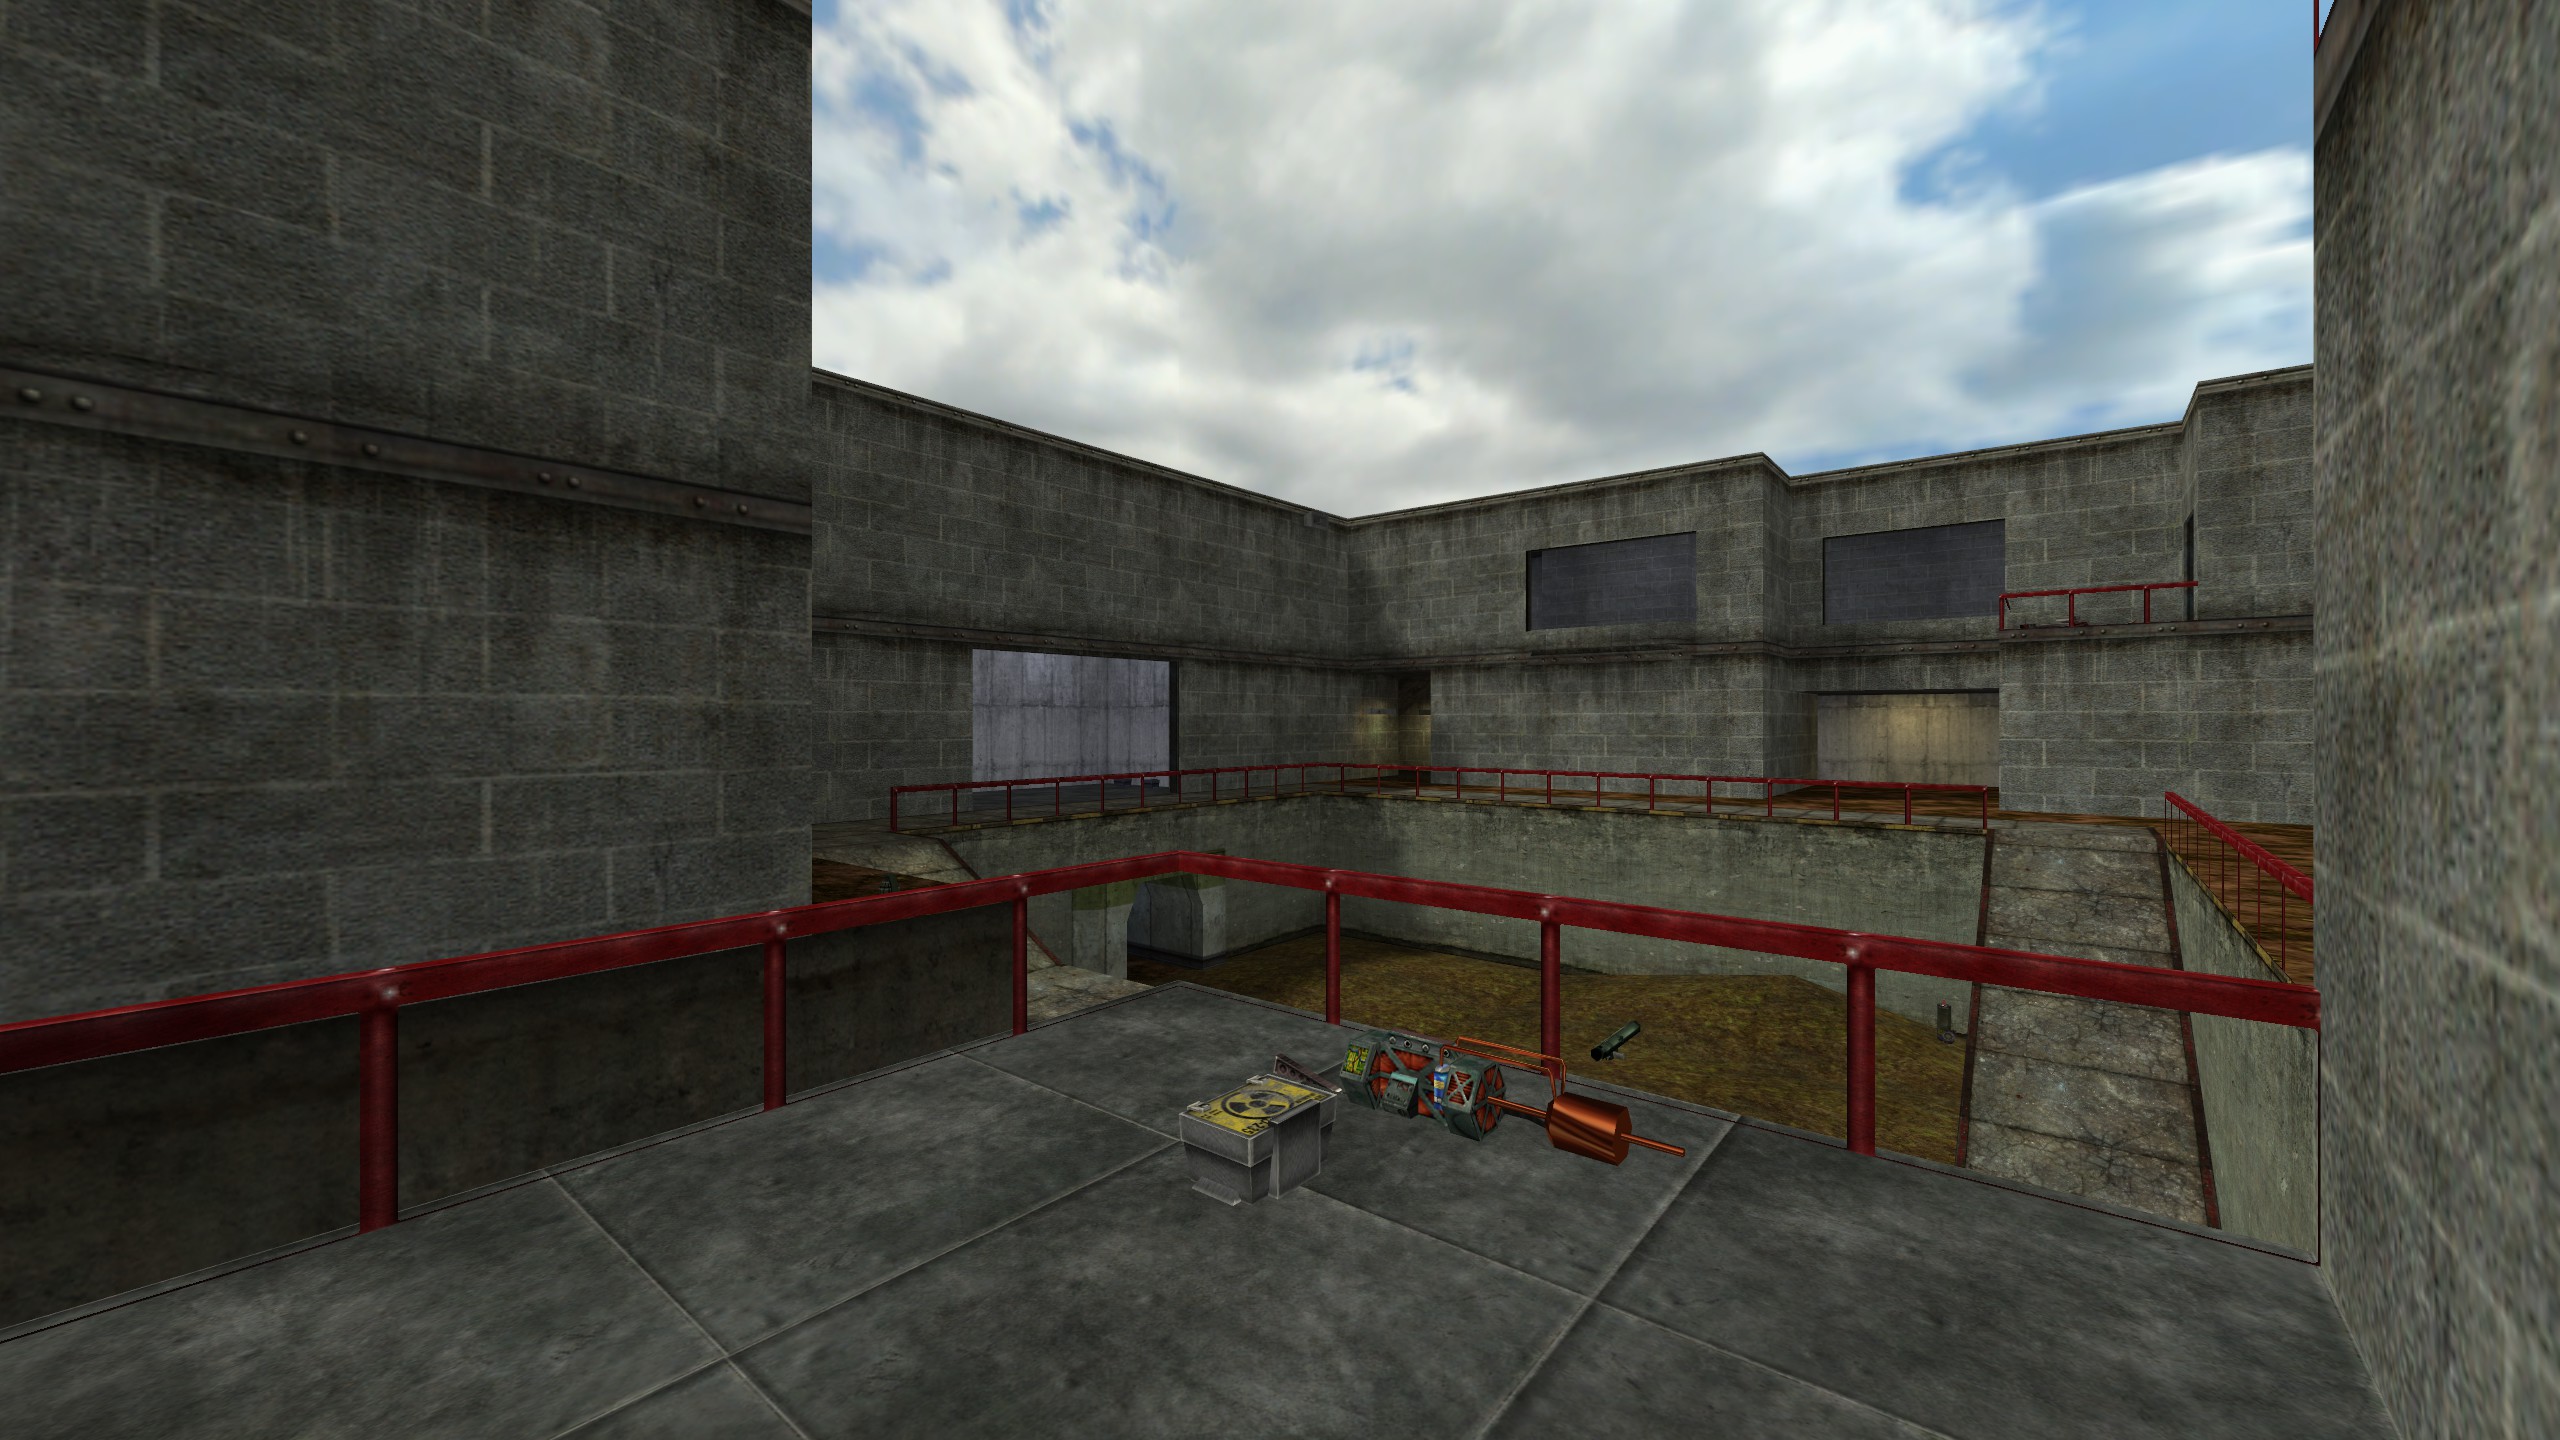
Crossfire (HD)
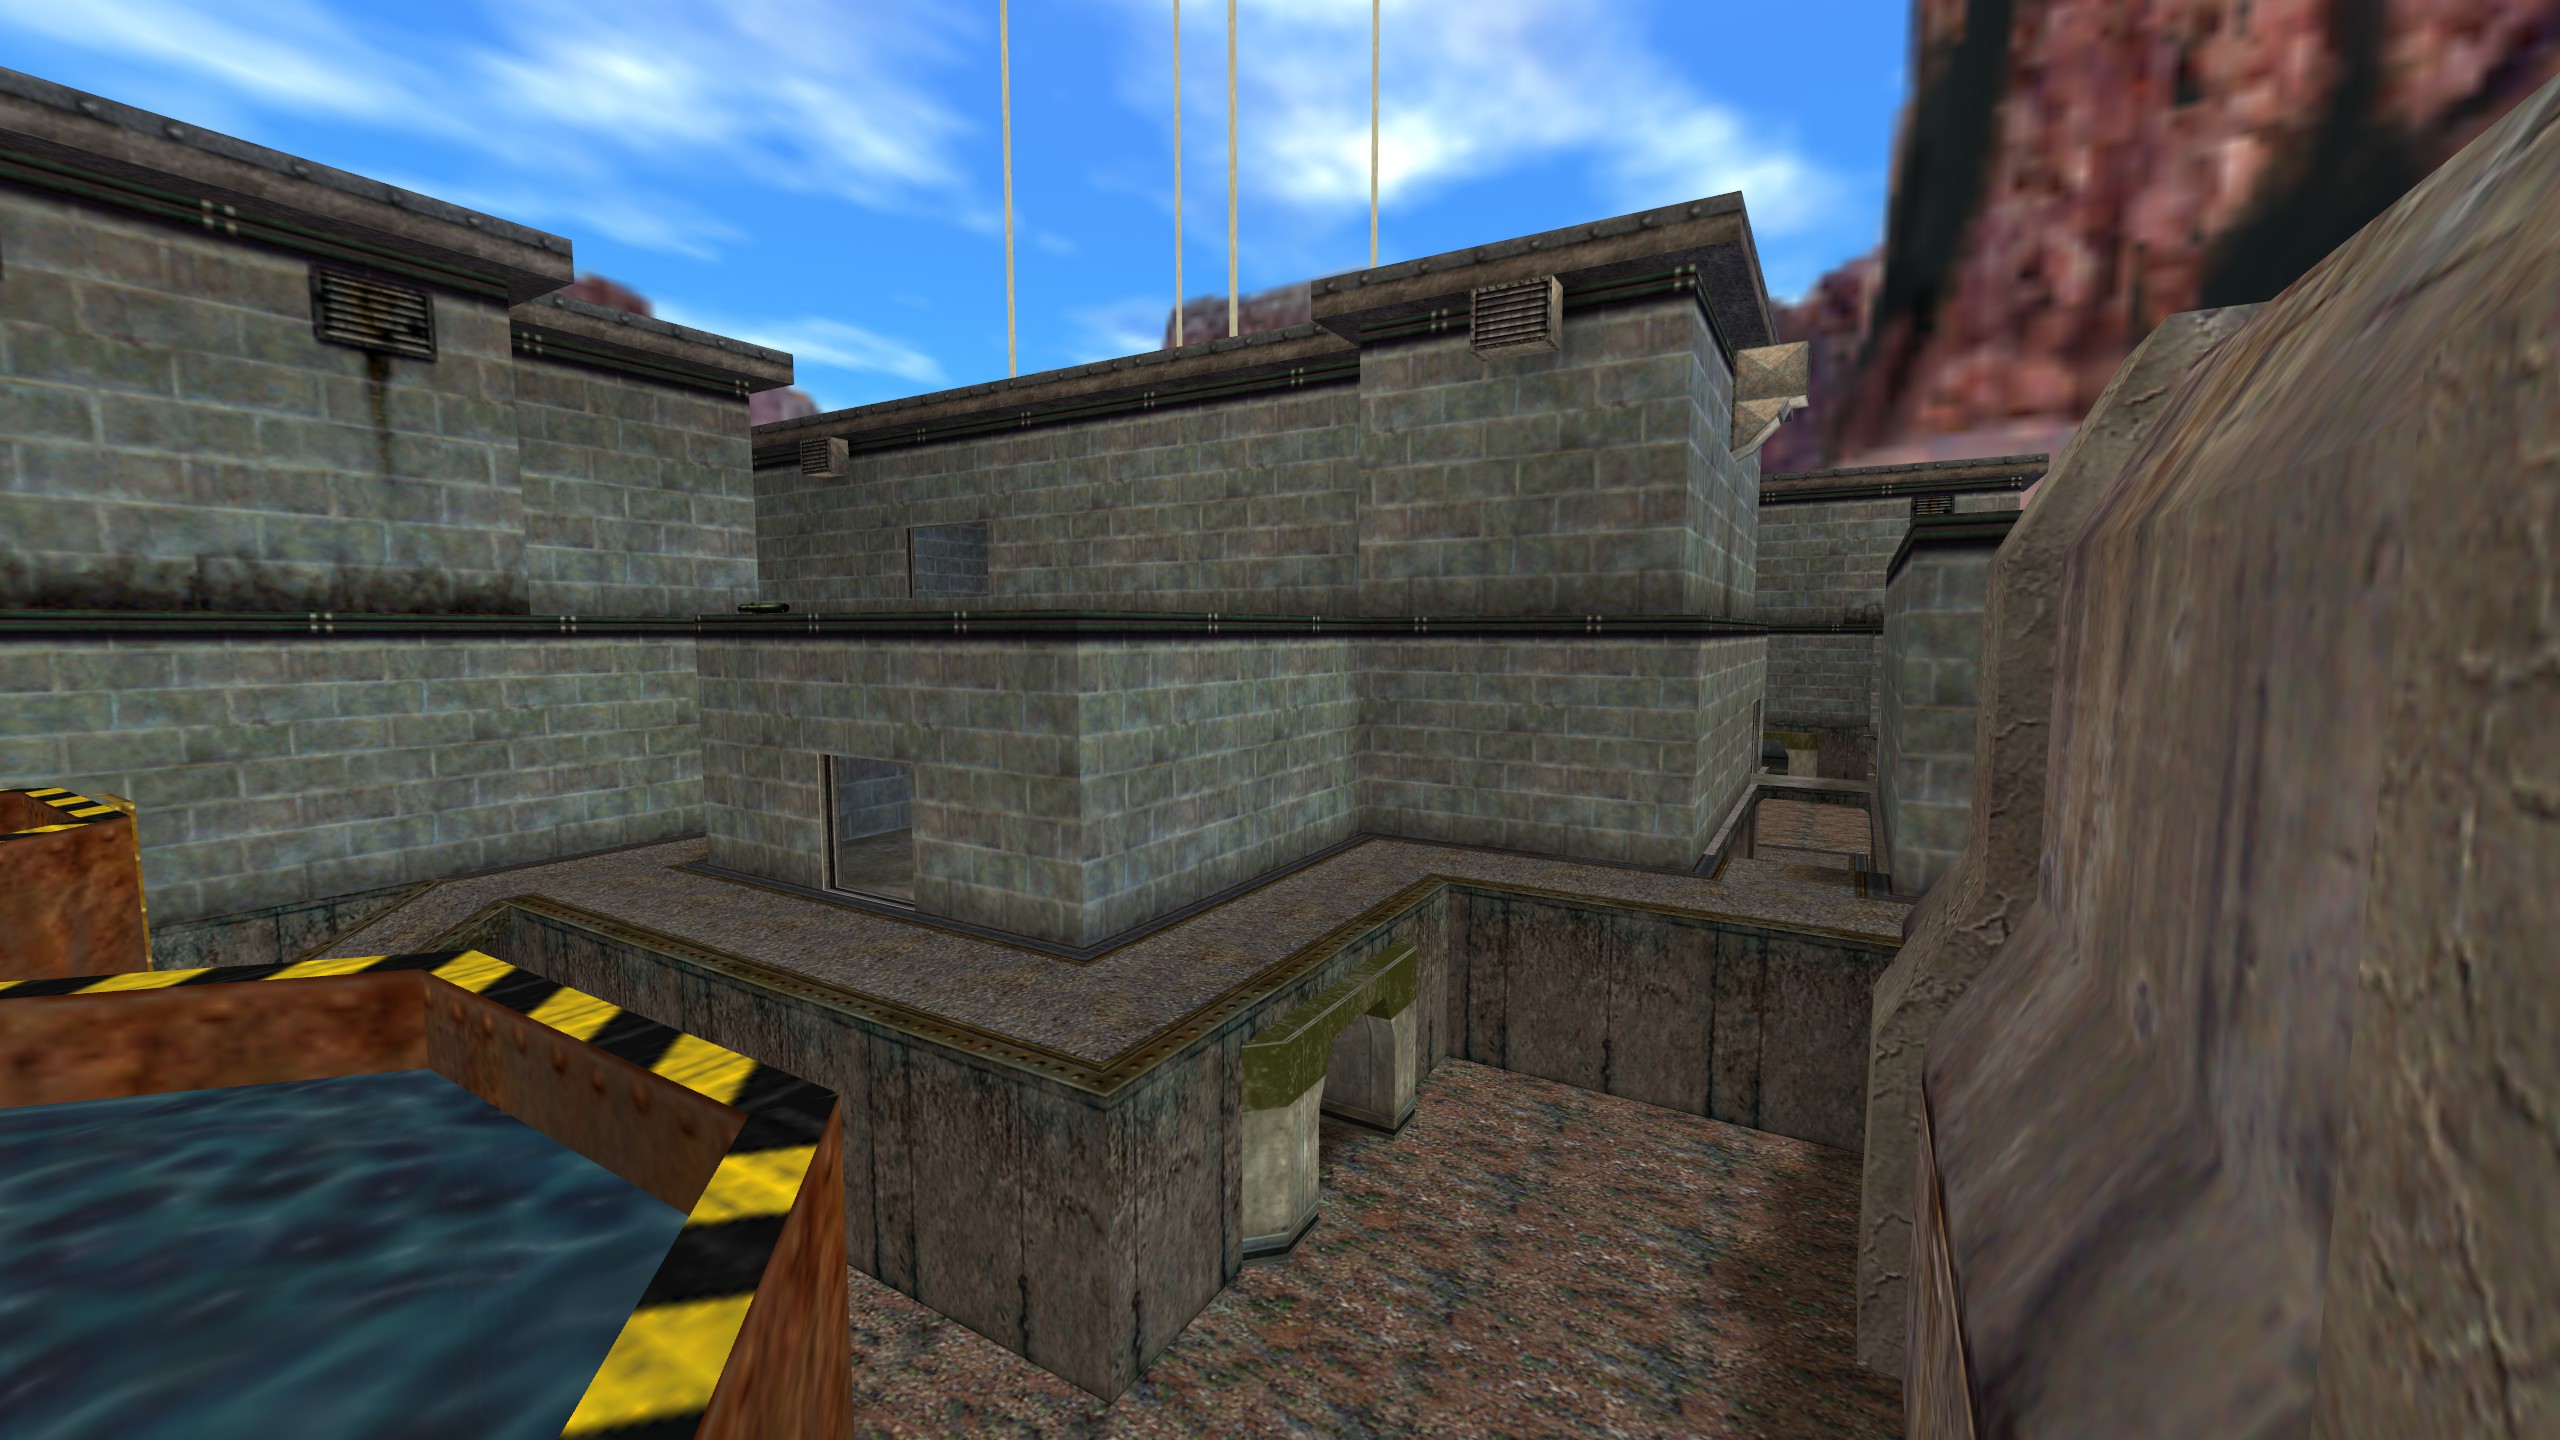
Boot Camp (Original)
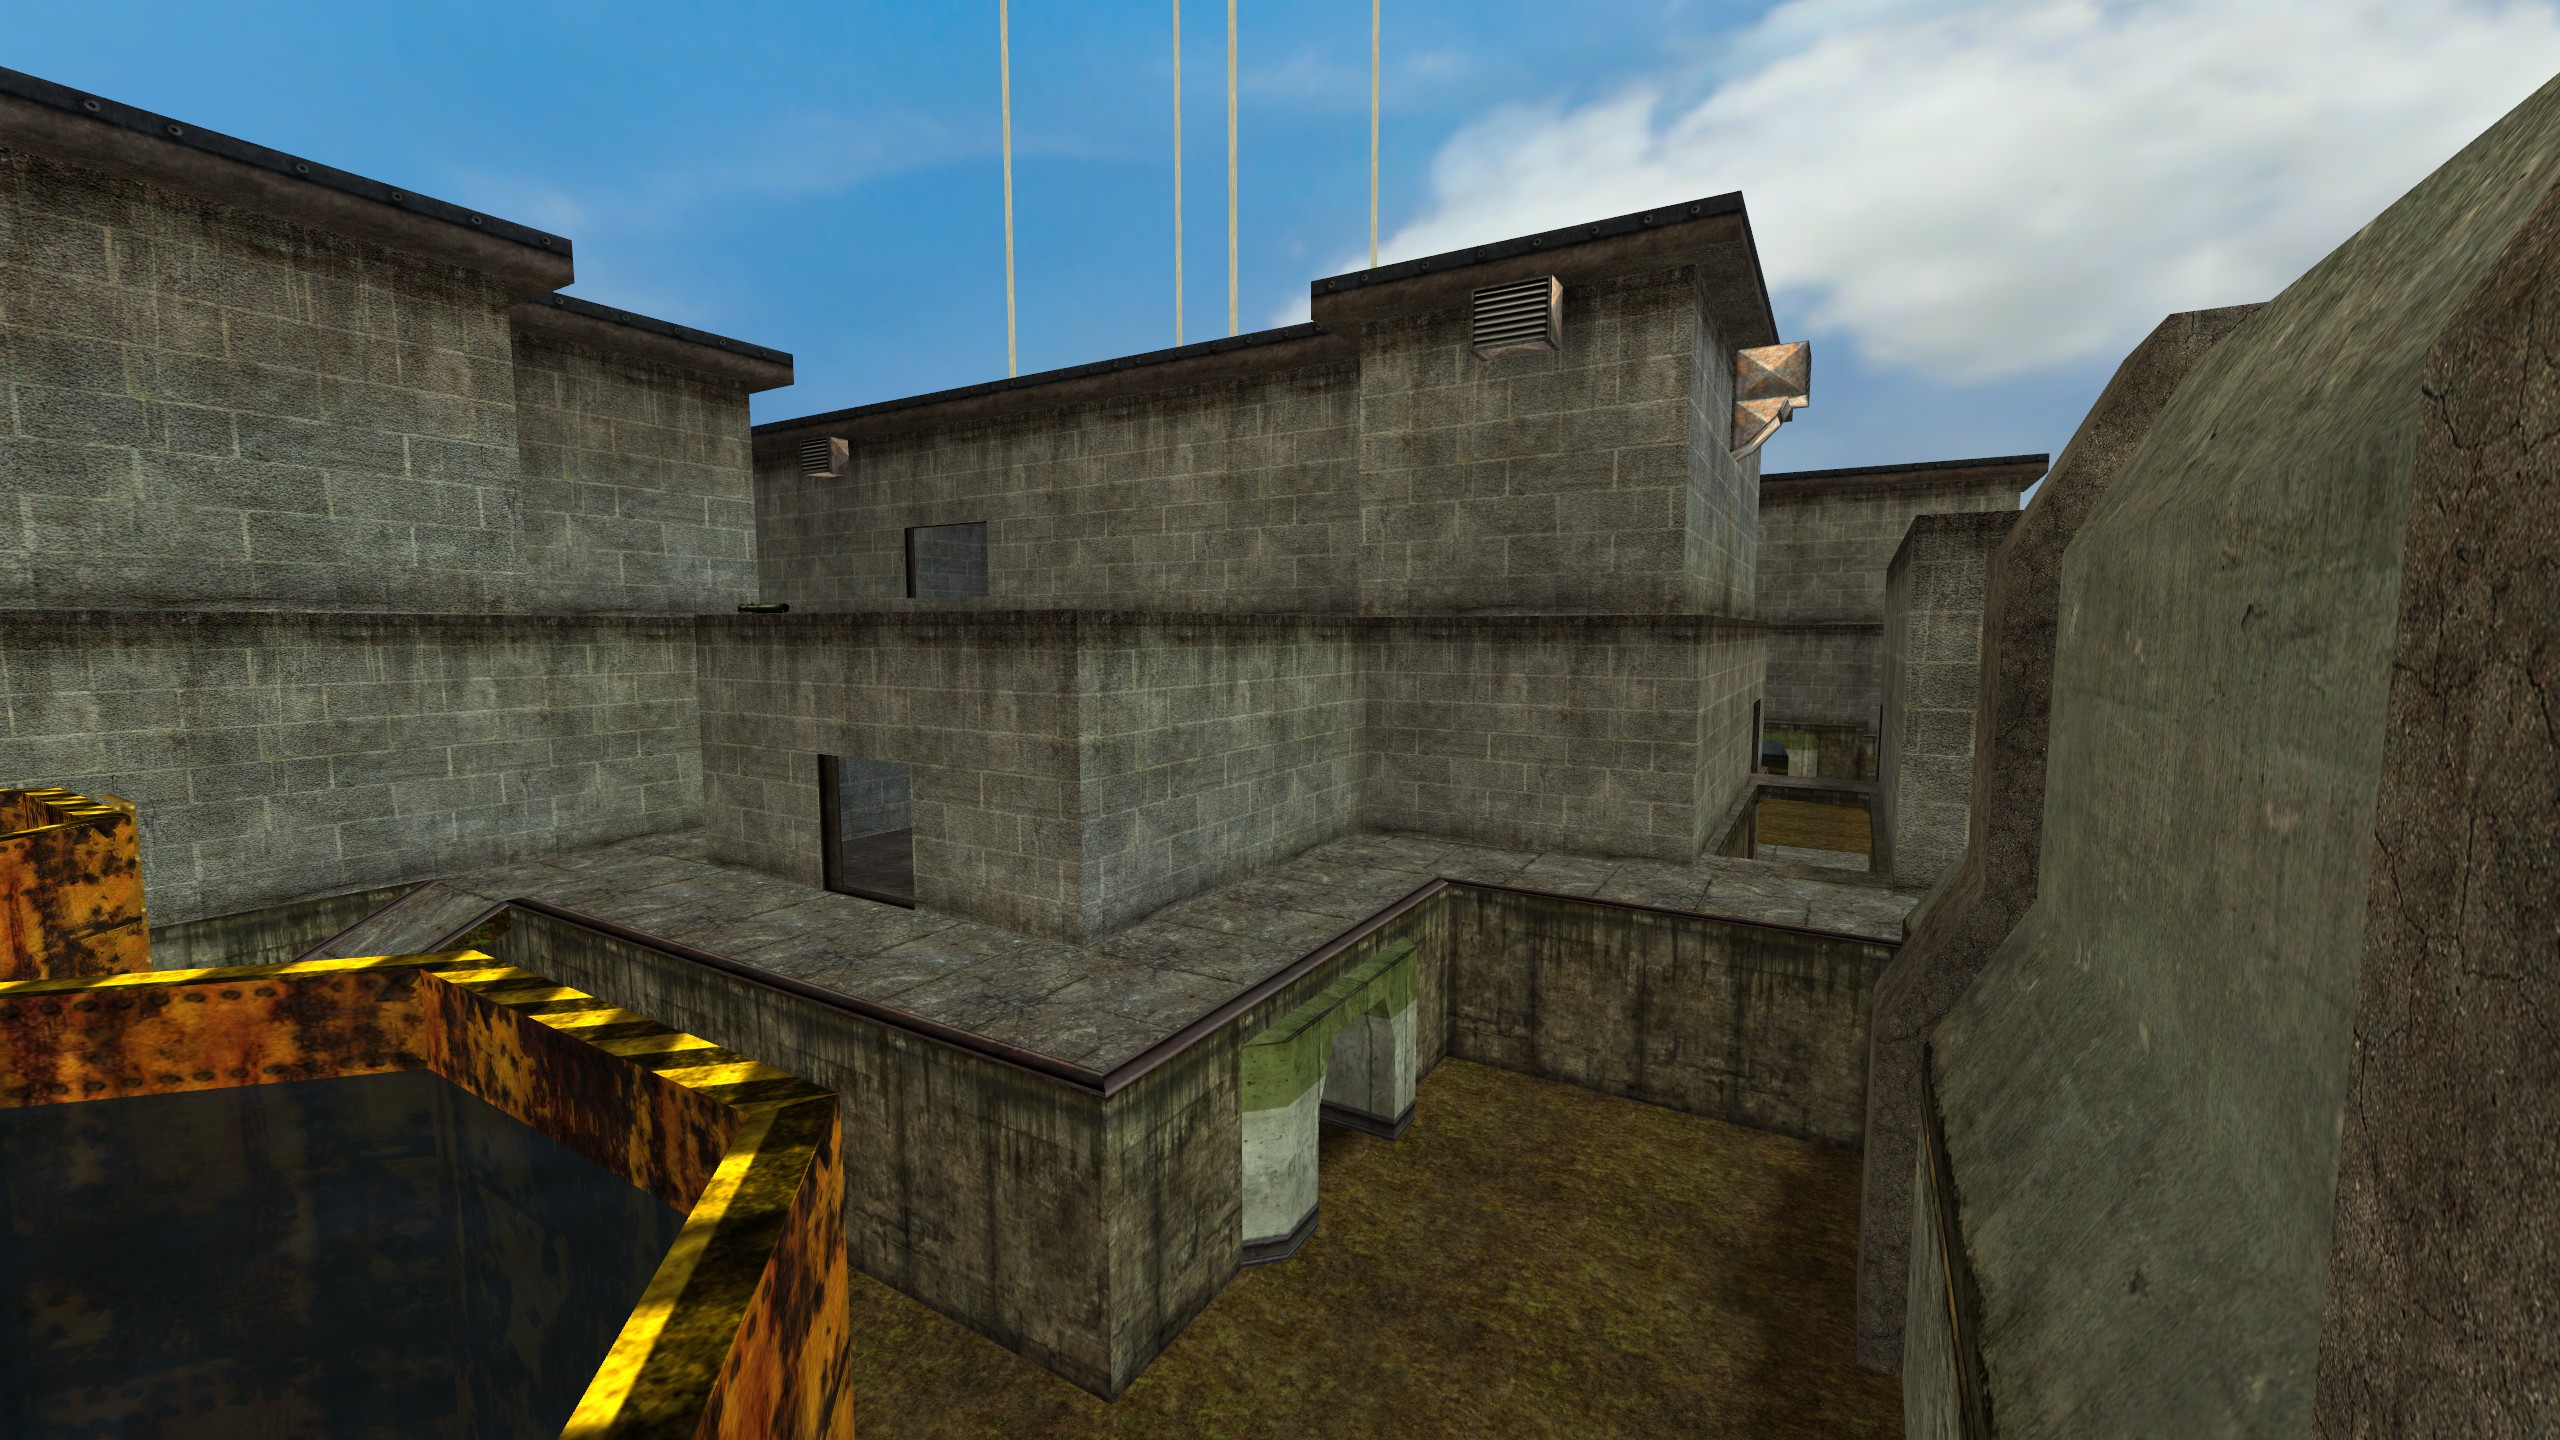
Boot Camp (HD)
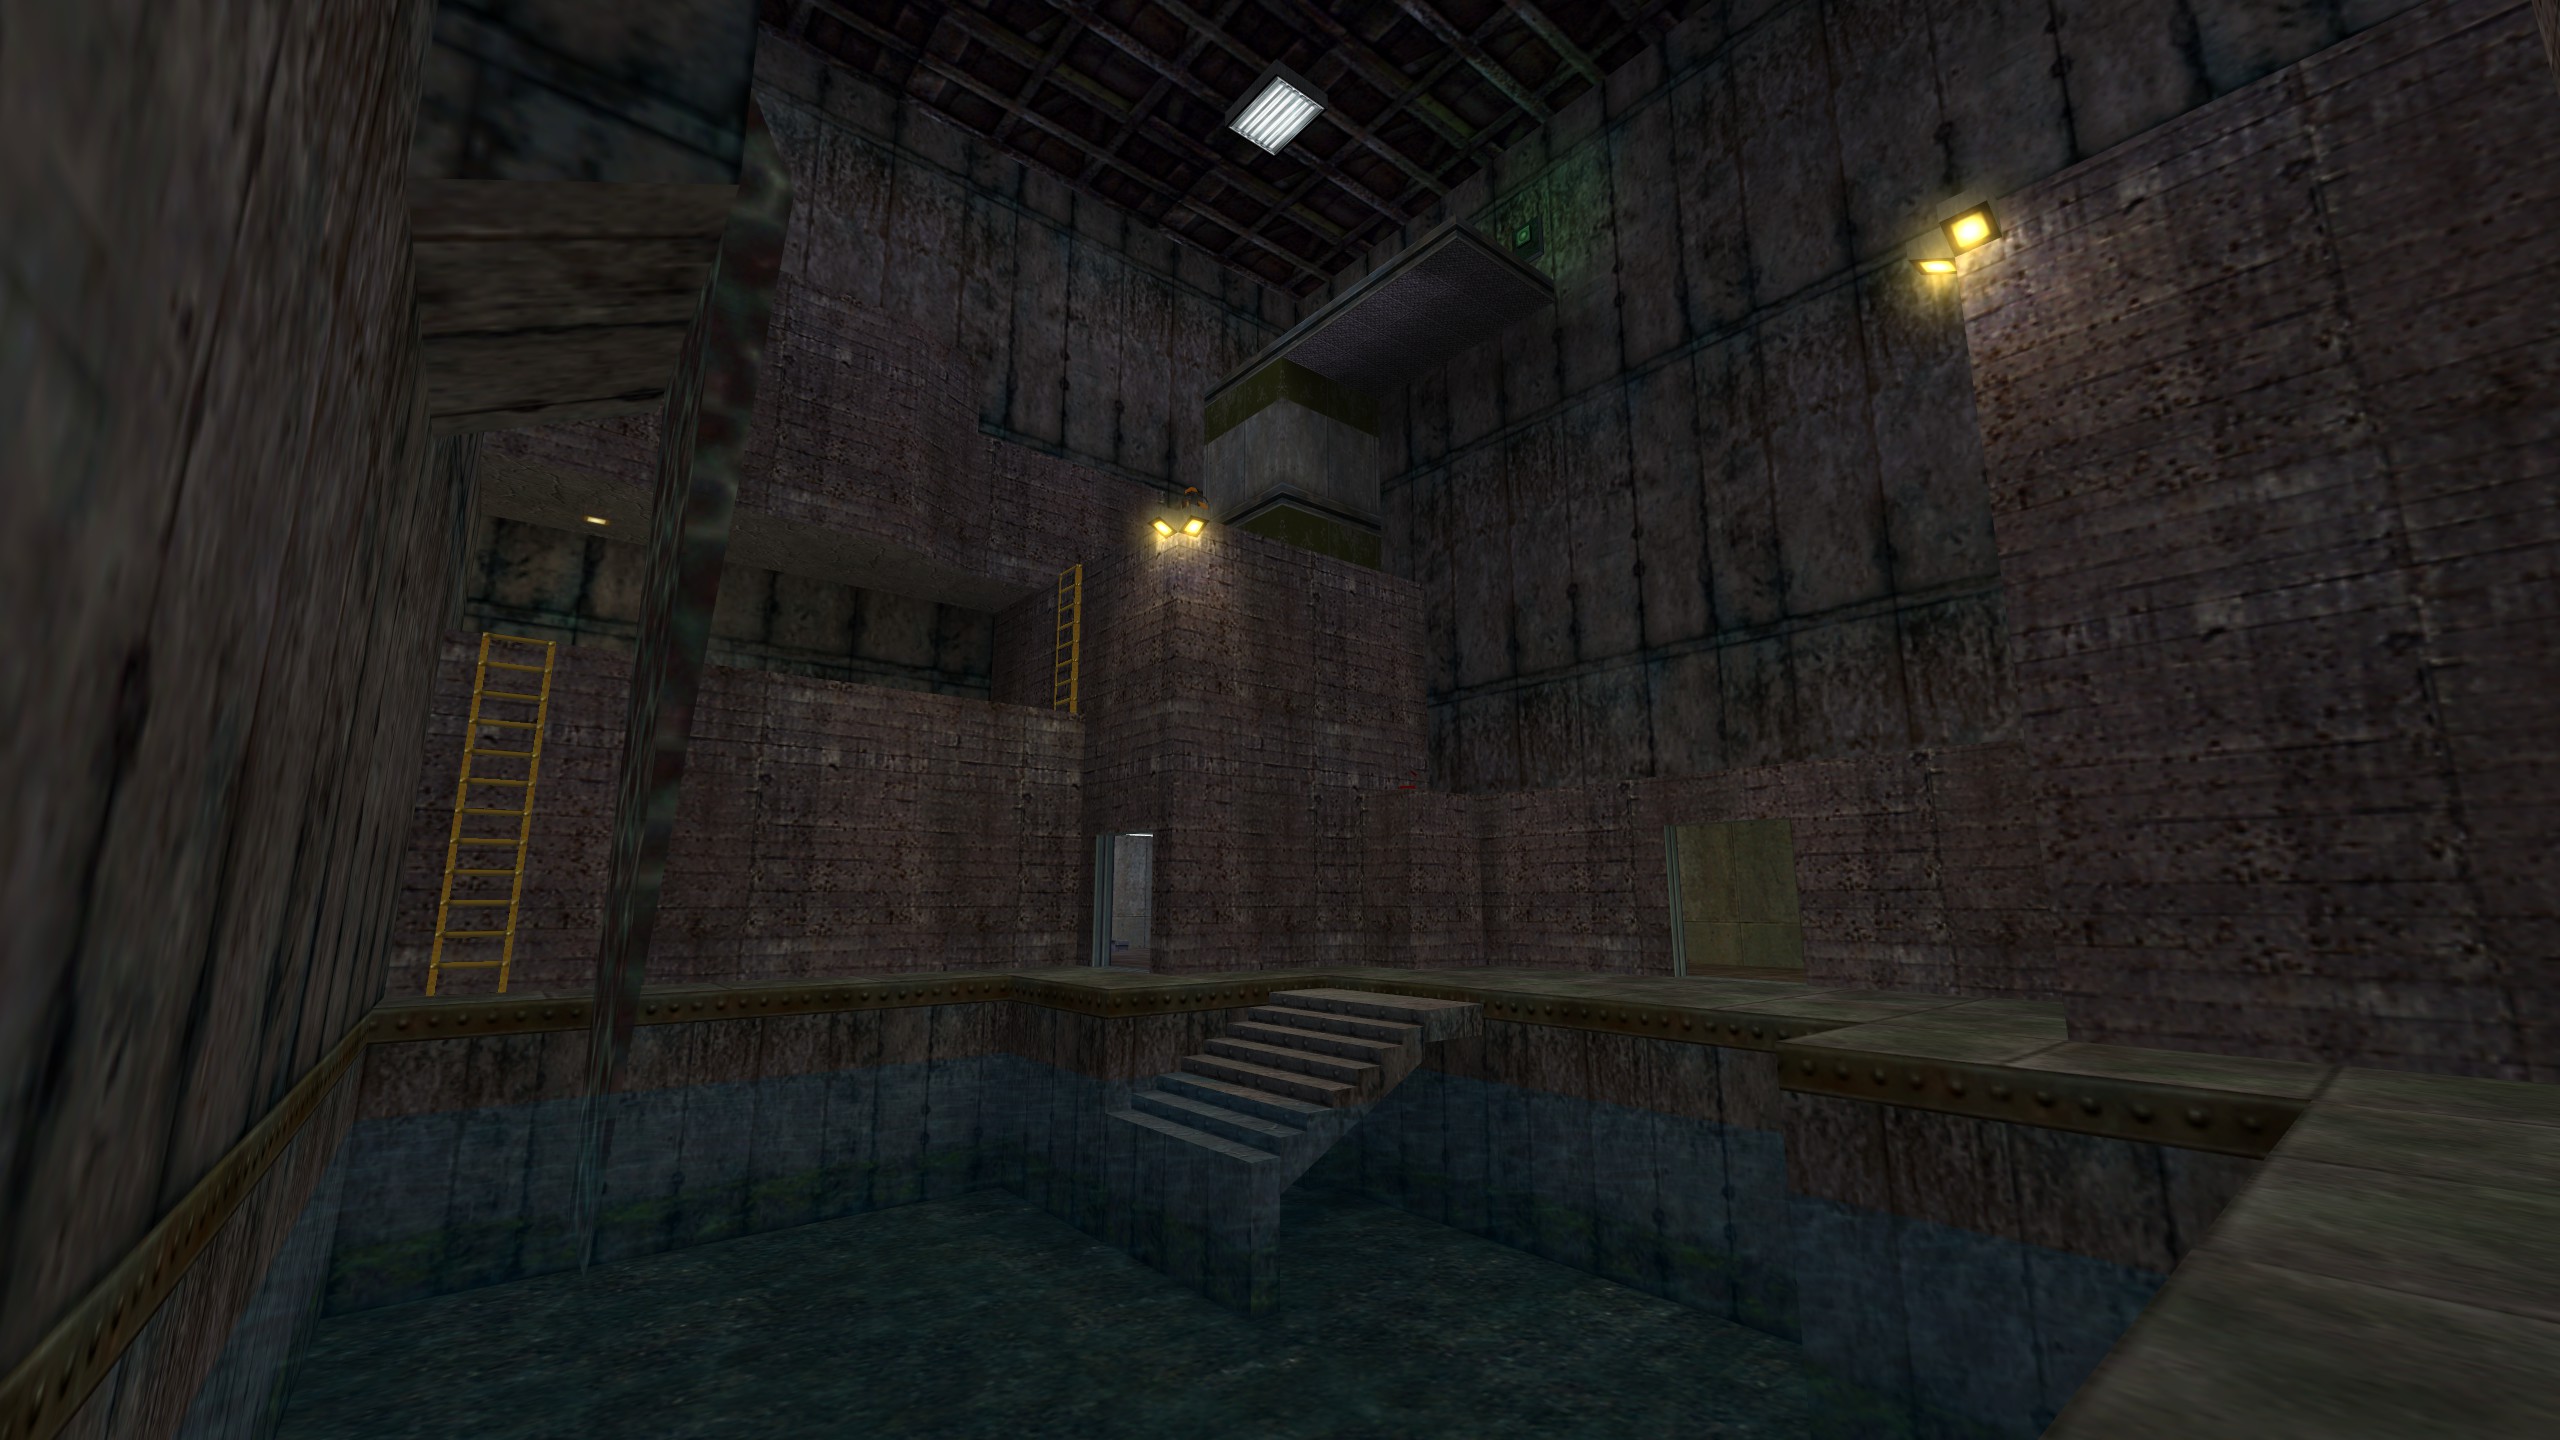
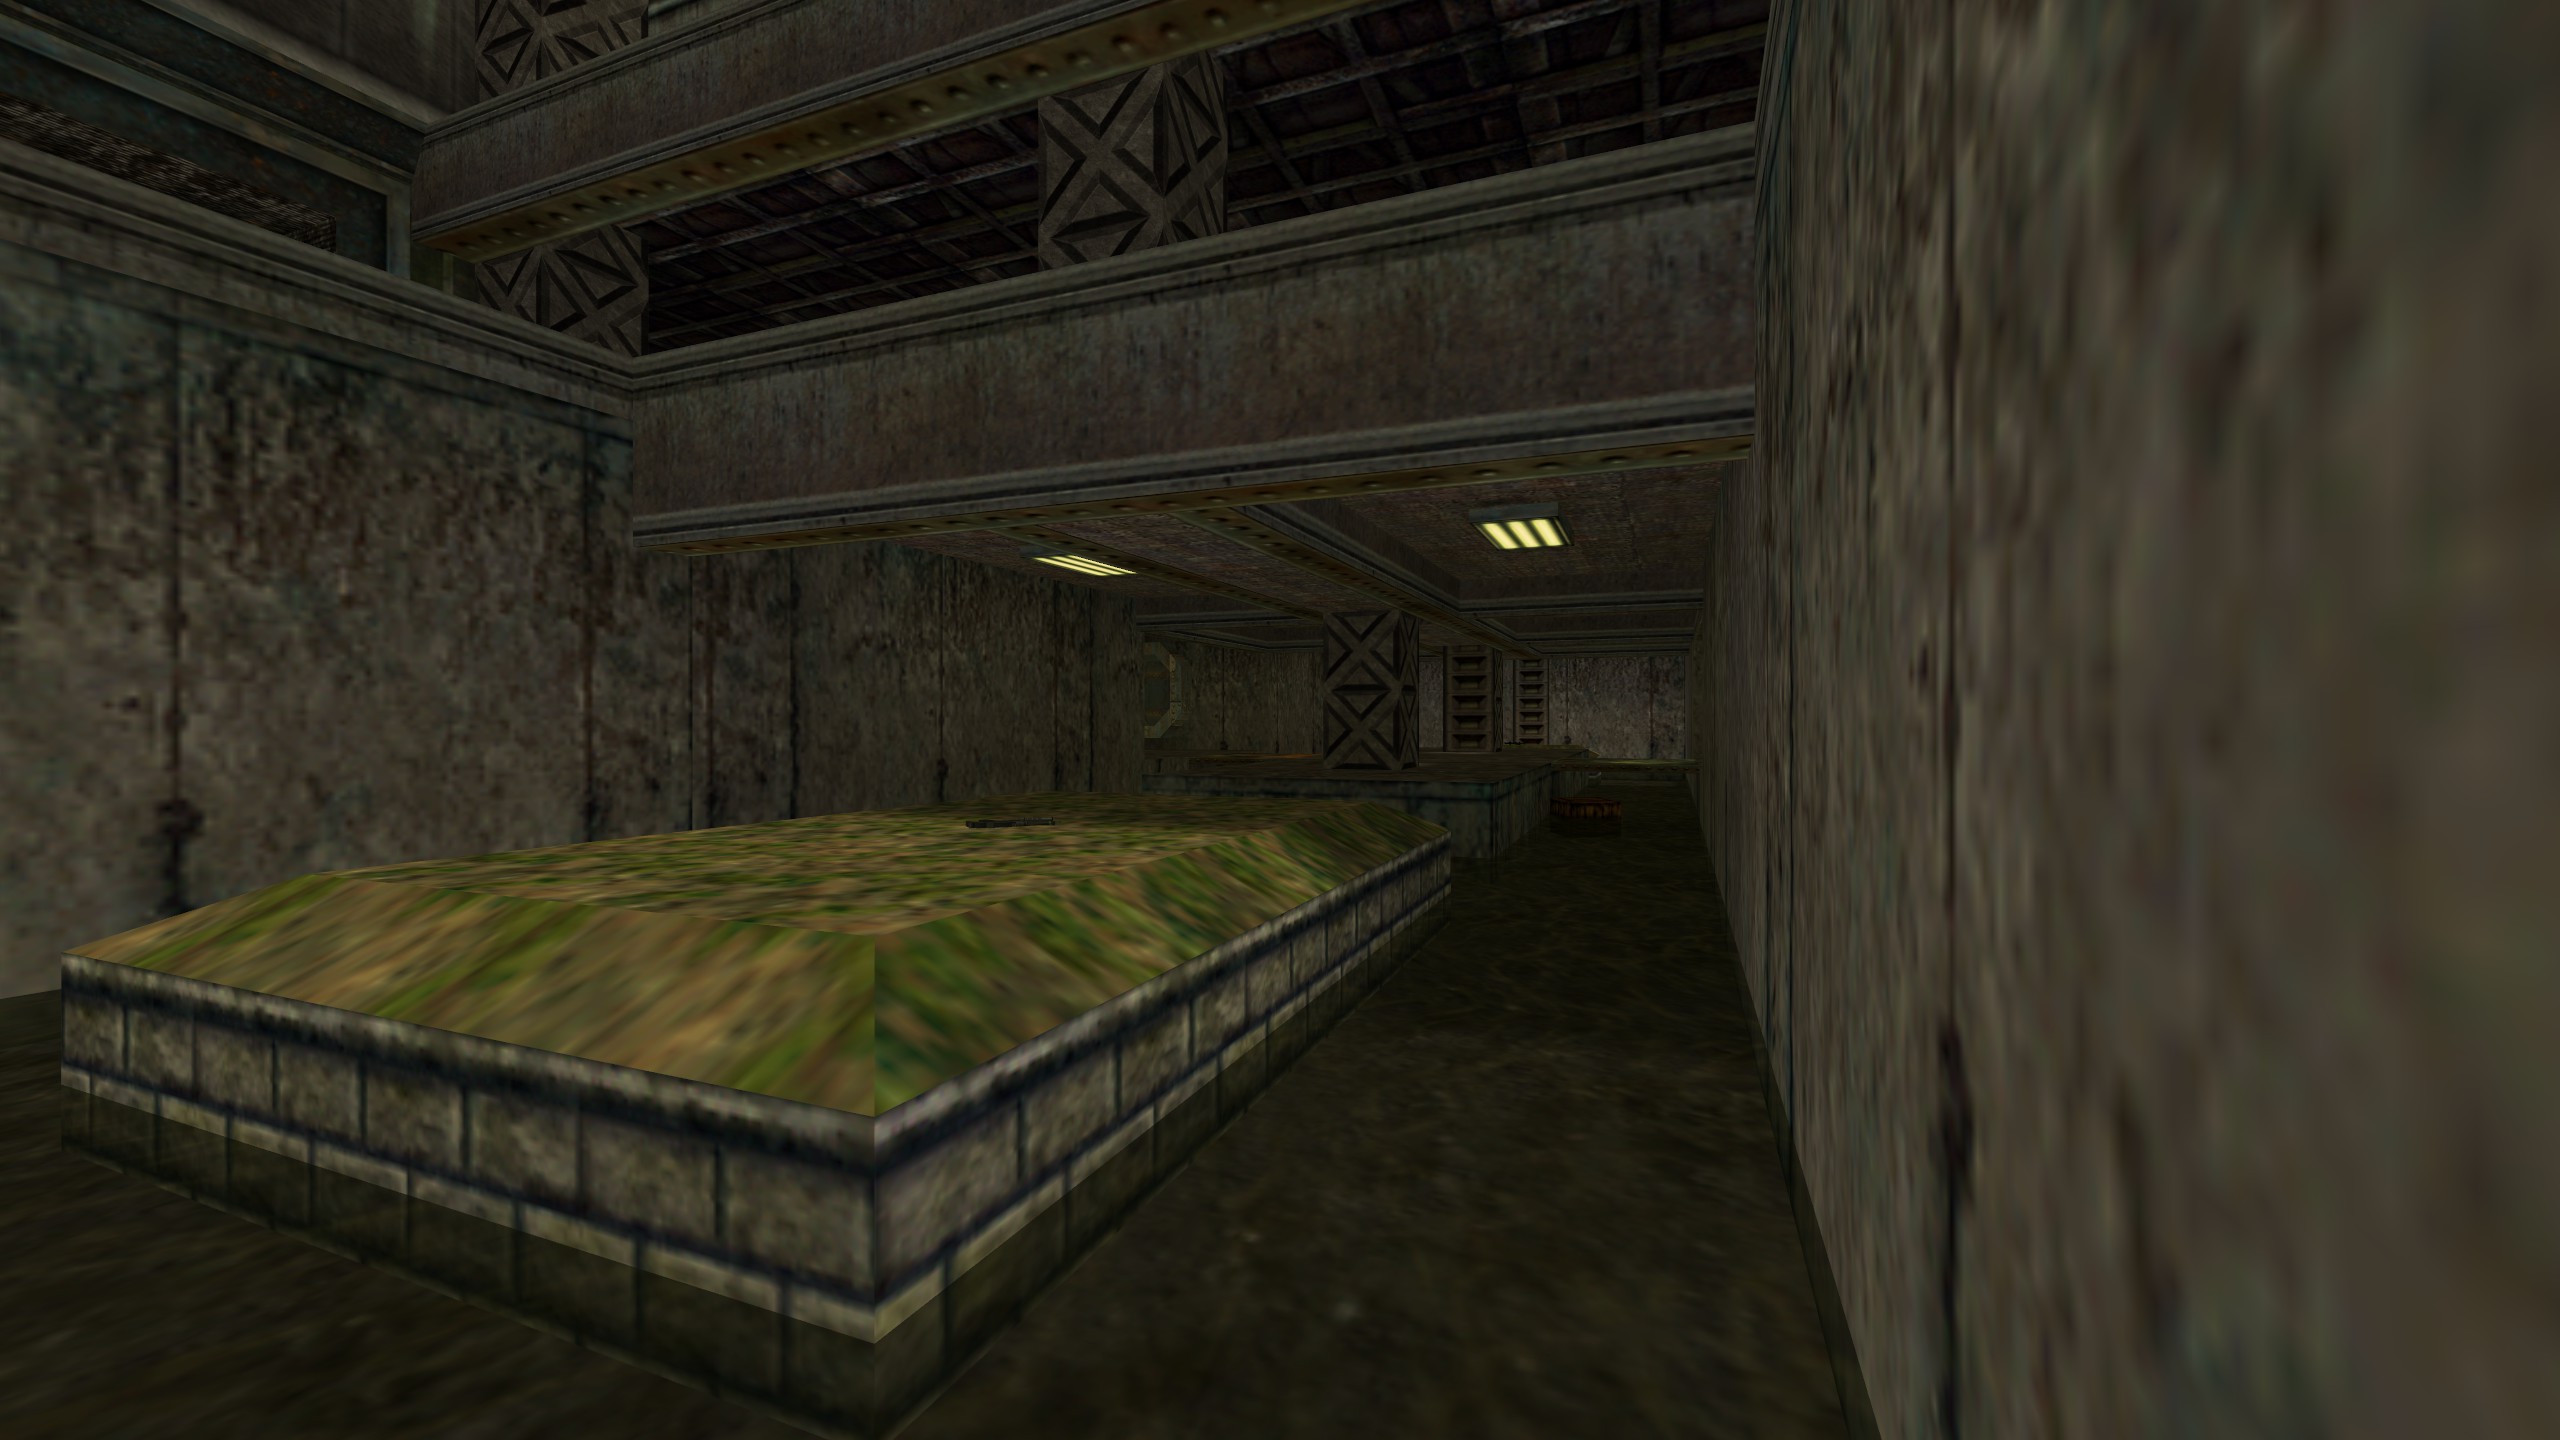
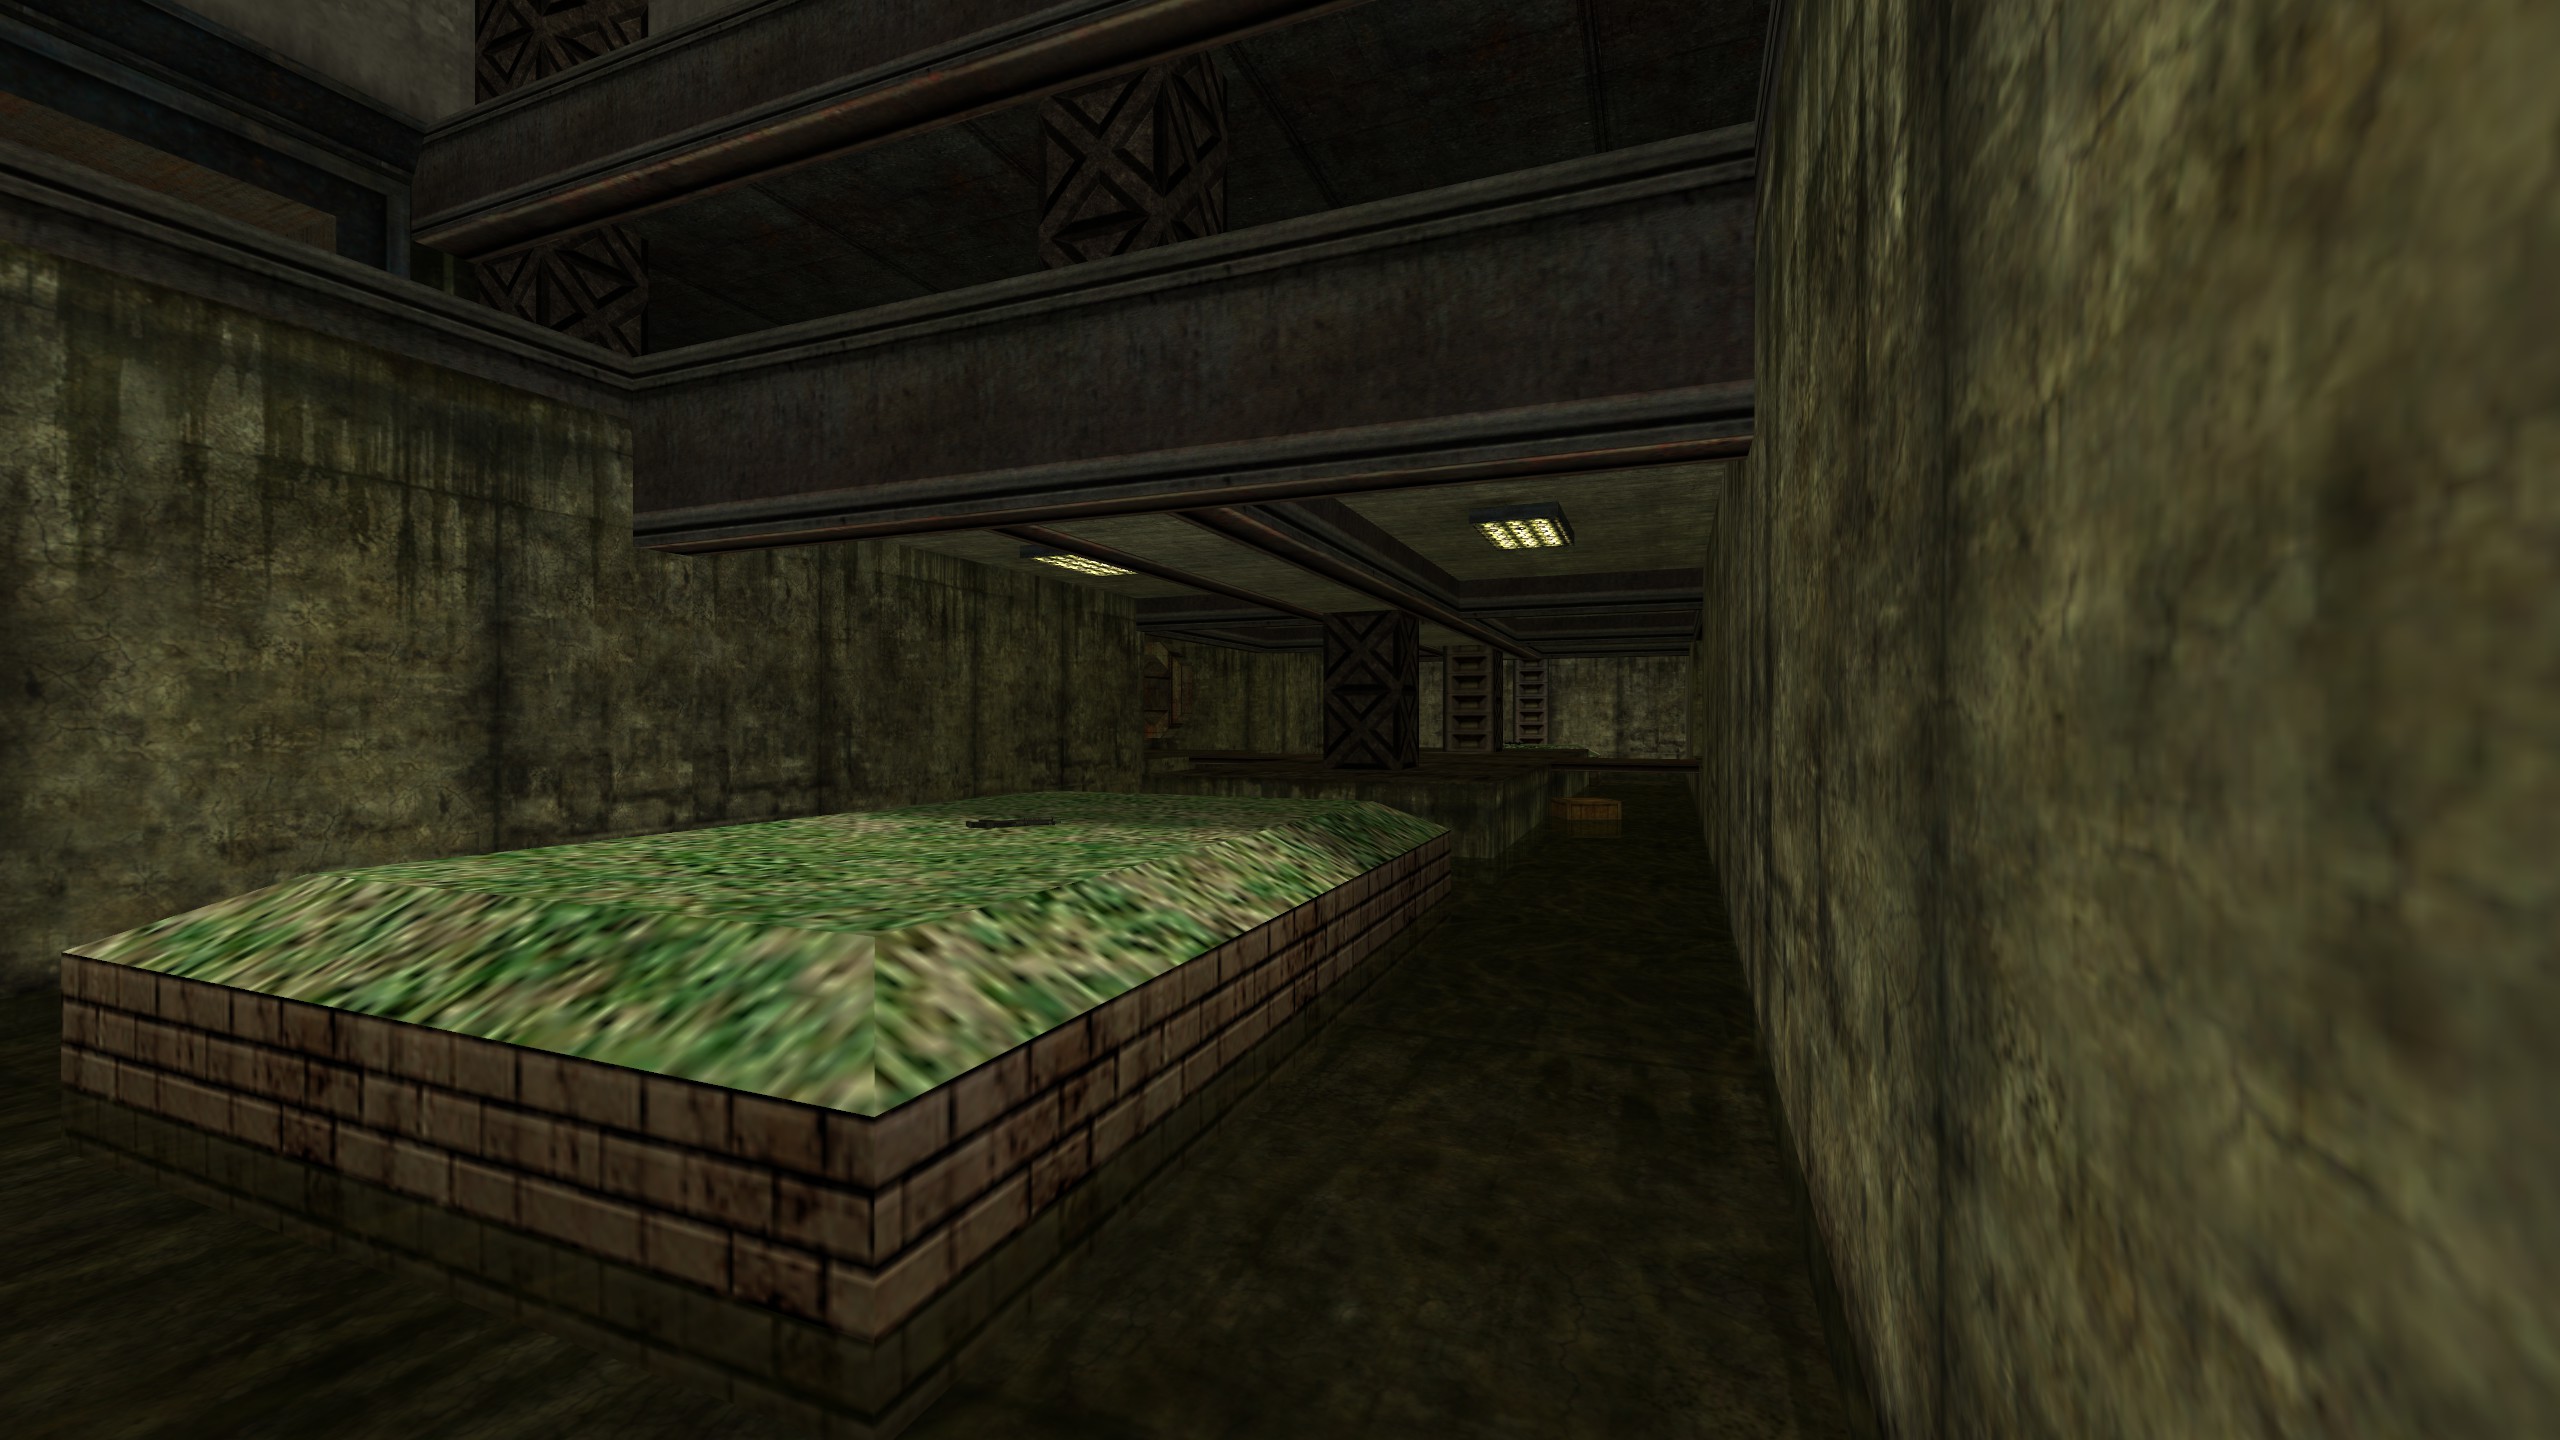
Undertow (Original)
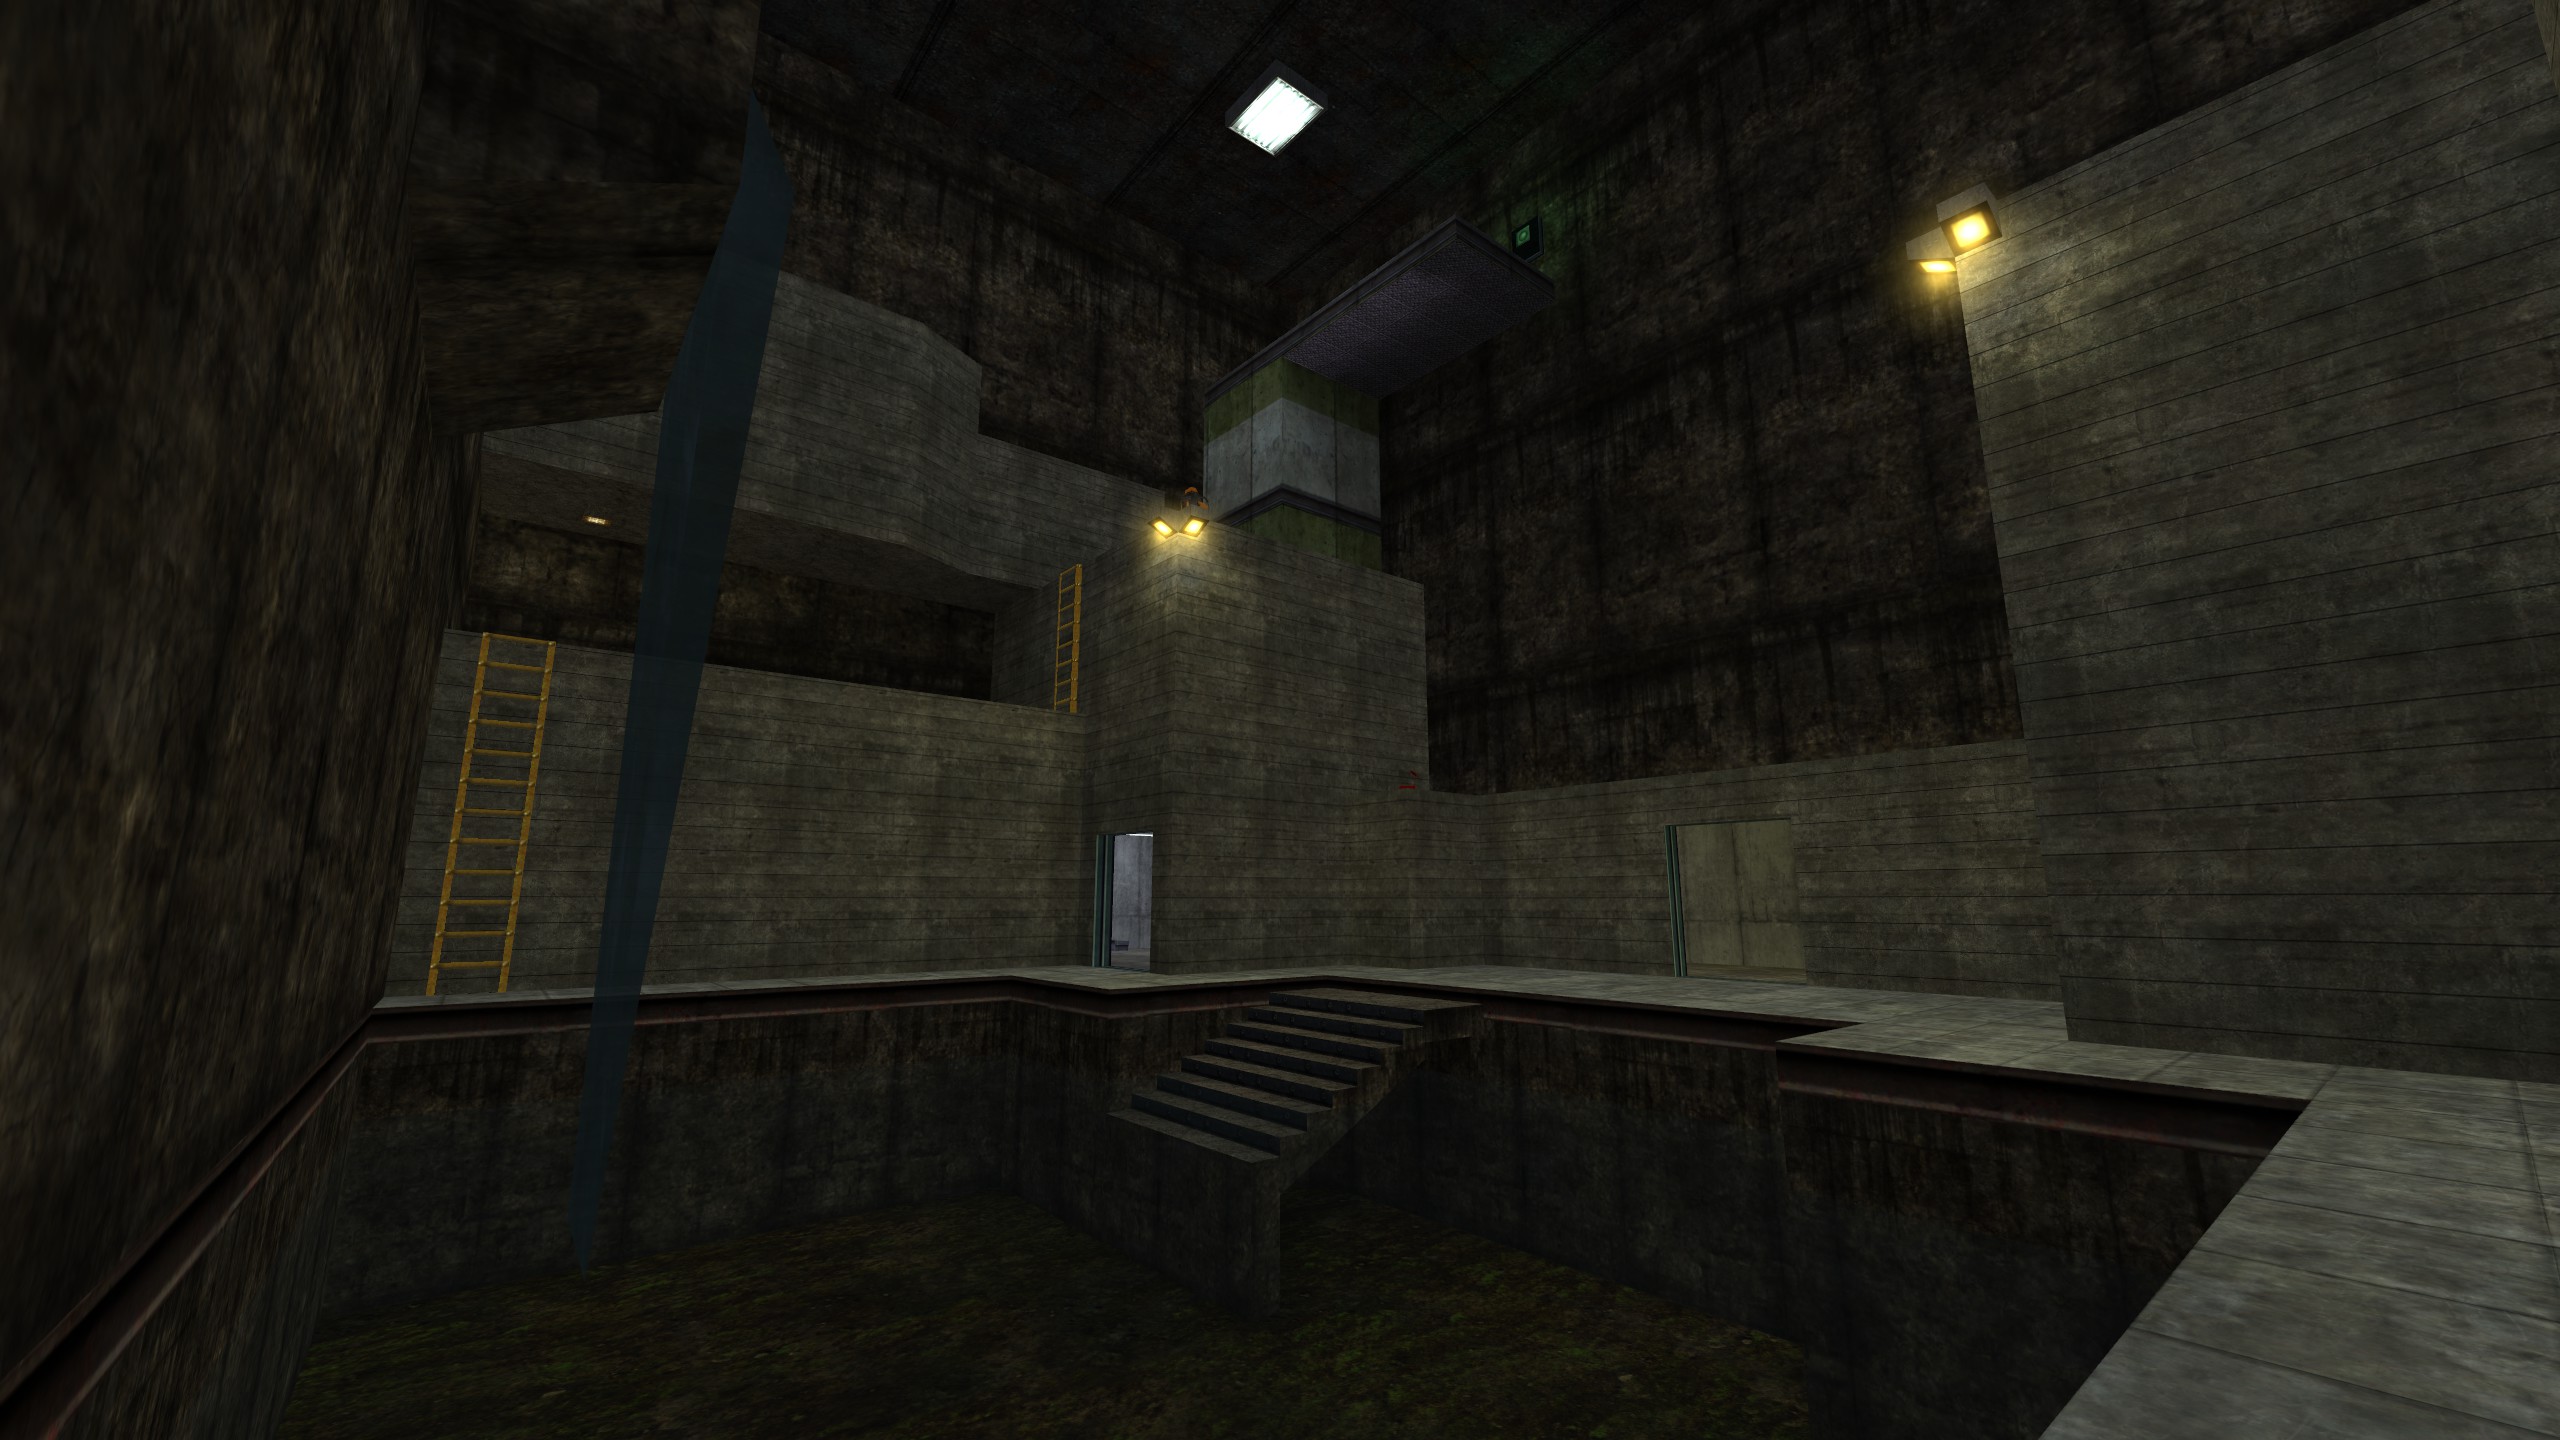
Undertow (HD)
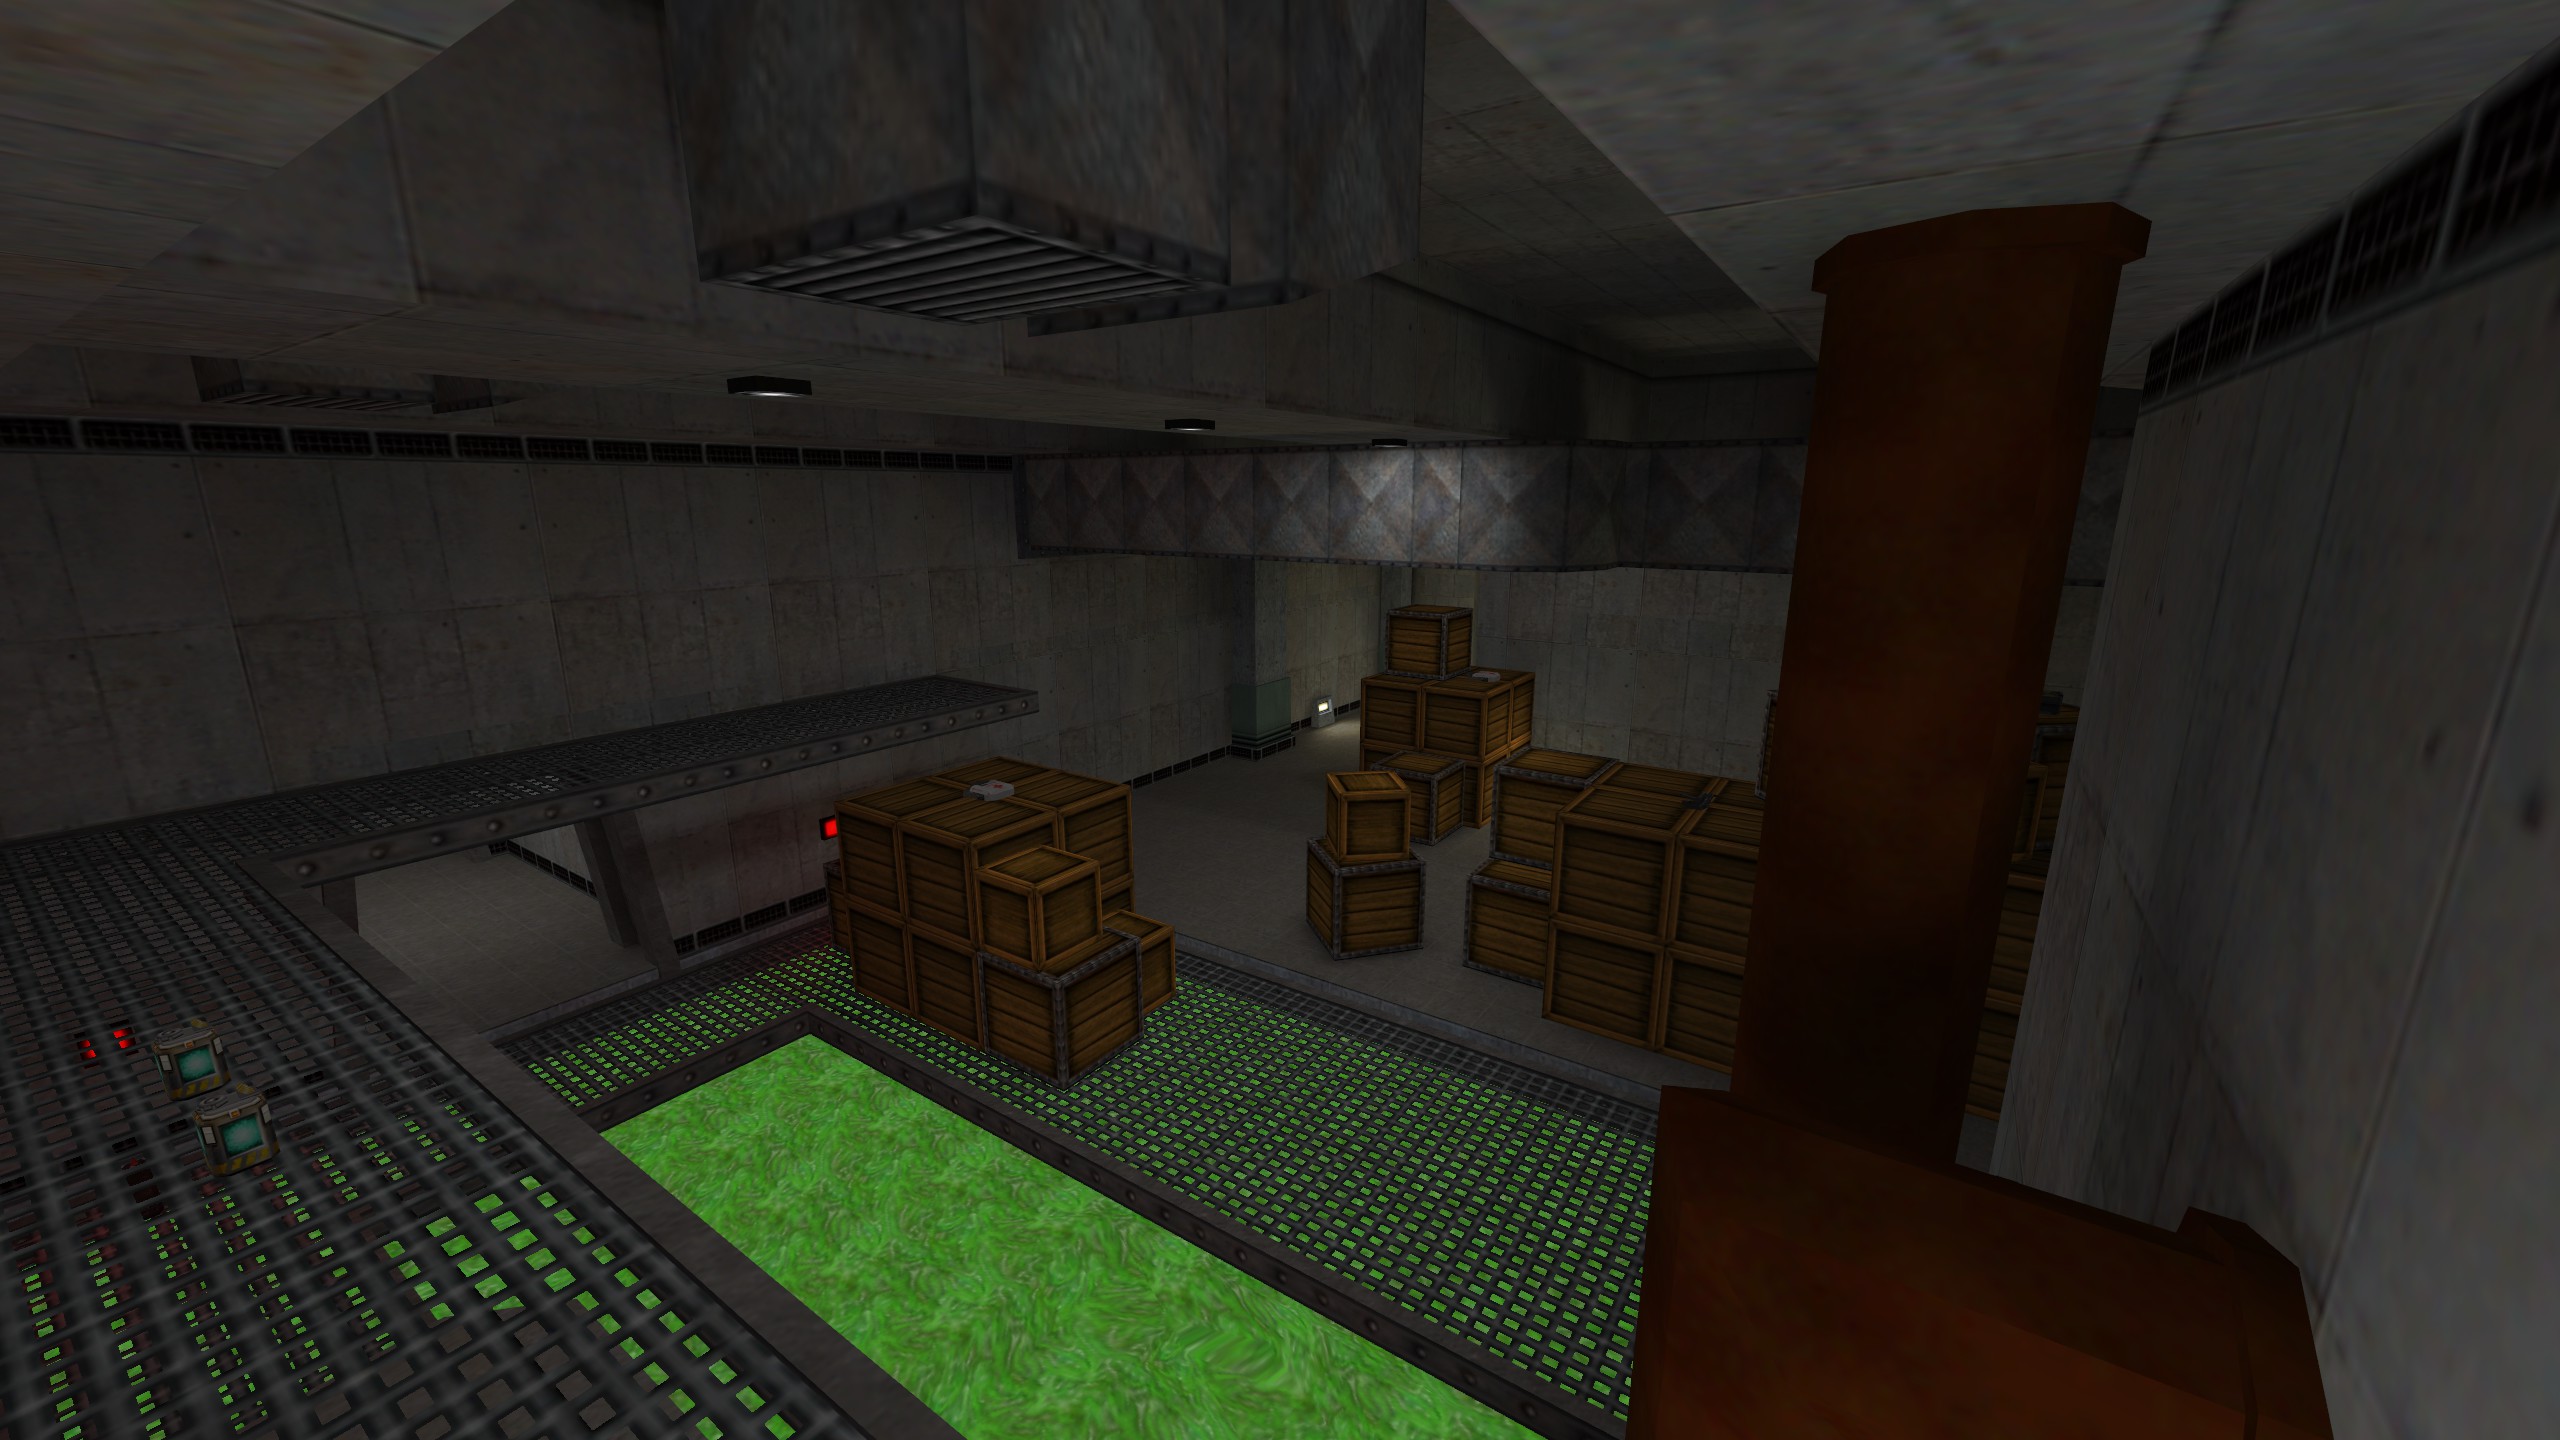
Semonz (Original)
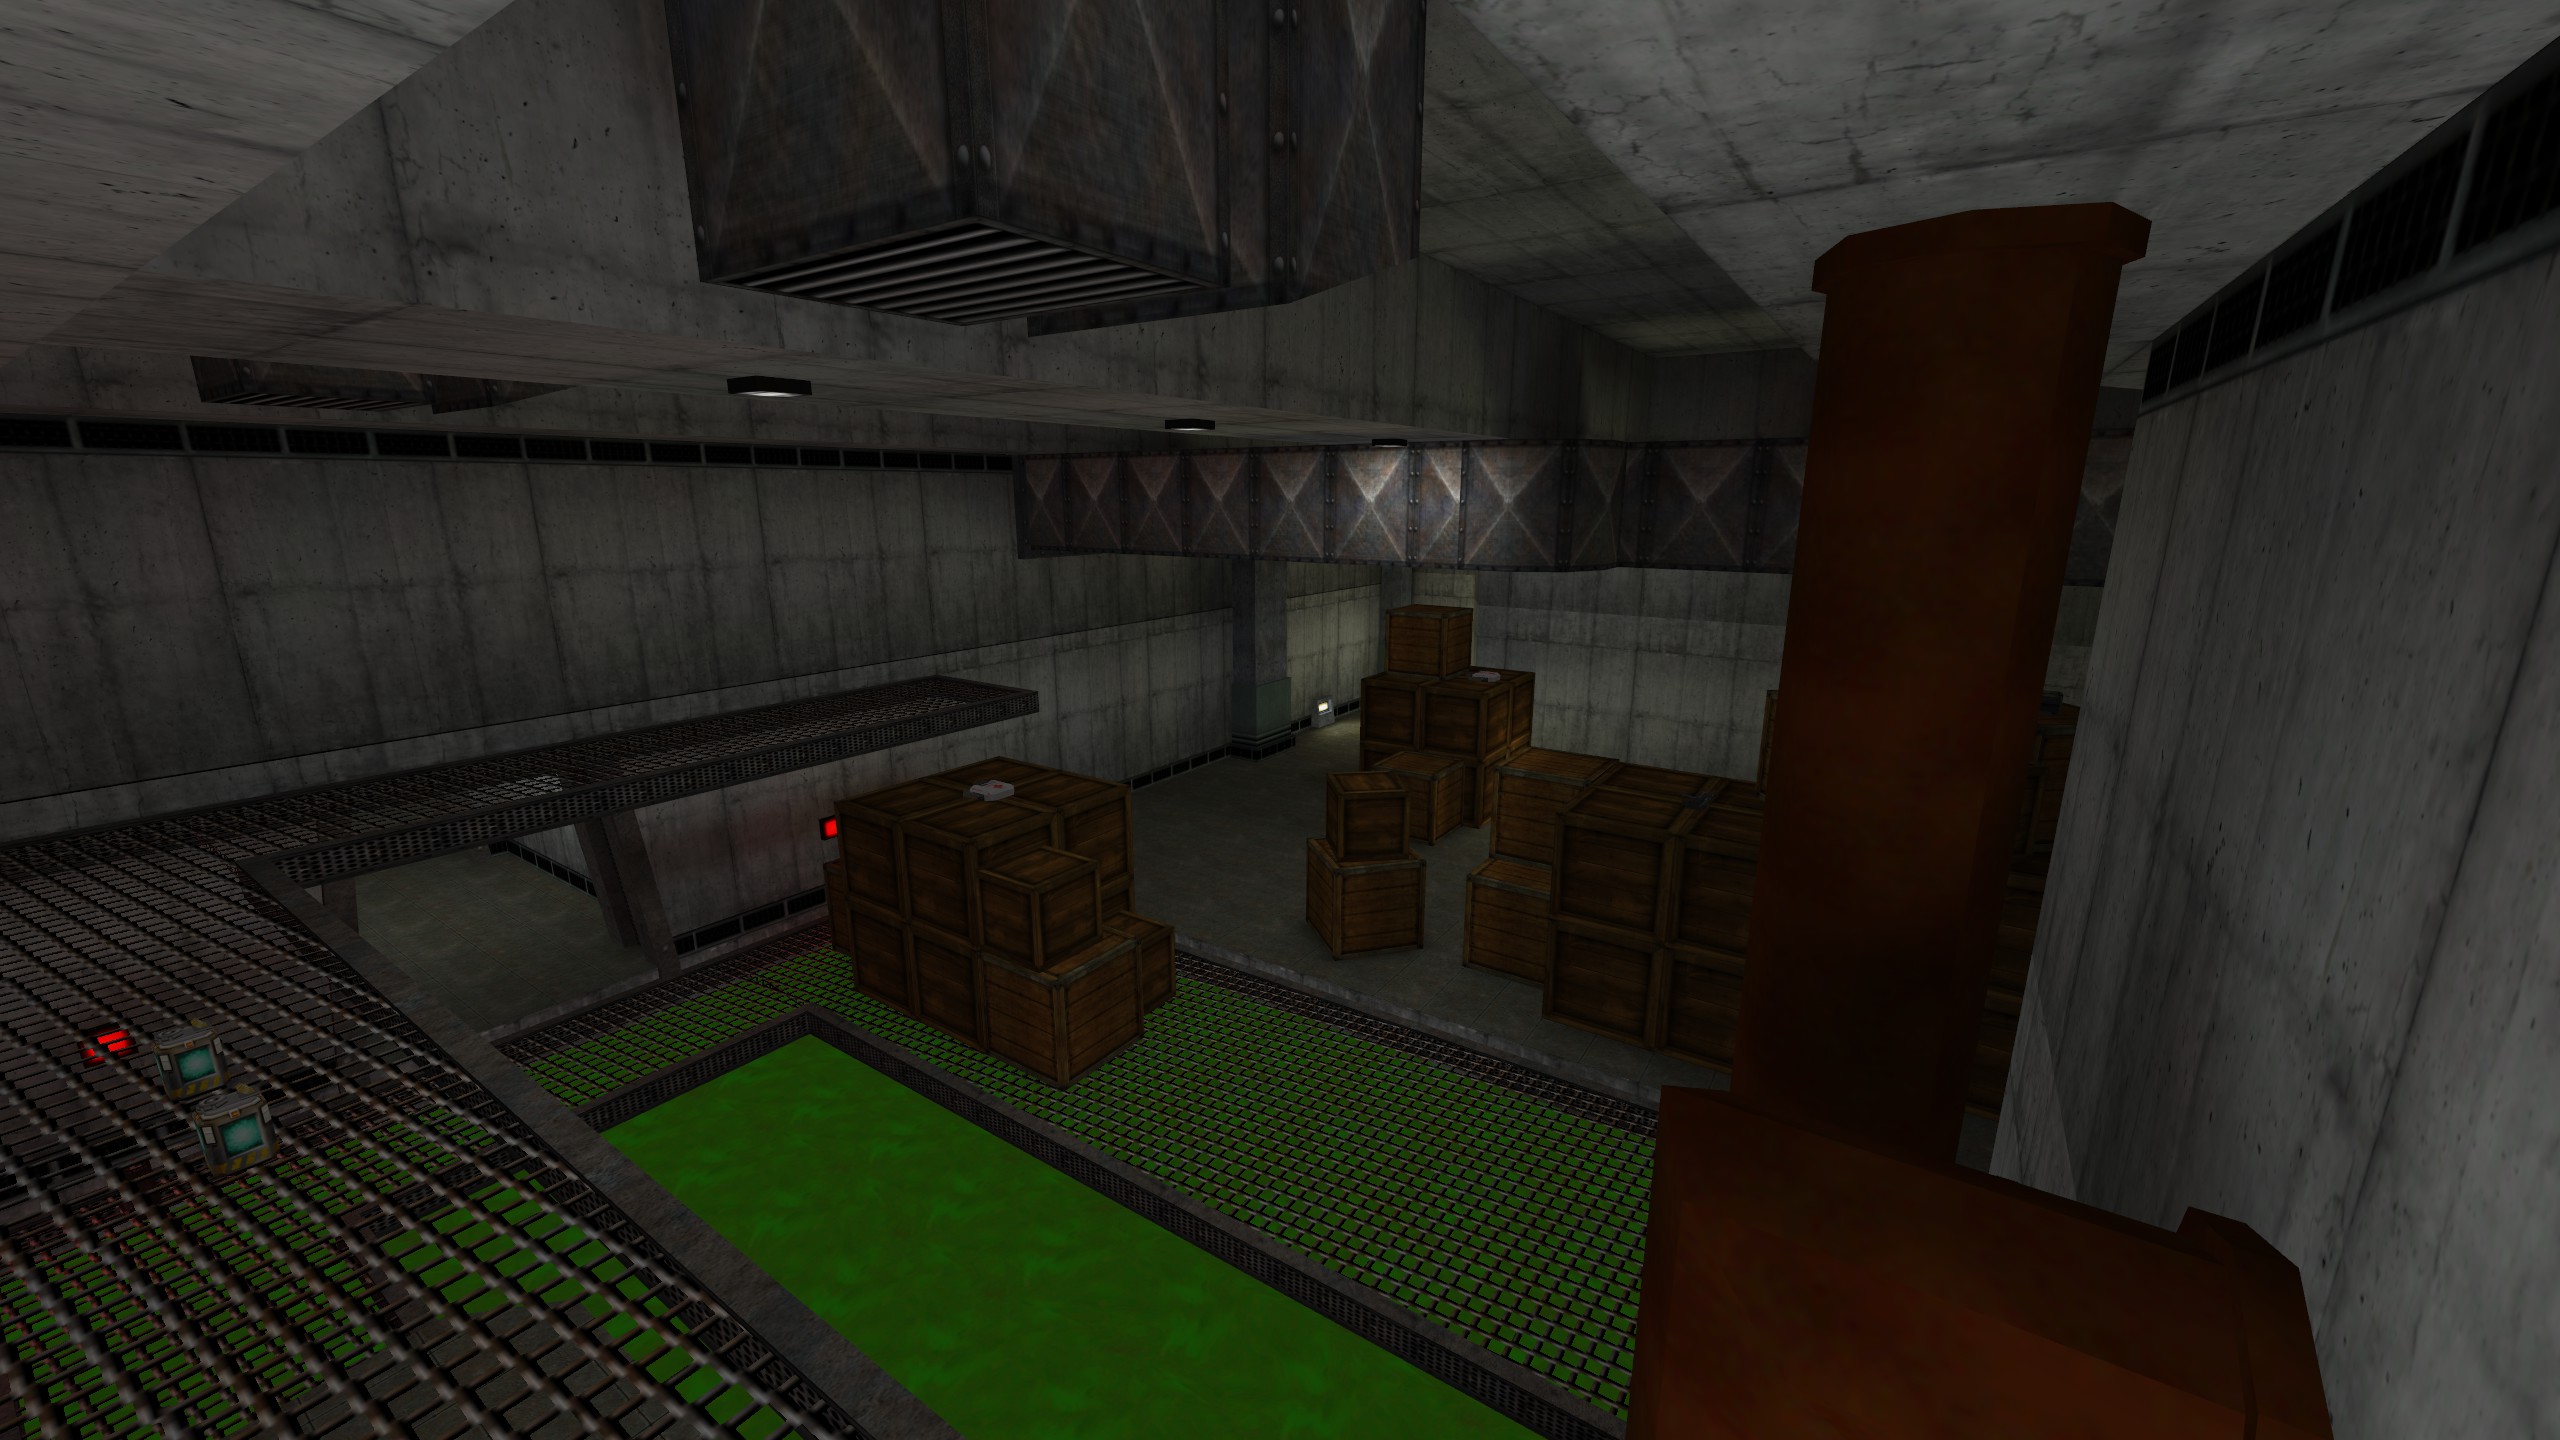
Semonz (HD)
Moss (Original)
Moss (HD)
Step 1: Back Up Original Textures
Important: Always back up your original files before installing mods.
- Go to your Half-Life directory:
C:\Program Files (x86)\Steam\steamapps\common\Half-Life - Locate the
valve_hdfolder (contains HD models and sprites). - Rename it to
valve_hd_backupso you can restore it later if needed.
Step 2: Copy New Textures
- Download the HD texture pack from the link above.
- If
valve_hddoes not exist, create it. - Copy the new HD textures into
valve_hd.
Step 3: Enable Detail Textures
- Go to the
valvefolder inside your Half-Life directory. - Open (or create)
userconfig.cfg. - Add the following lines:
r_detailtextures "1"
r_detailtexturessupported "1"
Save the file. Then, launch Half-Life → Options → Content → uncheck Enable Original Models so the HD textures are loaded.
References
- WAD pack by Dr. Freeman – GameBanana
- Detail textures by rabworc – GameBanana
Summary
- Replaces stock Half-Life map textures
- Maps with custom WADs keep their own look
- Pack includes detail texture support
- Set
valve_hdas folder for overrides - Original folder should be backed up first


