In Half-Life, tracers are visual lines that represent the trajectory of bullets or projectiles. Customizing tracers can make it easier to track shots during gameplay. This tutorial explains how to adjust tracer colour, length, speed, and transparency using console commands.
Step 1: Change Tracer Colour
Tracer colour is set using RGB values (0–255):
tracerred– Red componenttracergreen– Green componenttracerblue– Blue component
Example: set tracers to yellow
tracerred "255"
tracergreen "255"
tracerblue "0"
Step 2: Adjust Transparency
Use traceralpha to set transparency (0.0 = invisible, 1.0 = solid).
traceralpha "0.2"Step 3: Adjust Length and Speed
traceroffset– Controls tracer length.tracerspeed– Controls how fast tracers move.
Examples:
// Long, slow tracer
traceroffset "5"
tracerspeed "1000"

// Short, fast tracer
traceroffset "1"
tracerspeed "3000"
Example Configurations
Here are some ready-made tracer setups. Click an image to view full size.
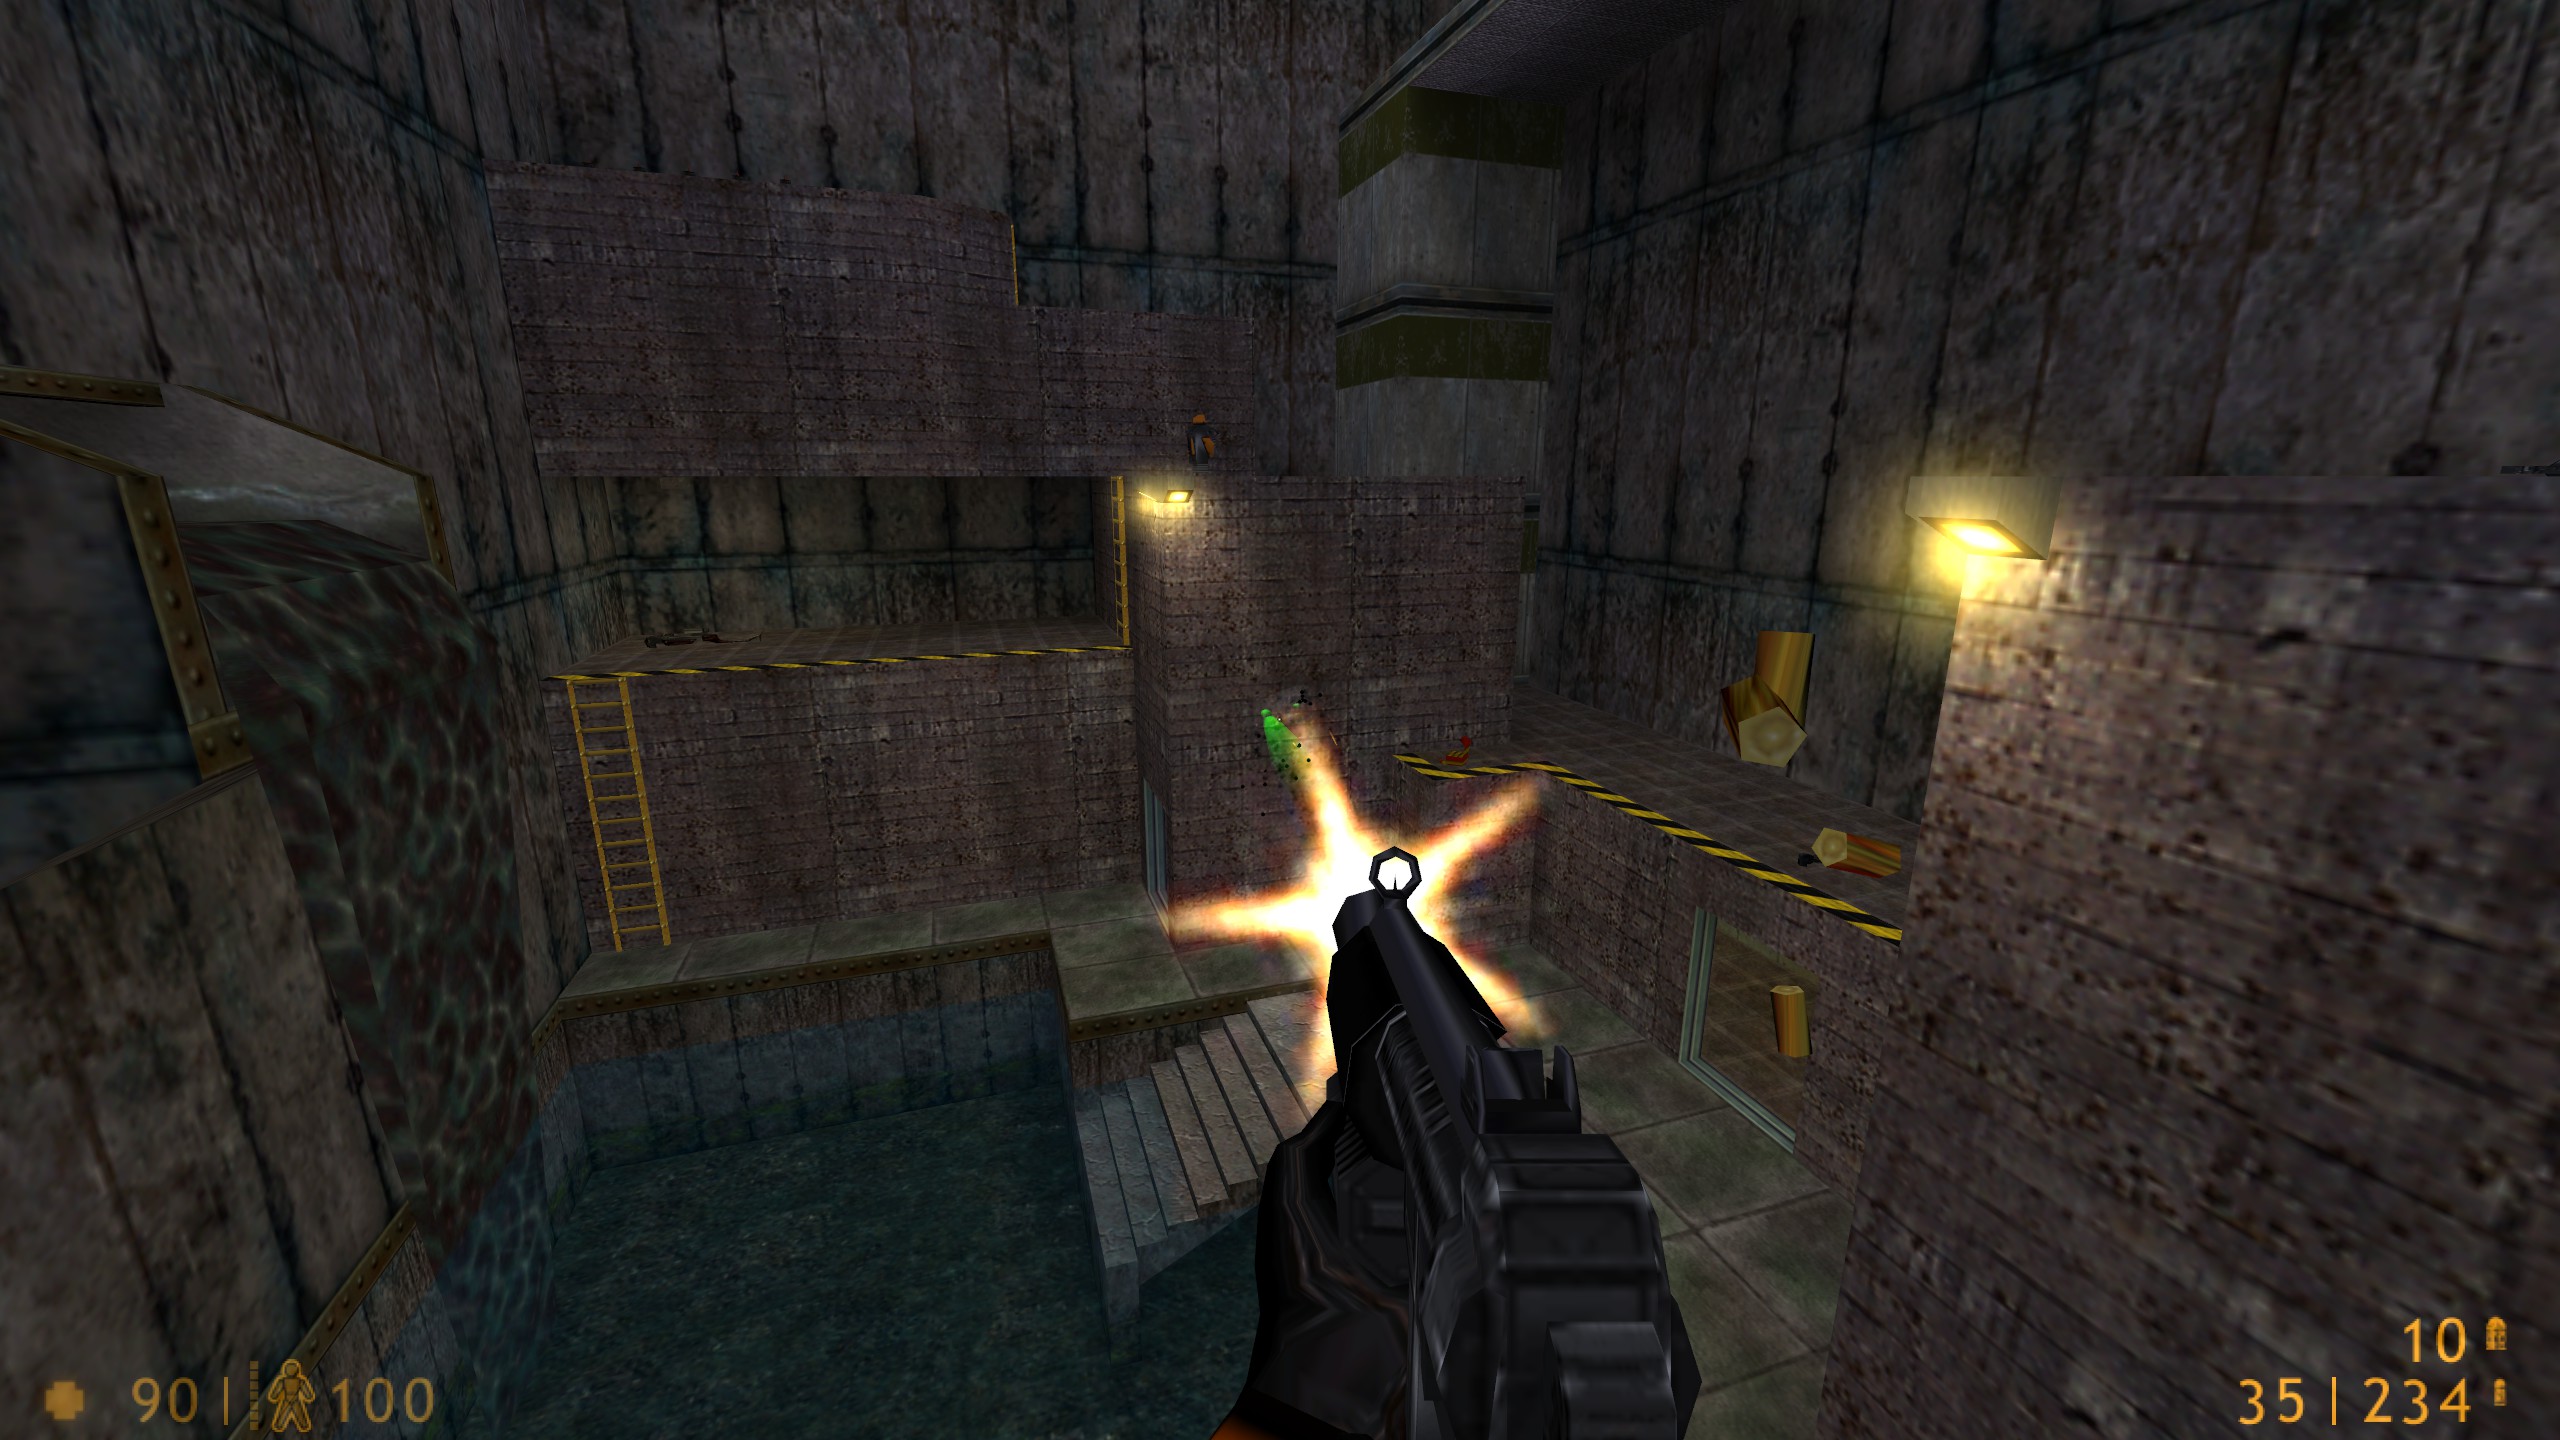
tracerred "0"
tracergreen "255"
tracerblue "0"
traceralpha "0.2"
traceroffset "3"
tracerlength "2"
tracerspeed "2000"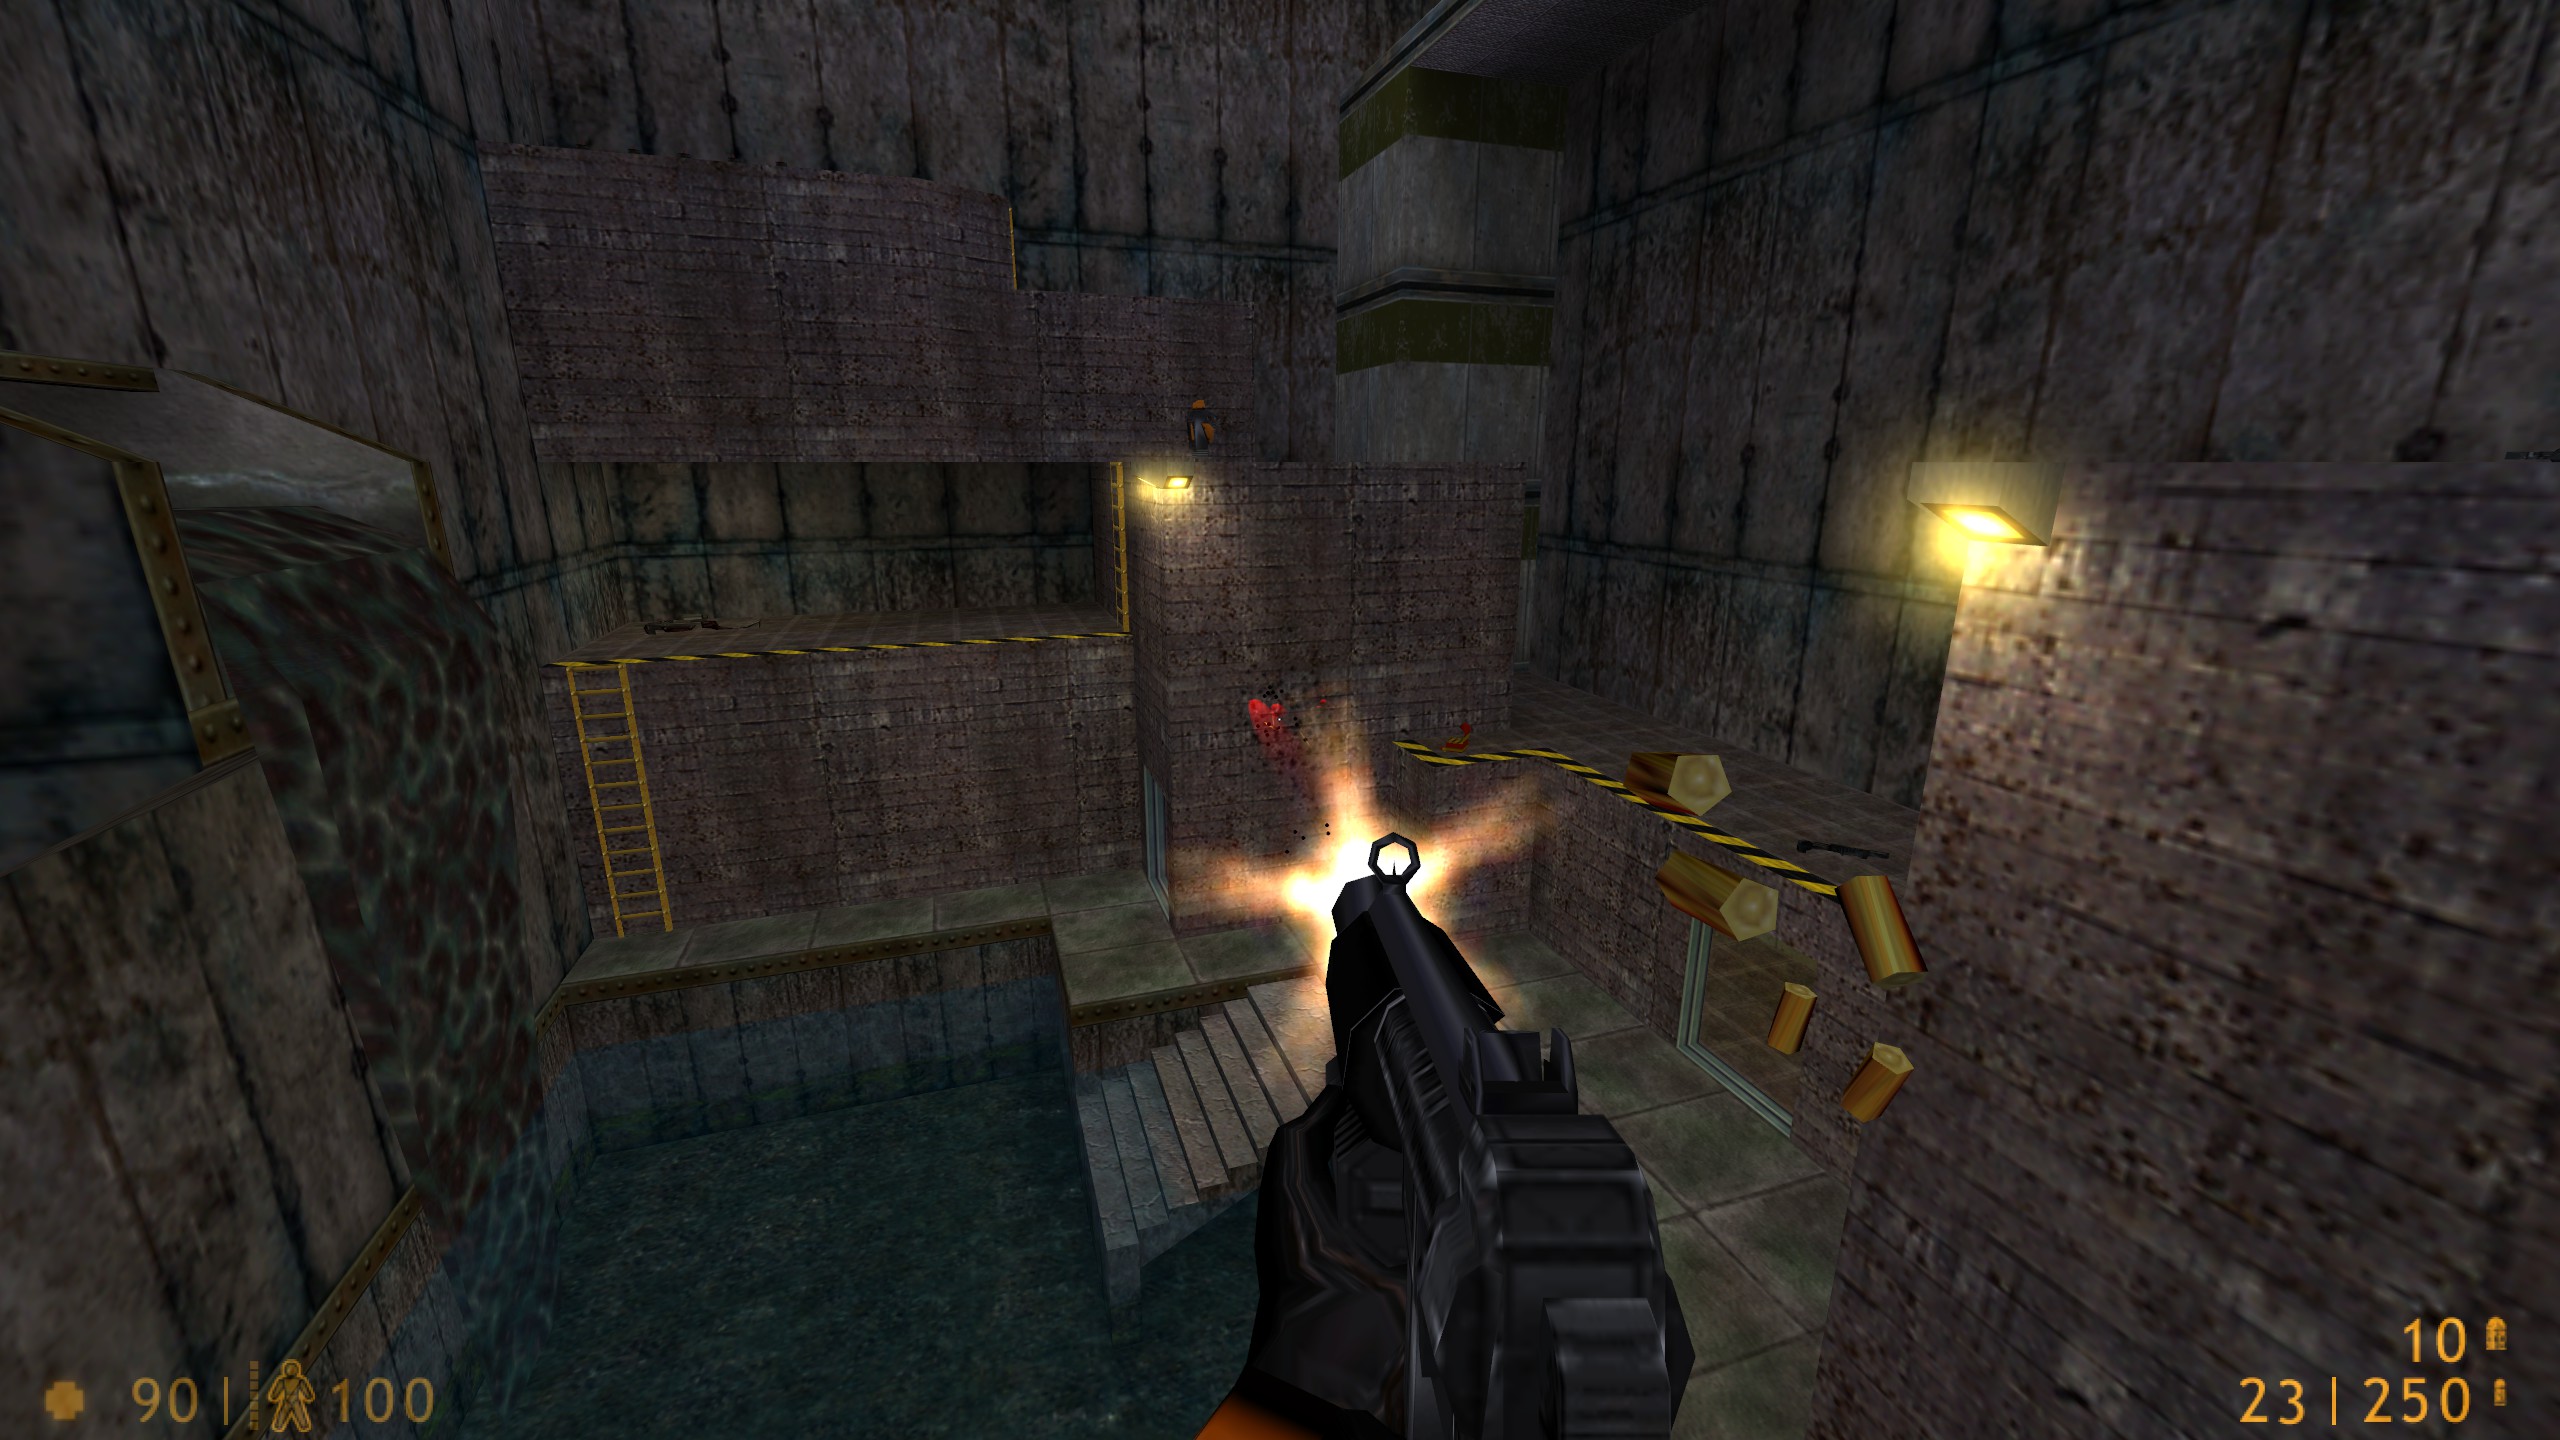
tracerred "255"
tracergreen "0"
tracerblue "0"
traceralpha "0.2"
traceroffset "3"
tracerlength "2"
tracerspeed "2000"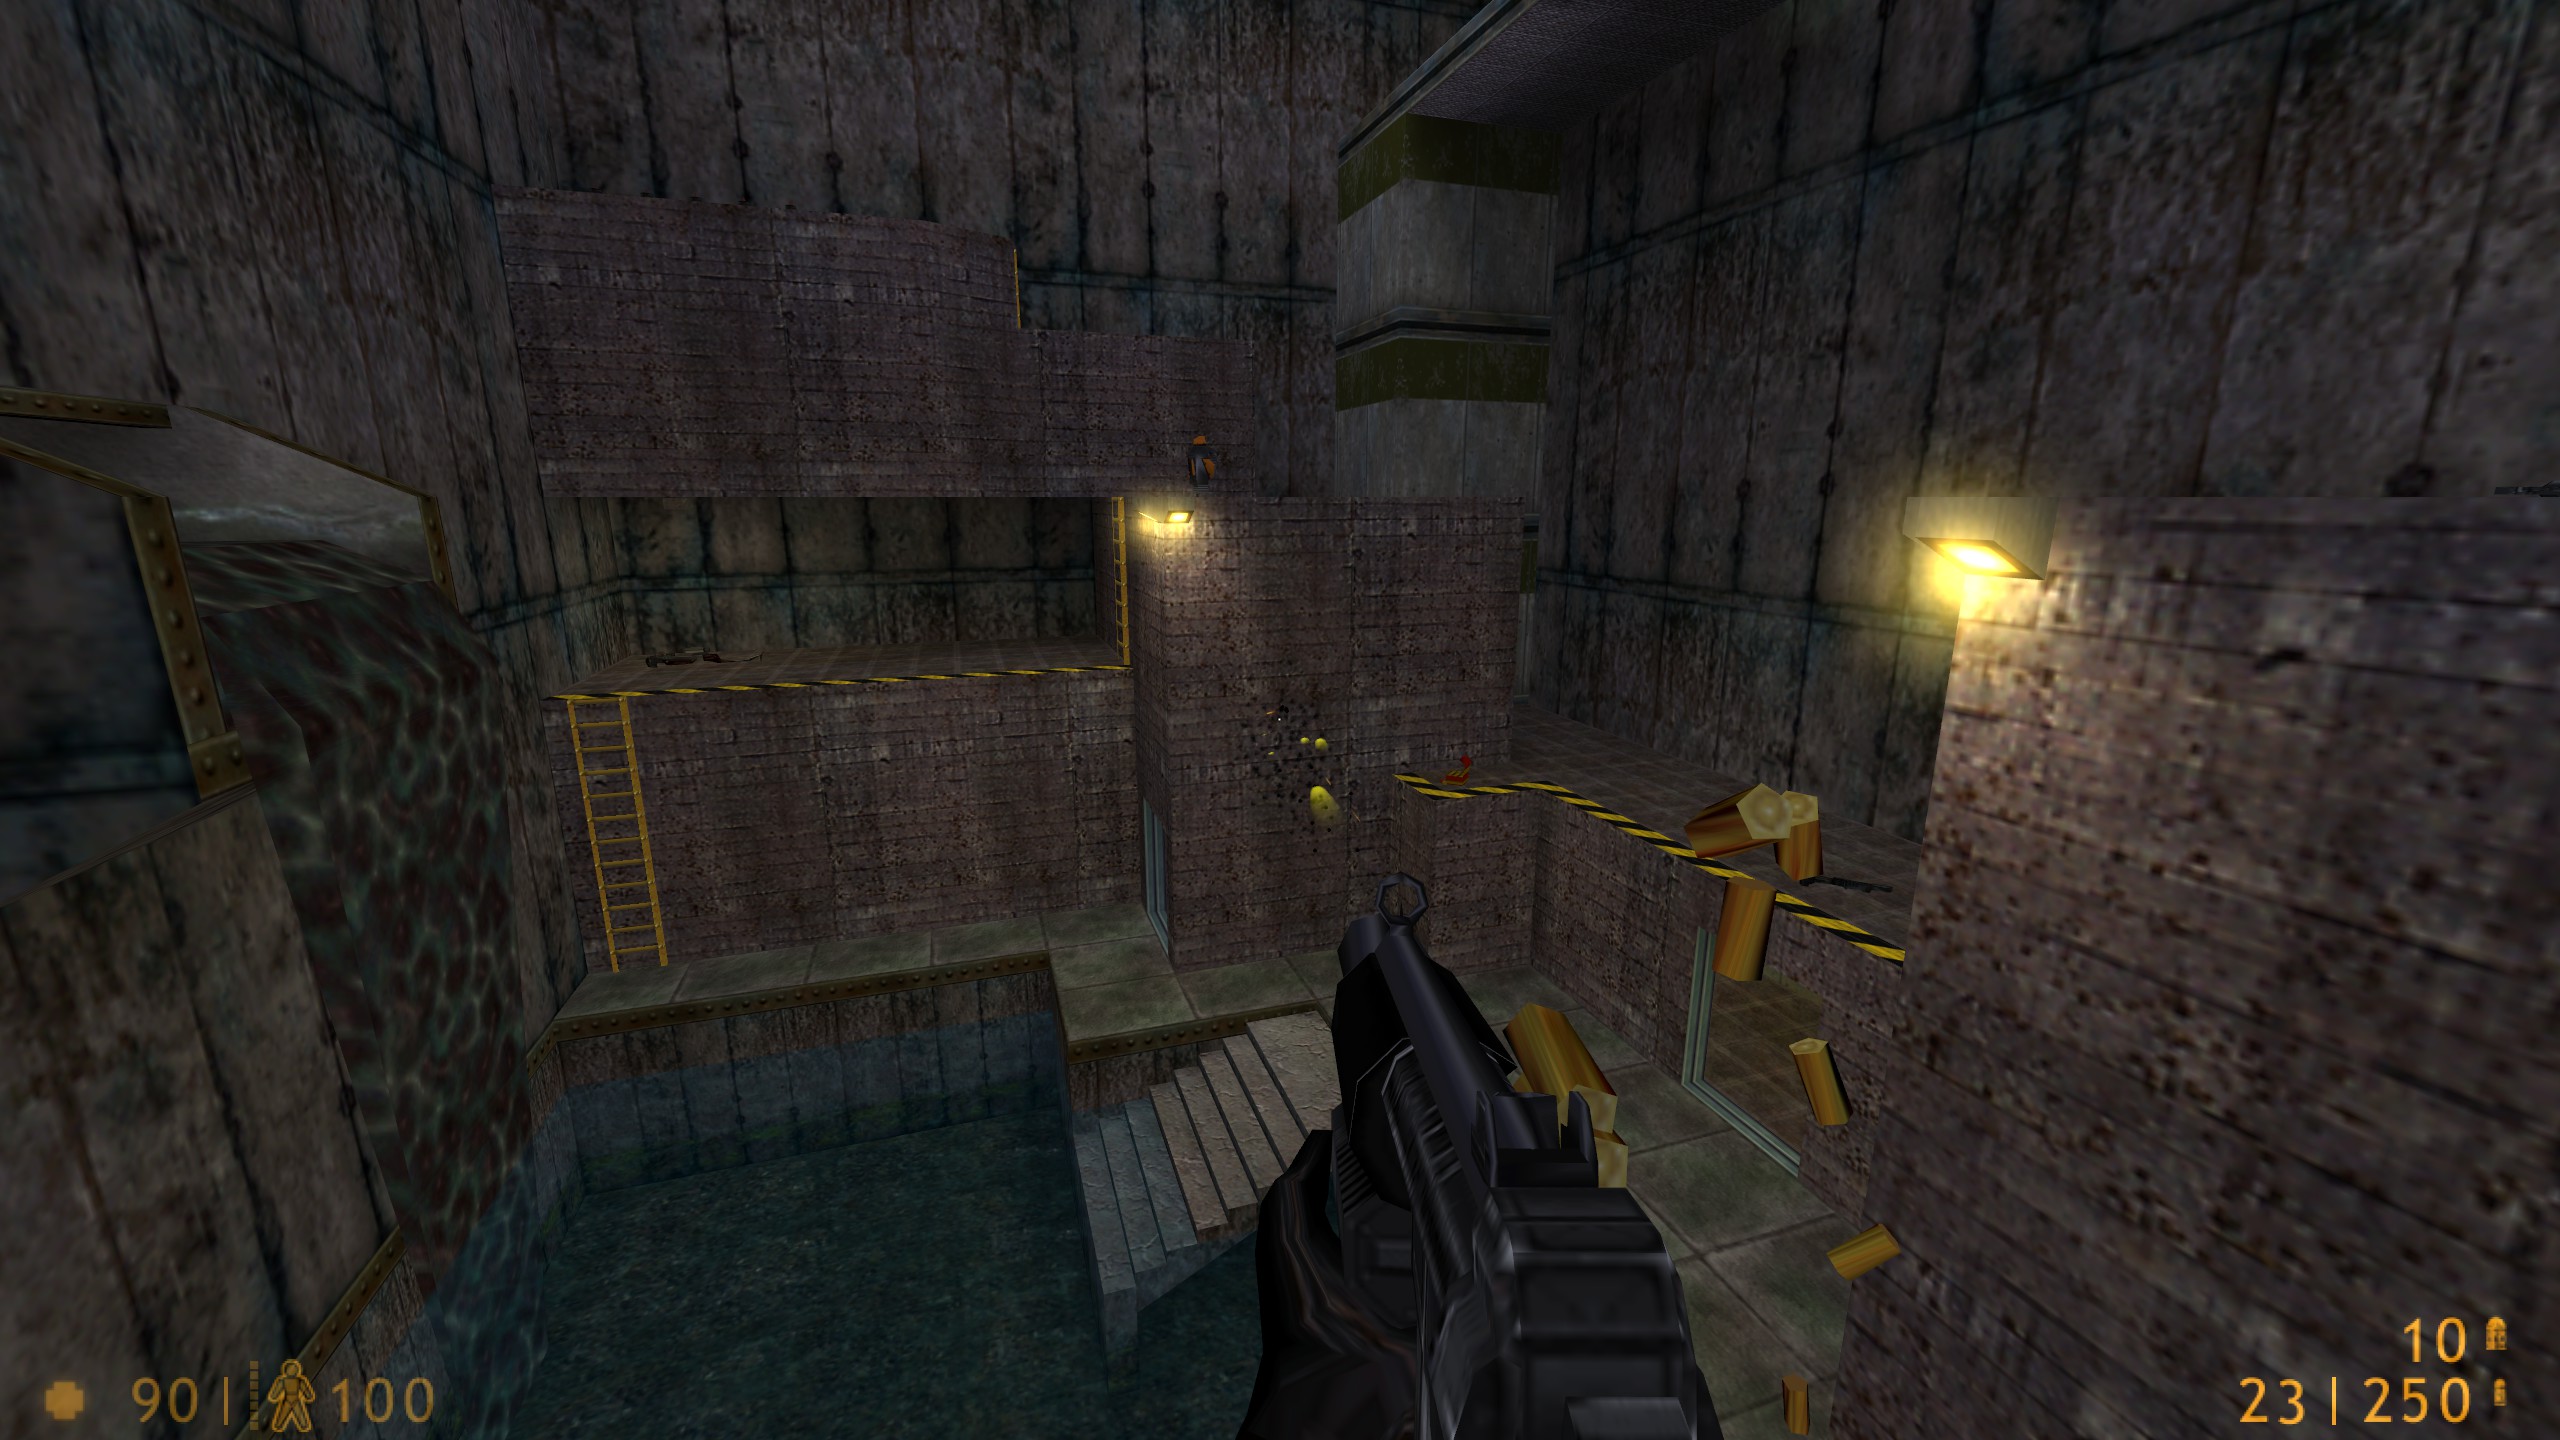
tracerred "255"
tracergreen "255"
tracerblue "0"
traceralpha "0.2"
traceroffset "3"
tracerlength "2"
tracerspeed "2000"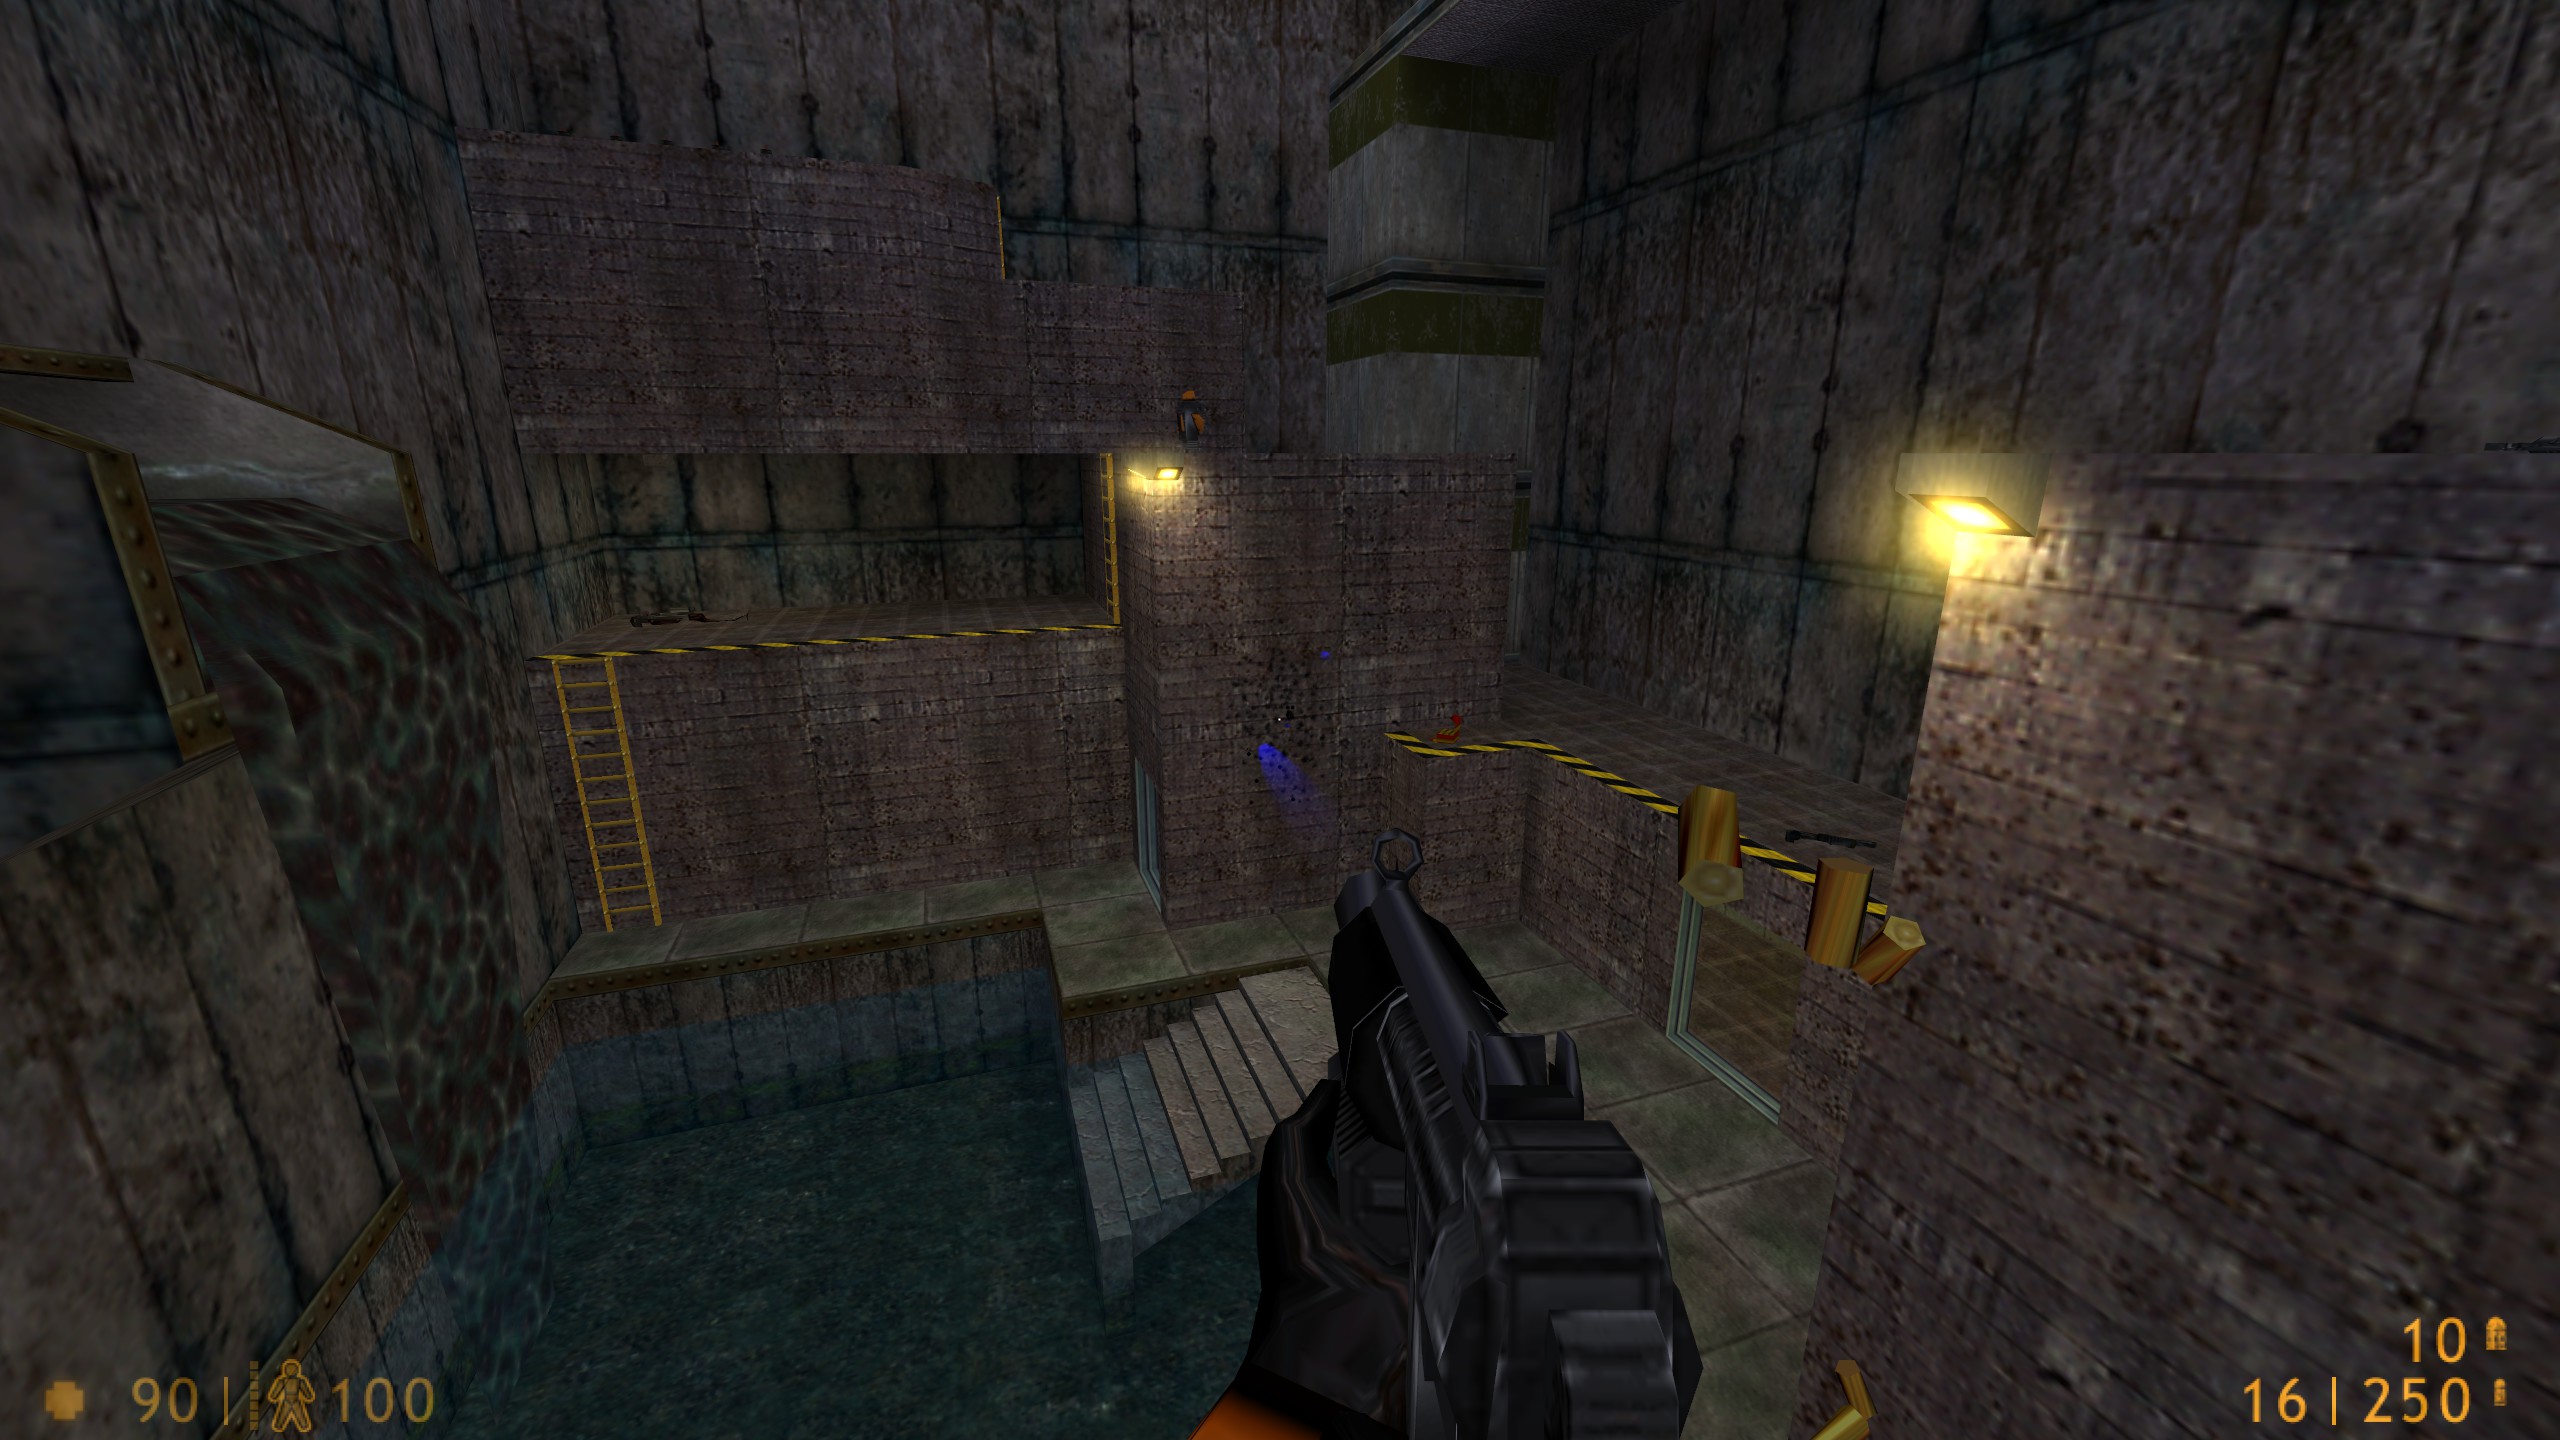
tracerred "0"
tracergreen "0"
tracerblue "255"
traceralpha "0.2"
traceroffset "3"
tracerlength "2"
tracerspeed "2000"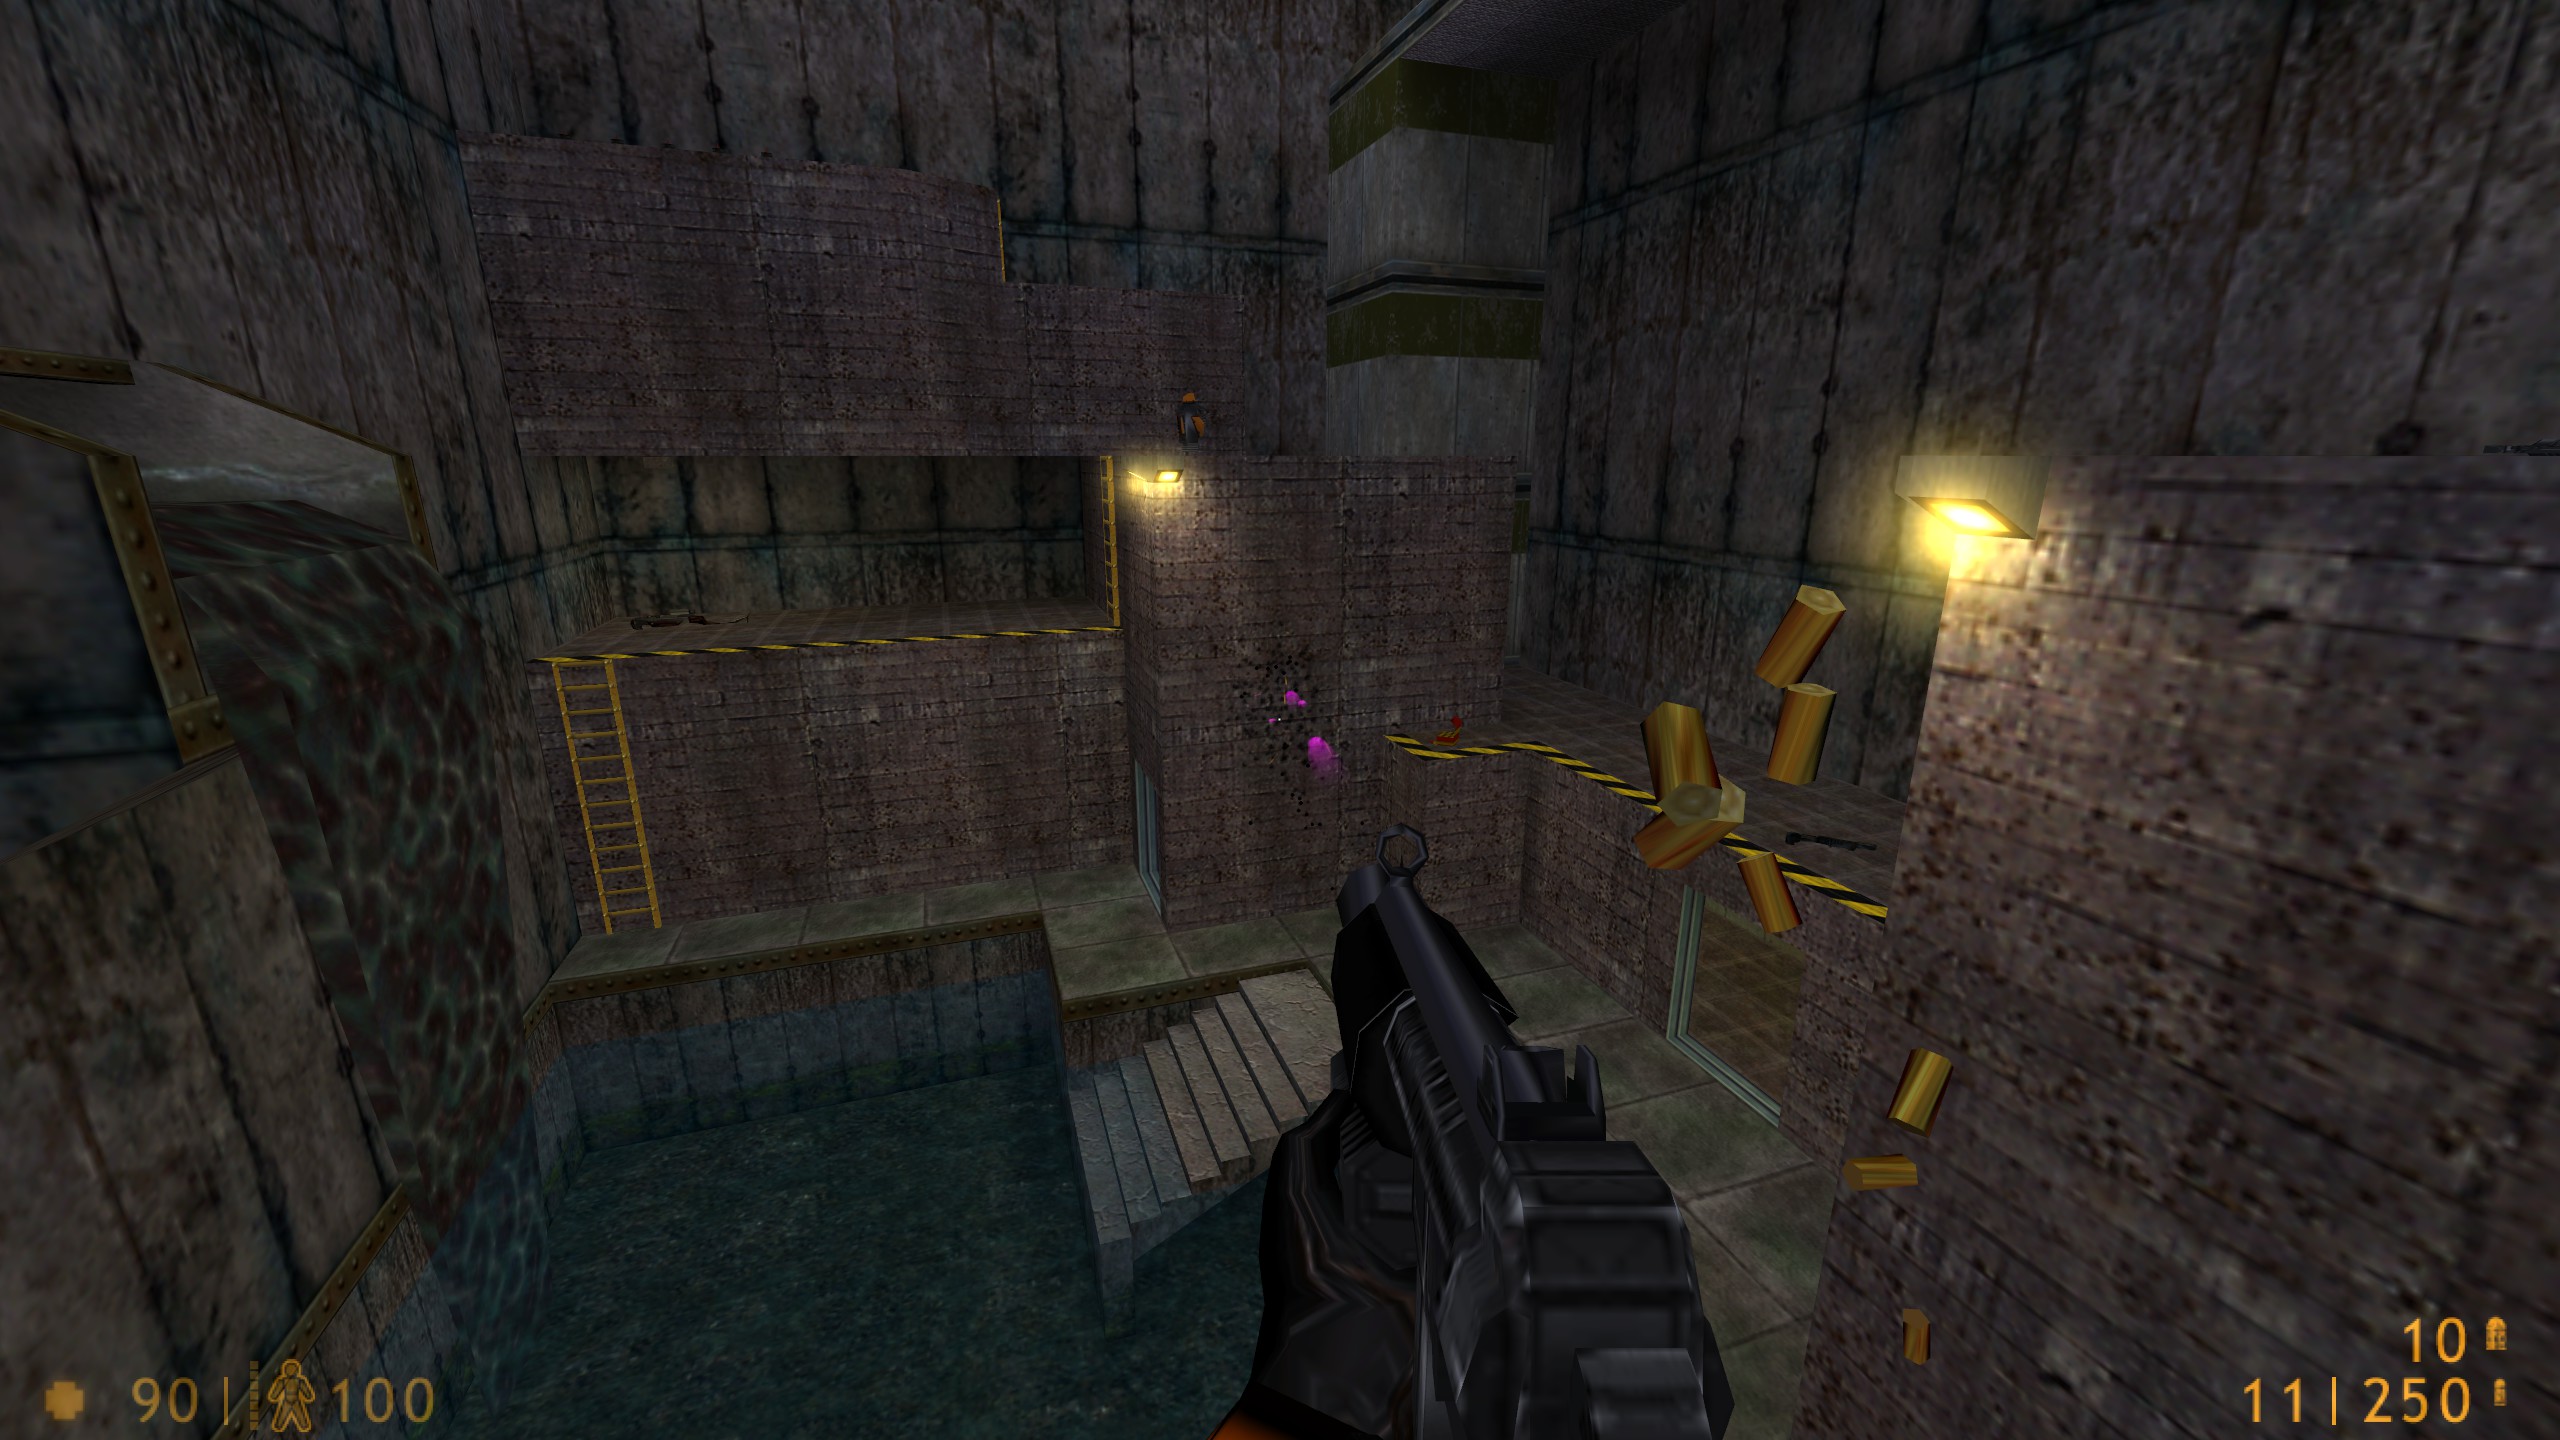
tracerred "255"
tracergreen "0"
tracerblue "255"
traceralpha "0.2"
traceroffset "3"
tracerlength "2"
tracerspeed "2000"
Step 4: Applying Settings
To apply settings, open the console (~) in Half-Life and type the commands. Example:
tracerred "0"
tracergreen "255"
tracerblue "255"
traceralpha "0.3"
You can also add these to userconfig.cfg for automatic loading each time you launch the game.
Fun Fact
Did you know that adding these tracer commands to your userconfig.cfg in Counter-Strike 1.6 will also change the colour of the sparks when bullets hit a wall?
Summary
- Adjustable colour via RGB values
- Transparency range:
0.0(invisible) to1.0(solid) - Length and speed are fully customizable
- Works in Half-Life and somewhat in Counter-Strike 1.6
- Settings can be stored in
userconfig.cfg


