Custom sprays, sometimes referred to as logos or decals, allow you to leave your own image on walls and other surfaces in Half-Life. This guide explains how to prepare a colour image, convert it into the correct decal WAD format and use it in game.
I have also covered the important technical details such as image dimensions, palette setup, transparency and some of the more common problems you may run into.
Older Half-Life guides often refer to pldecal.wad, while some newer installations and tools may use tempdecal.wad. Use whichever filename and location are required by your own Half-Life installation, mod or logo creation tool.
Step 1: Prepare Your Image
Before converting the image, it needs to be prepared correctly. Half-Life colour sprays are more flexible than you might expect, but there are still a few engine limits to keep in mind.
Your image can be square or rectangular, but both the width and height should be divisible by 16. As a general rule, the total image area should not exceed 12288 pixels.
Simple artwork usually works better than very detailed images, particularly once the image has been reduced to the limited colour palette used by Half-Life.
You can prepare the image using Photoshop, GIMP, Paint.NET or another image editor. Crop and resize it carefully so that the final dimensions remain valid.
If you want transparent areas in the spray, use pure blue with the value:
RGB 0, 0, 255The finished image should be saved as an 8 bit, 256 colour BMP. If you are using transparency, make sure the pure blue colour is included in the palette. When using Wally, the pure blue transparency entry should be the final colour in the palette.
Valid Spray Size Chart
The chart below follows the classic community rule of thumb. If both dimensions are divisible by 16 and the total area does not exceed 12288 pixels, the size should normally be valid.
| Pixels | 16 | 32 | 48 | 64 | 80 | 96 | 112 | 128 | 144 | 160 | 176 | 192 | 208 | 224 | 240 | 256 |
|---|---|---|---|---|---|---|---|---|---|---|---|---|---|---|---|---|
| 16 | YES | YES | YES | YES | YES | YES | YES | YES | YES | YES | YES | YES | YES | YES | YES | YES |
| 32 | YES | YES | YES | YES | YES | YES | YES | YES | YES | YES | YES | YES | YES | YES | YES | YES |
| 48 | YES | YES | YES | YES | YES | YES | YES | YES | YES | YES | YES | YES | YES | YES | YES | YES |
| 64 | YES | YES | YES | YES | YES | YES | YES | YES | YES | YES | YES | YES | NO | NO | NO | NO |
| 80 | YES | YES | YES | YES | YES | YES | YES | YES | YES | NO | NO | NO | NO | NO | NO | NO |
| 96 | YES | YES | YES | YES | YES | YES | YES | YES | NO | NO | NO | NO | NO | NO | NO | NO |
| 112 | YES | YES | YES | YES | YES | YES | NO | NO | NO | NO | NO | NO | NO | NO | NO | NO |
| 128 | YES | YES | YES | YES | YES | YES | NO | NO | NO | NO | NO | NO | NO | NO | NO | NO |
| 144 | YES | YES | YES | YES | YES | NO | NO | NO | NO | NO | NO | NO | NO | NO | NO | NO |
| 160 | YES | YES | YES | YES | NO | NO | NO | NO | NO | NO | NO | NO | NO | NO | NO | NO |
| 176 | YES | YES | YES | YES | NO | NO | NO | NO | NO | NO | NO | NO | NO | NO | NO | NO |
| 192 | YES | YES | YES | YES | NO | NO | NO | NO | NO | NO | NO | NO | NO | NO | NO | NO |
| 208 | YES | YES | YES | NO | NO | NO | NO | NO | NO | NO | NO | NO | NO | NO | NO | NO |
| 224 | YES | YES | YES | NO | NO | NO | NO | NO | NO | NO | NO | NO | NO | NO | NO | NO |
| 240 | YES | YES | YES | NO | NO | NO | NO | NO | NO | NO | NO | NO | NO | NO | NO | NO |
| 256 | YES | YES | YES | NO | NO | NO | NO | NO | NO | NO | NO | NO | NO | NO | NO | NO |
As a quick rule, if the width and height are both multiples of 16 and the total area is no more than 12288 pixels, the spray should normally be valid.
Step 2: Convert the Image to a Decal WAD
Once the image has been prepared, it needs to be converted into a Half-Life decal WAD file. There are a couple of easy ways to do this.
Using Wally
- – Wally texture and WAD editor
Open Wally and choose Wizard → HL Color Decal. Select your Half-Life directory and the appropriate game or mod folder.
You can then import the prepared image, or copy the complete image from your image editor and paste it into Wally.
Make sure the decal is named:
{LOGOIf you are using transparency, also check that the final palette entry is pure blue:
RGB 0, 0, 255Once everything looks correct, save the finished decal file.
Using HL Logo Creator
- – simple logo conversion tool
HL Logo Creator provides a simpler alternative if you do not want to edit the WAD manually.
Load your prepared BMP image into the program, allow it to convert the image and save the result using the filename required by your Half-Life installation.
Step 3: Place the Spray in Half-Life
Open the folder for the game or mod in which you want to use the spray. A typical Half-Life installation might be found at:
C:\Program Files\Steam\steamapps\common\Half-Life\valveCopy the finished decal WAD into the appropriate game or mod folder.
If Half-Life keeps replacing your custom spray, you can set the finished decal file to read only. I would also recommend keeping a separate backup of the finished file somewhere outside the Half-Life folder.
Step 4: Test the Spray
Start Half-Life or the GoldSrc mod you are using and join a game. Press your normal spray key while looking at a wall or another suitable flat surface.
If you are testing on an online server, give the game a little time to upload the spray before assuming something has gone wrong. Some servers also disable custom spray uploads completely.
Animated Sprays
Animated colour sprays are possible, although they are subject to much tighter size limits than normal sprays.
In practice the effect is fairly limited. The animation normally plays only once, the frames move very quickly and there is not much room for a large number of frames. Static sprays are usually the better option unless you specifically want to experiment with animation.
Troubleshooting
If you can see a bright blue border around the spray, check that the pure blue transparency colour is the final palette entry and that the decal is named {LOGO when creating it with Wally.
If the spray appears washed out or mostly one colour, make sure the source image is an 8 bit, 256 colour BMP and that the pure blue transparency colour is present where required.
If the spray works locally but does not appear online, the server may have custom sprays disabled.
If Half-Life replaces your custom spray, avoid opening the customise menu after copying the decal into place and try setting the finished file to read only.
If the spray does not appear at all, check the image dimensions against the chart above and make sure the correct WAD file has been placed inside the correct game or mod folder.
Examples
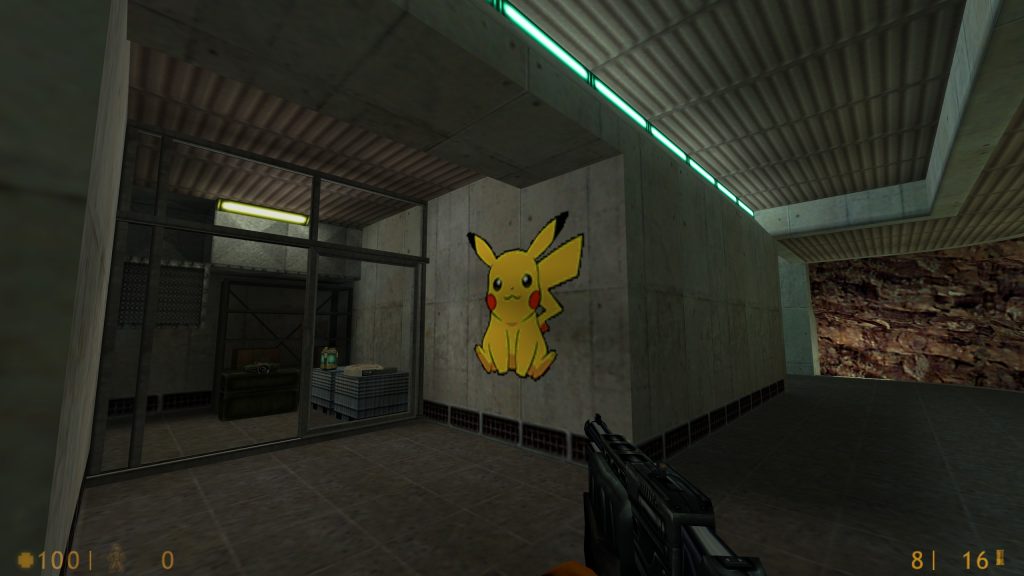
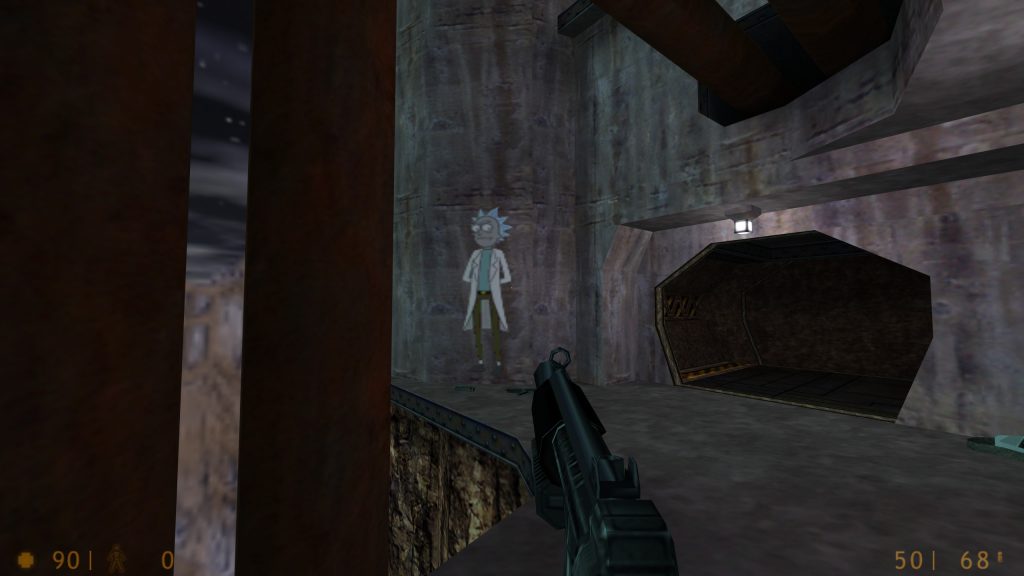
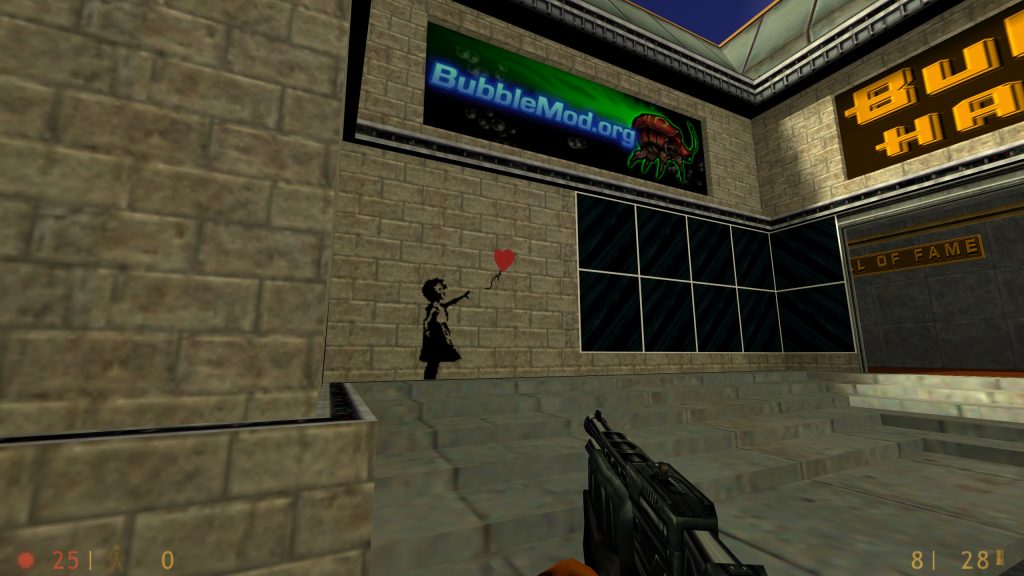
Examples from Cyber-Rat.com
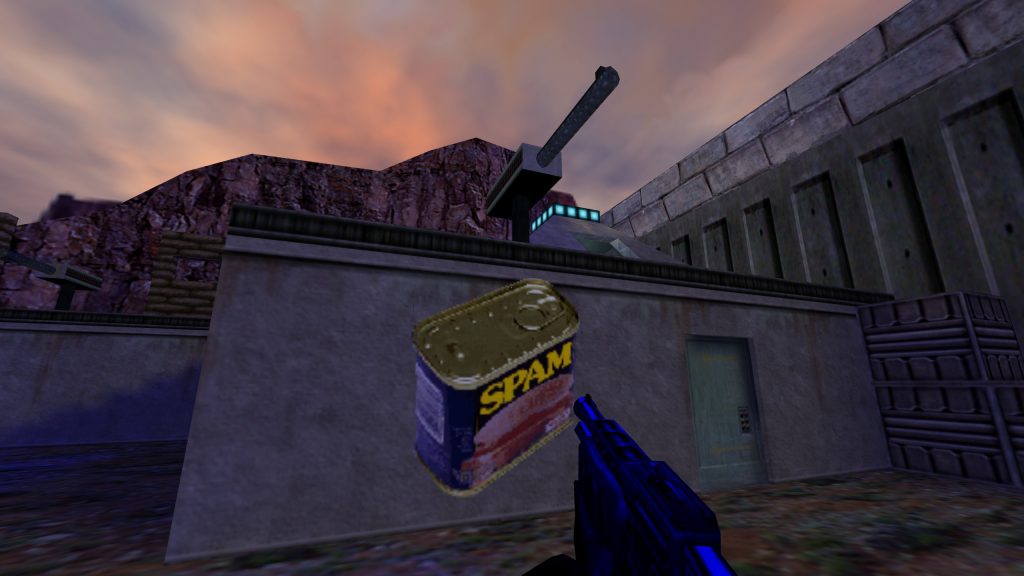
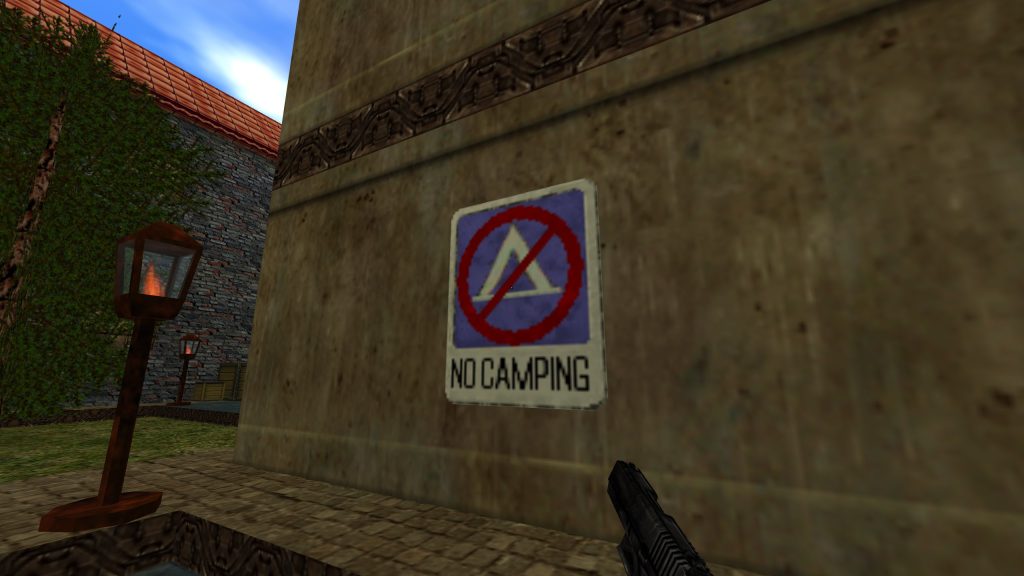
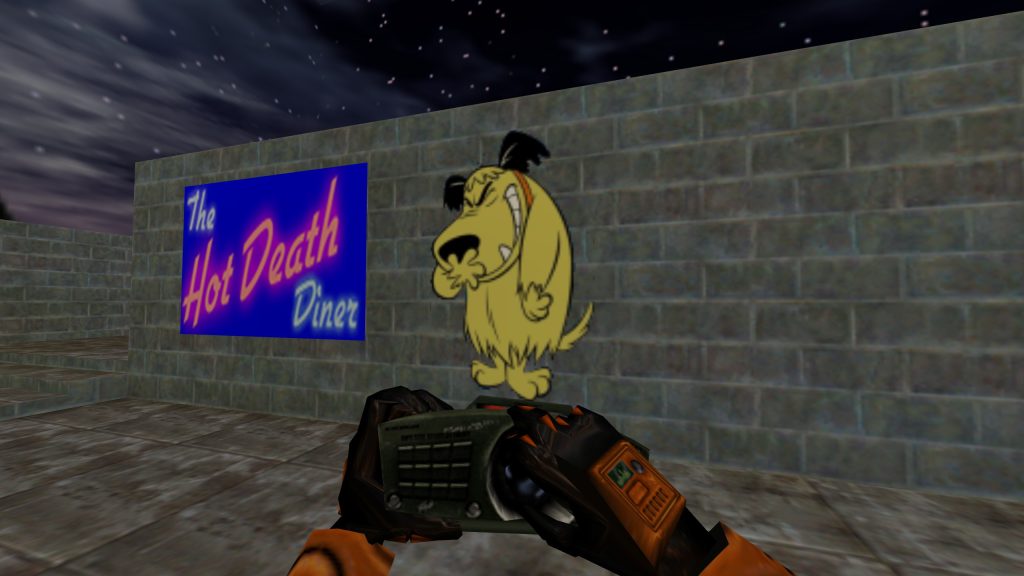
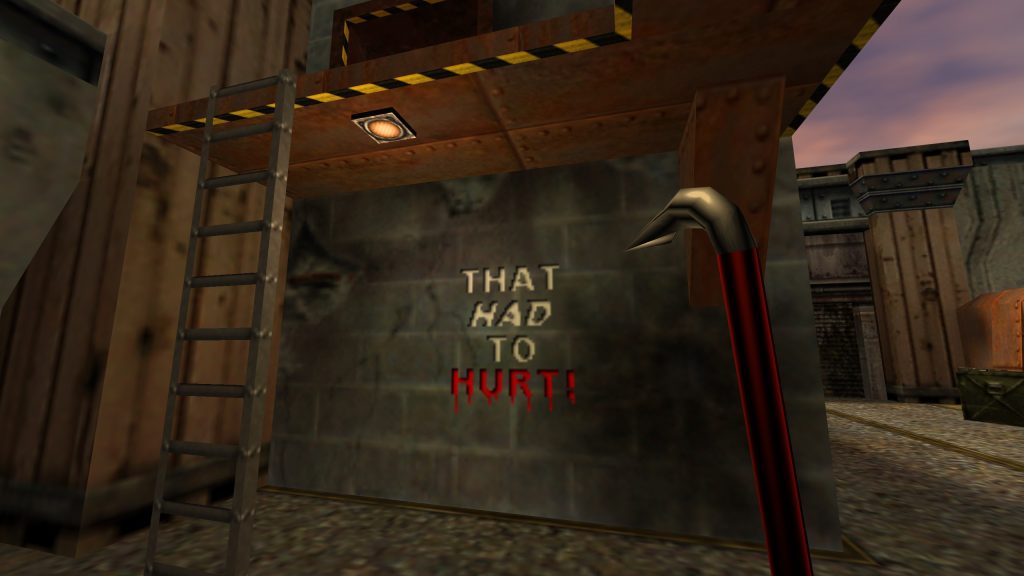
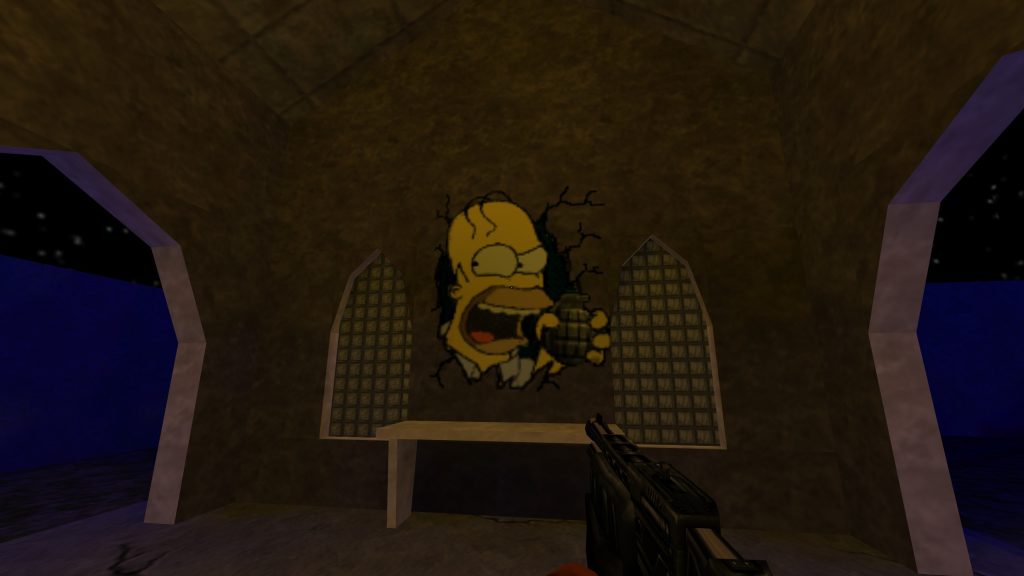
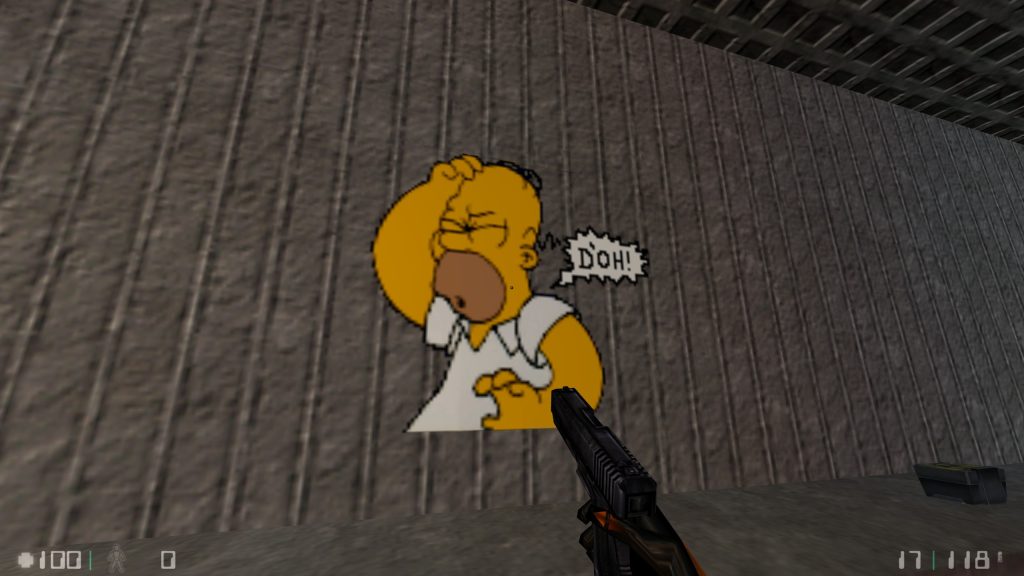
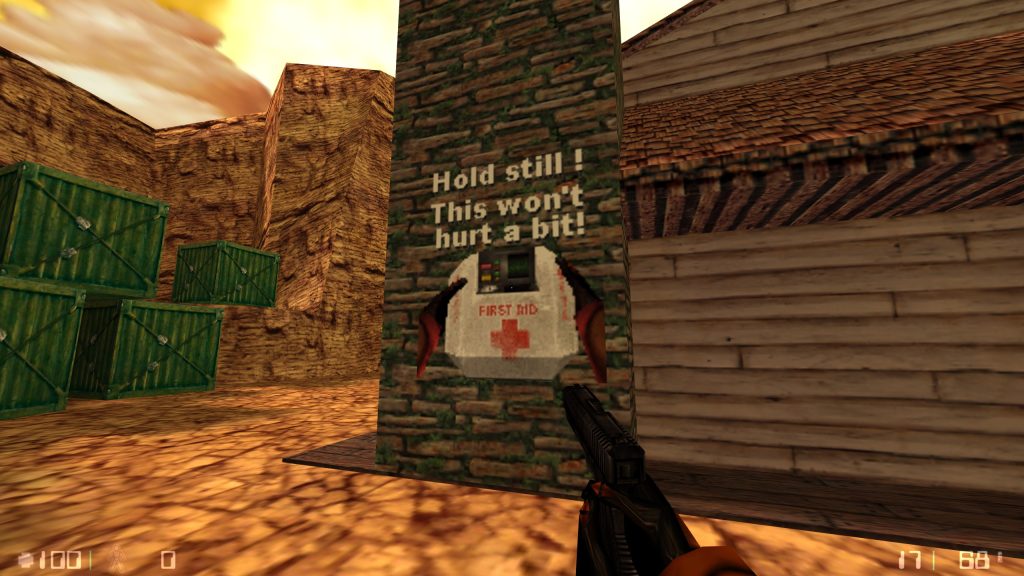
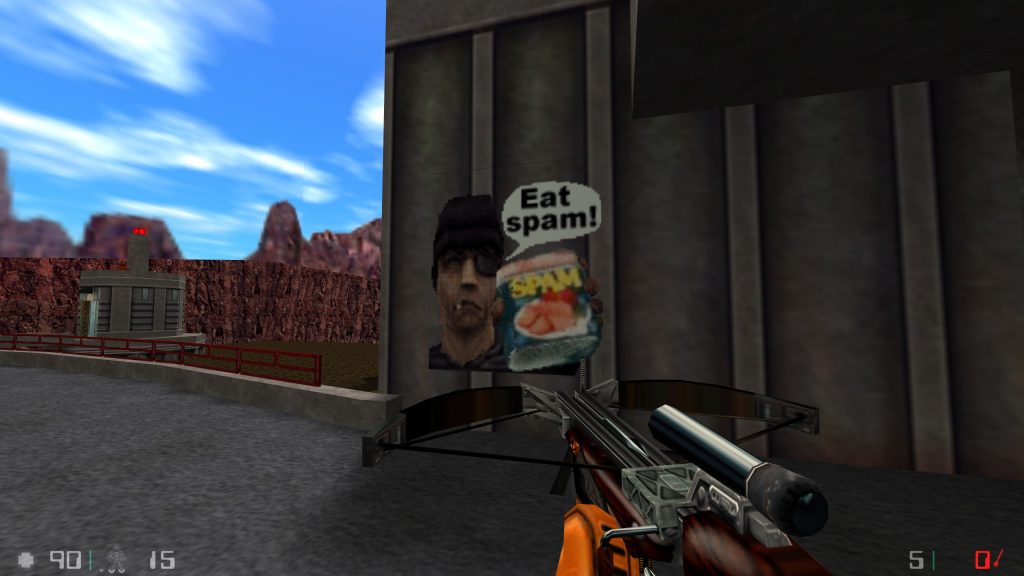
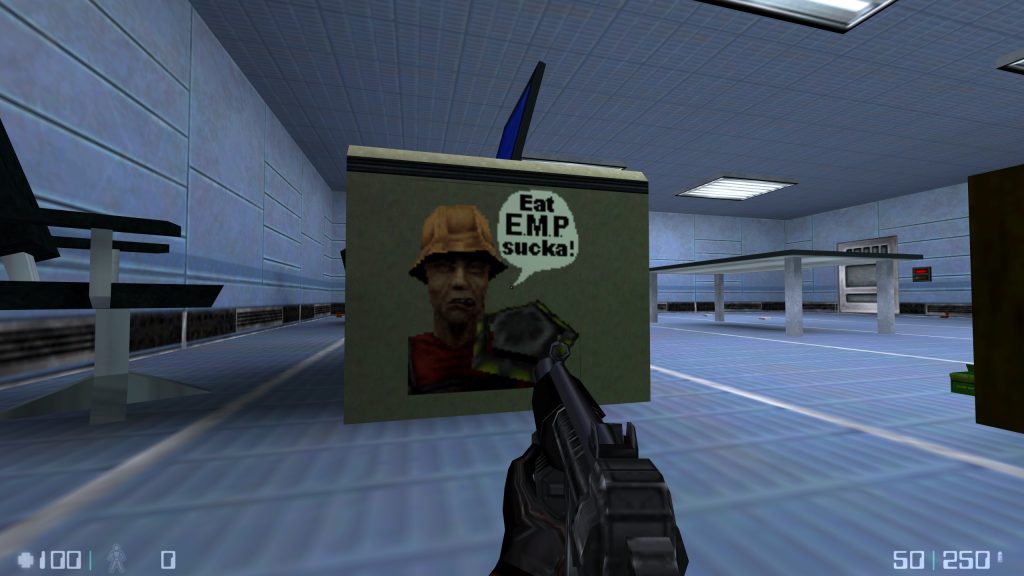
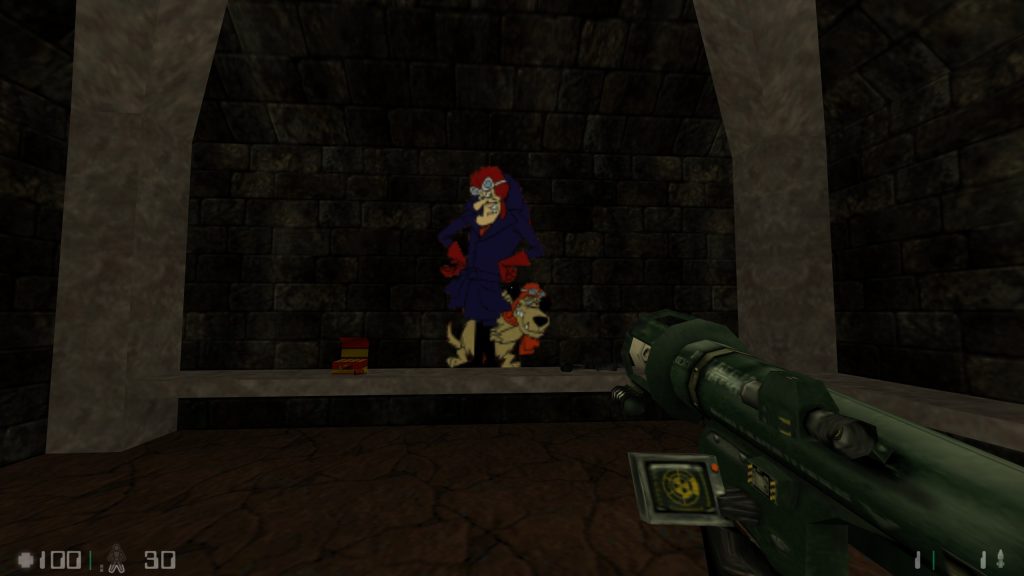
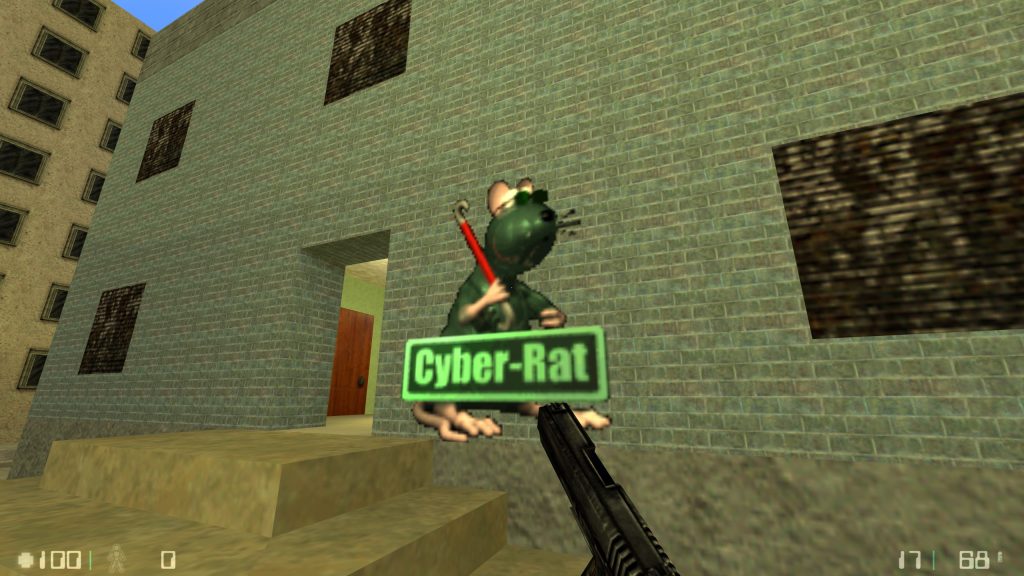
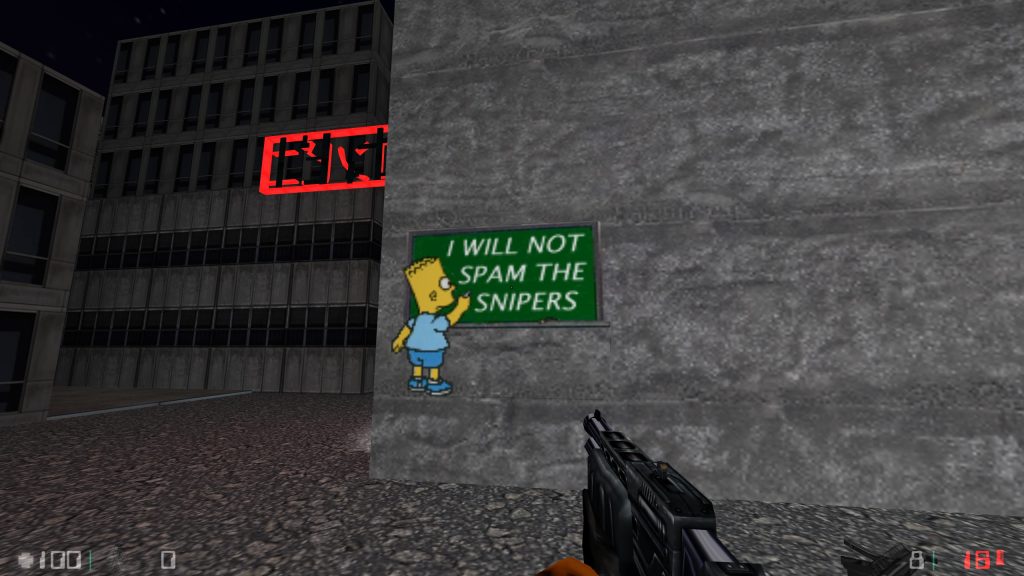
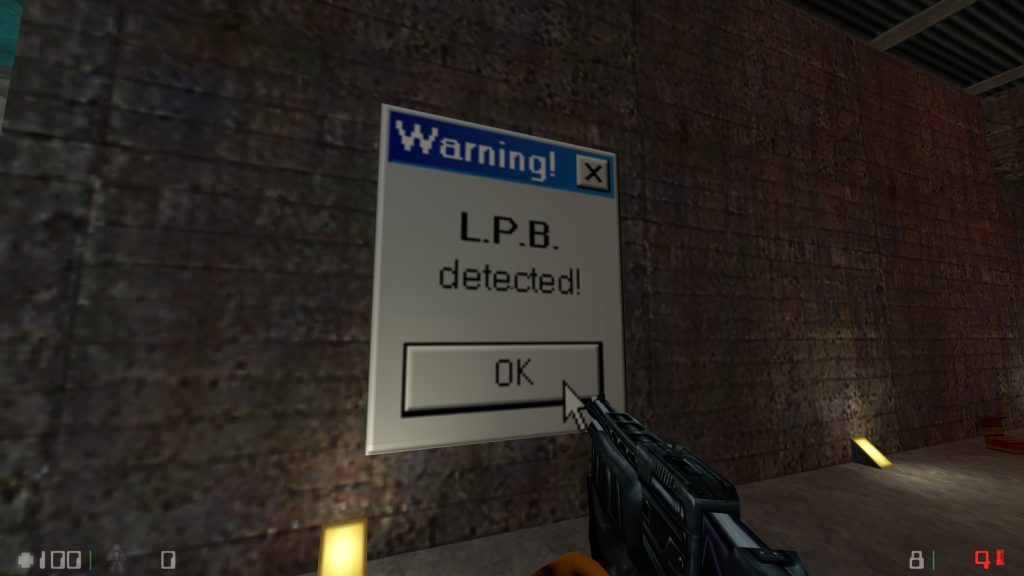
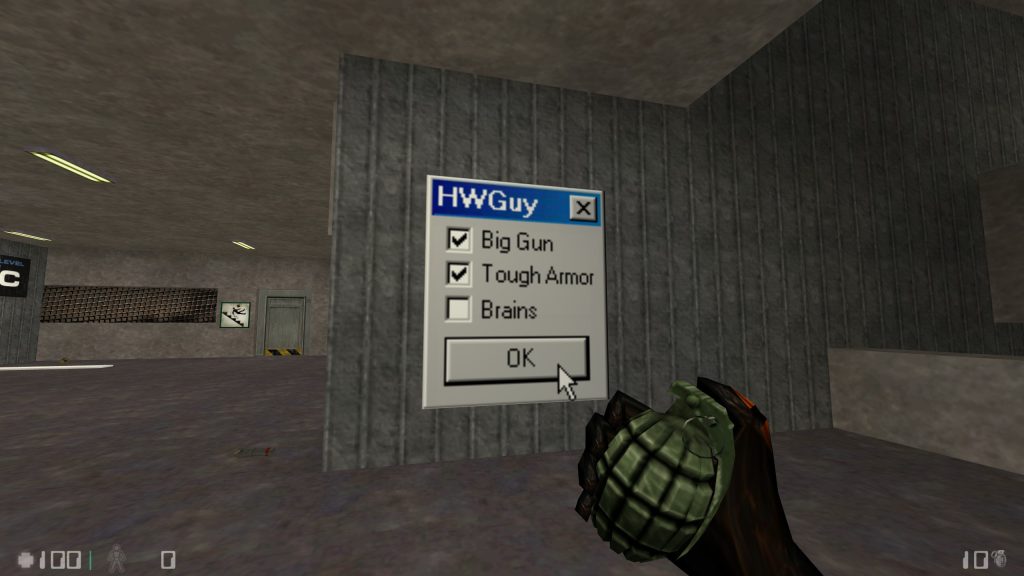
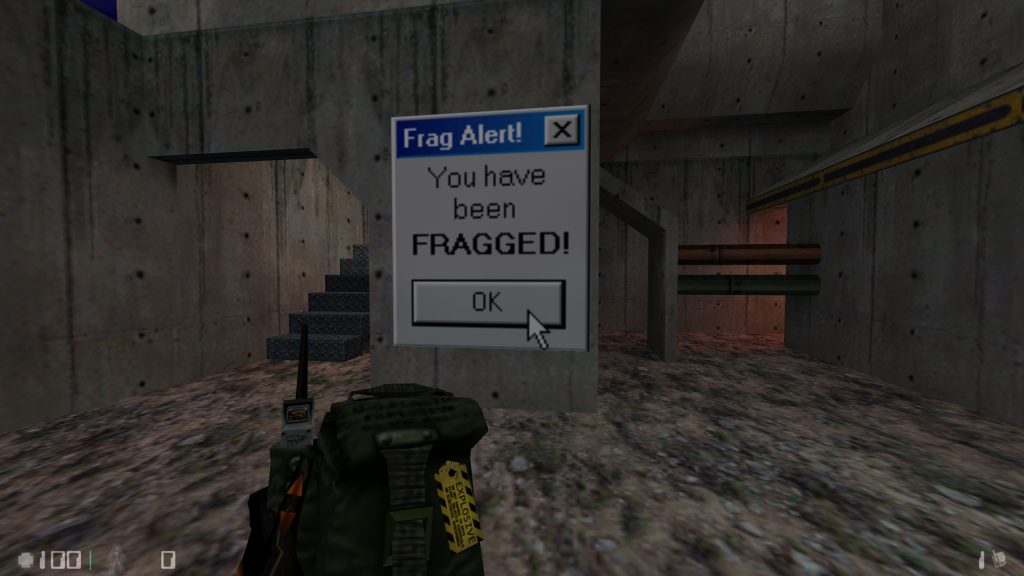
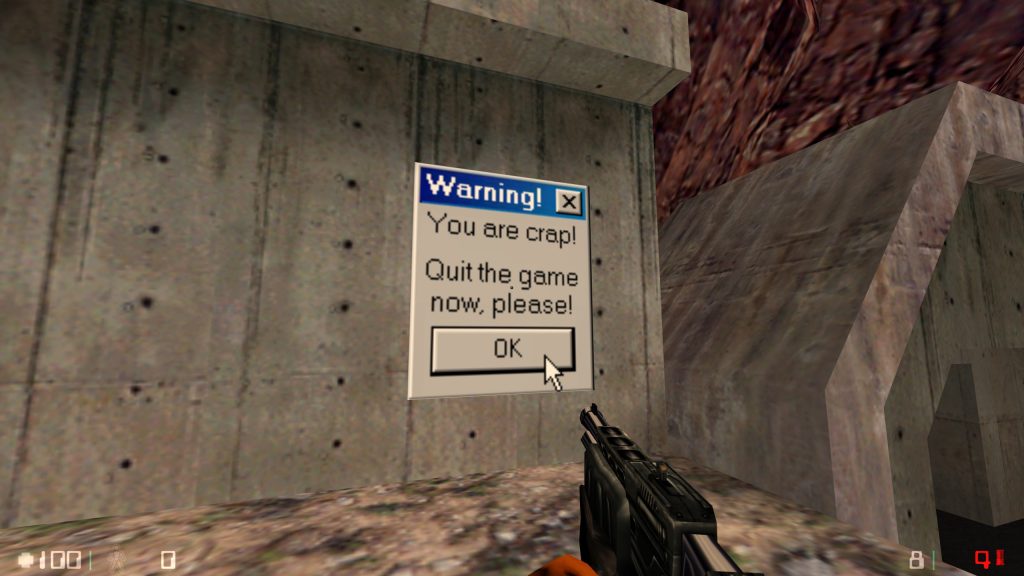
I have also preserved a collection of old Half-Life colour sprays from Cyber-Rat.com. These are a nice example of the sort of custom logos that were common on Half-Life and Team Fortress Classic servers in the early days of the community.
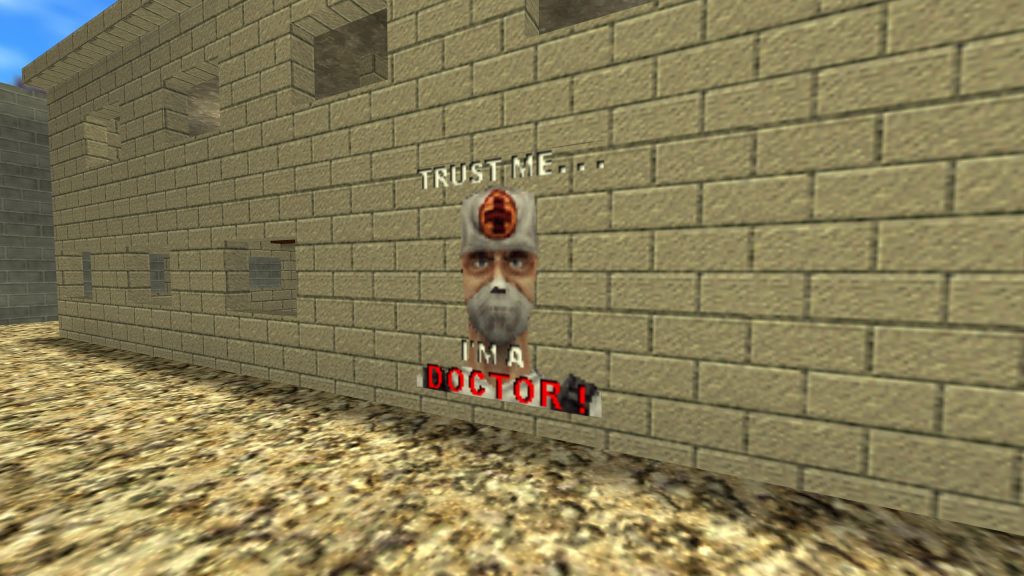
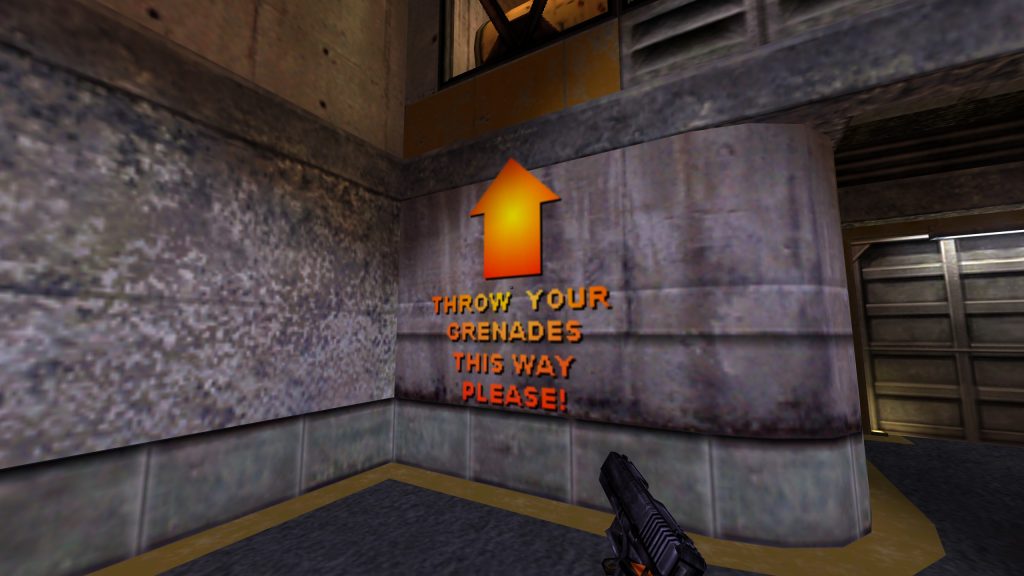
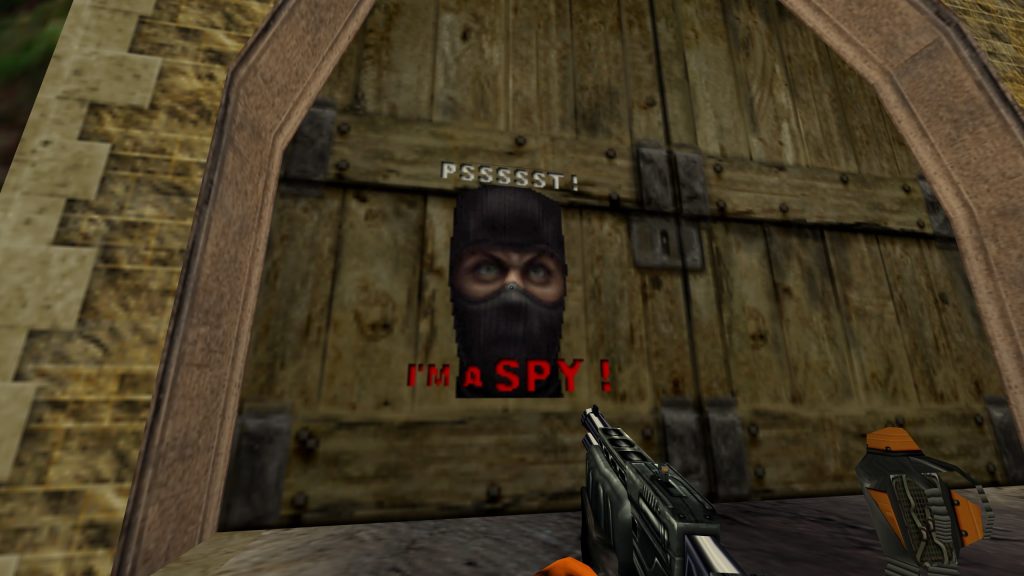
Downloads
- – Hello Pikachu!
- – Dr. Sanchez!
- – Banksy artwork!
Cyber-Rat.com Downloads
- – You Are Crap!
- – Fragged
- – Insulting HW Guys
- – Low Ping Bastard… aren’t we all these days?
- – I will not spam the snipers
- – Cyber-Rat.com
- – Dick Dastardly
- – Eat EMP
- – Eat Spam!
- – Hold still! This won’t hurt a bit!
- – Doh!
- – Here’s Homer!!!
- – That Had to Hurt!
- – Mutley
- – No Camping!
- – Spam!
- – Pssssst! I’m a Spy!
- – Throw your grenades this way please!
- – Trust Me… I’m a Doctor
Summary
- Use image dimensions which are divisible by 16
- Keep the total image area within 12288 pixels
- Save the source image as an 8 bit, 256 colour BMP
- Use pure blue
RGB 0, 0, 255for transparent areas - When using Wally, make sure the decal is named
{LOGO - Set the finished decal file to read only if Half-Life keeps replacing it
- Some servers may disable custom spray uploads