This texture pack replaces many of the stock Half-Life textures with higher resolution versions while keeping the original maps and gameplay unchanged. It is a simple way of giving the game a cleaner look without moving too far away from the original Half-Life style.
Maps which use their own custom WAD files will normally continue to use those textures, so the biggest difference will be seen on the original Half-Life maps and other maps which make use of the standard texture sets.
Downloads
- – HD textures and WAD files
Examples
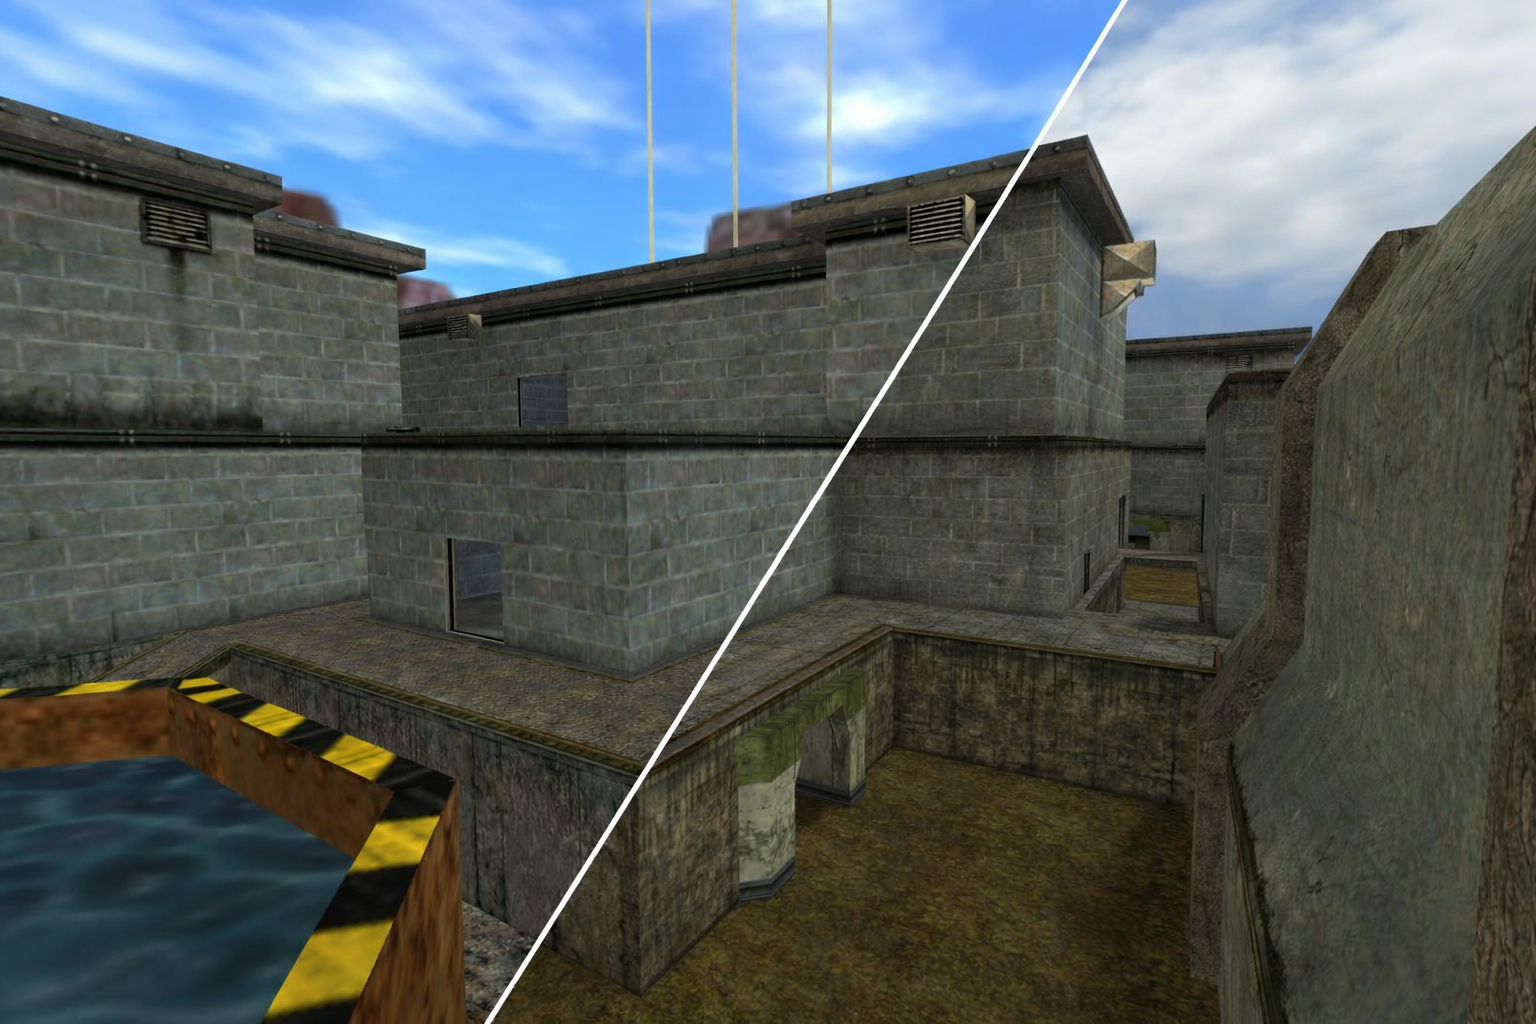
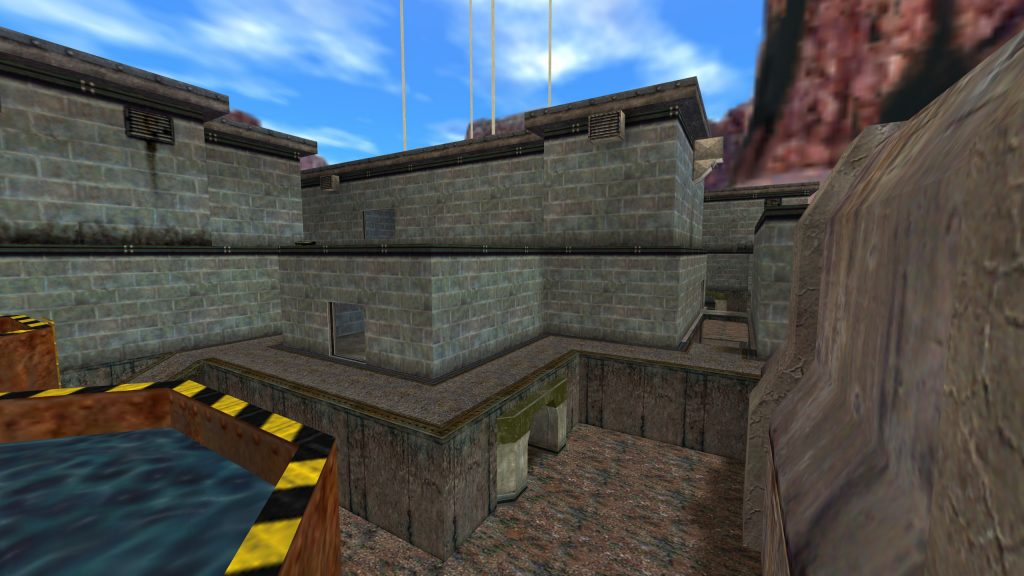
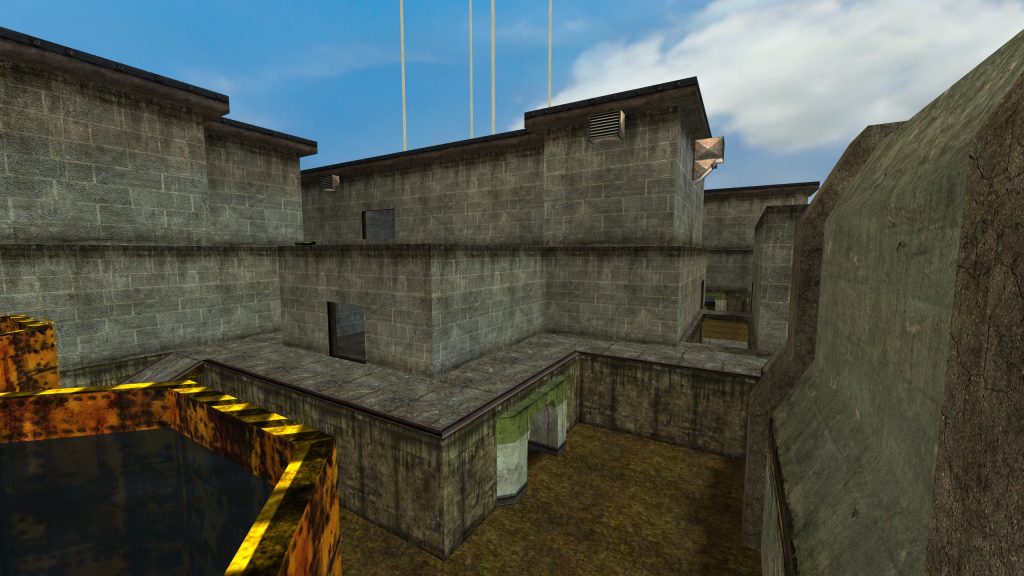
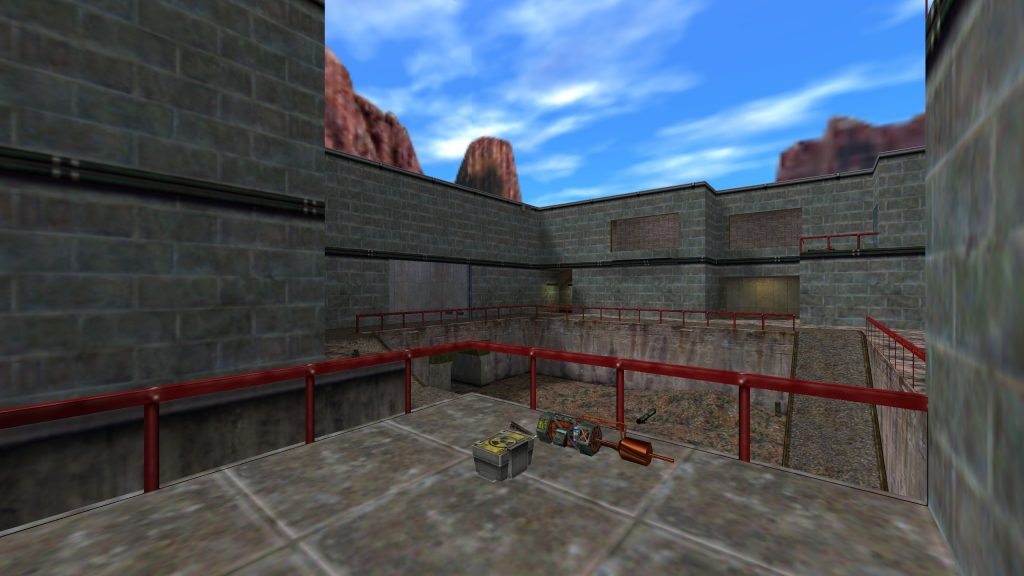
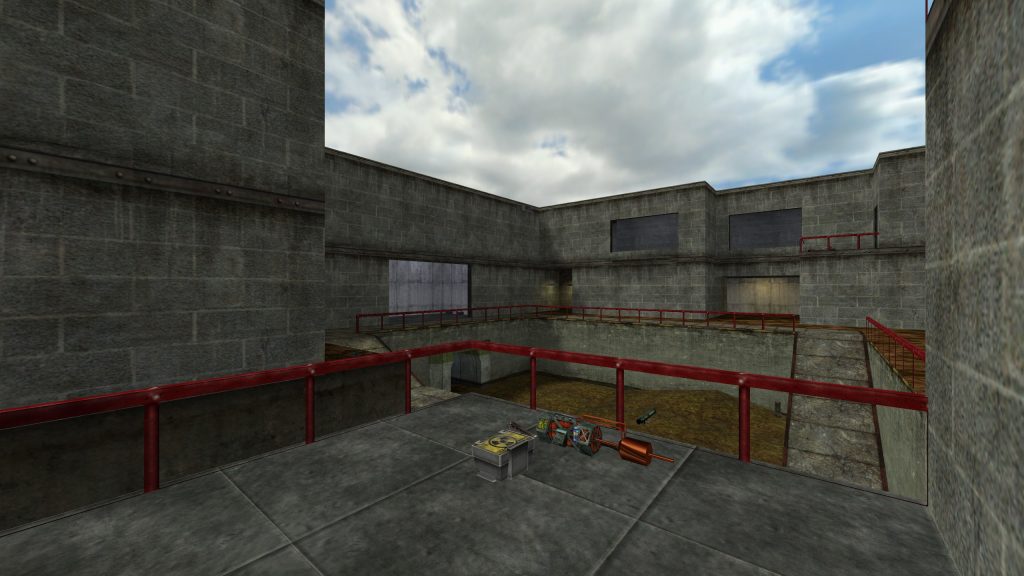
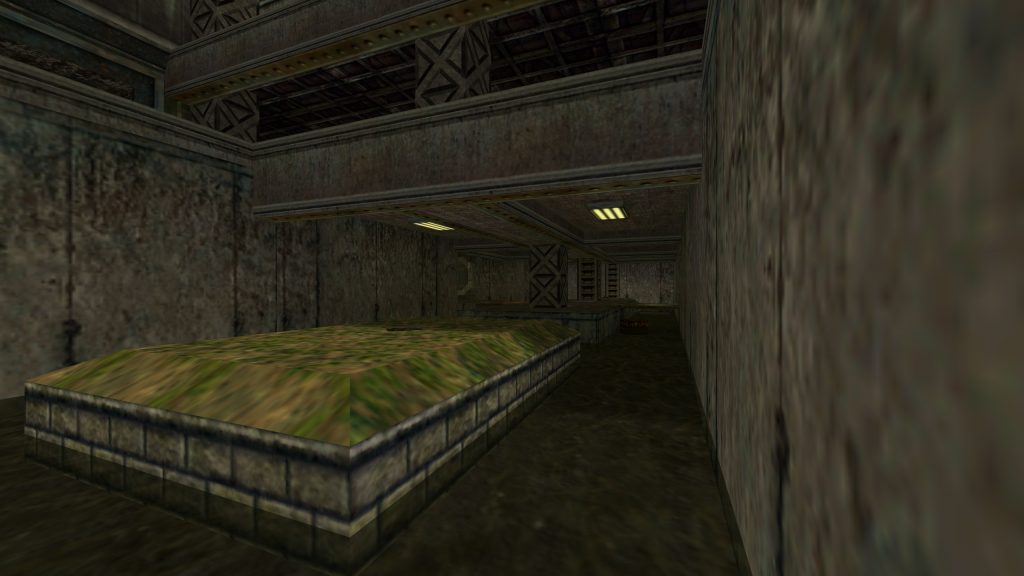
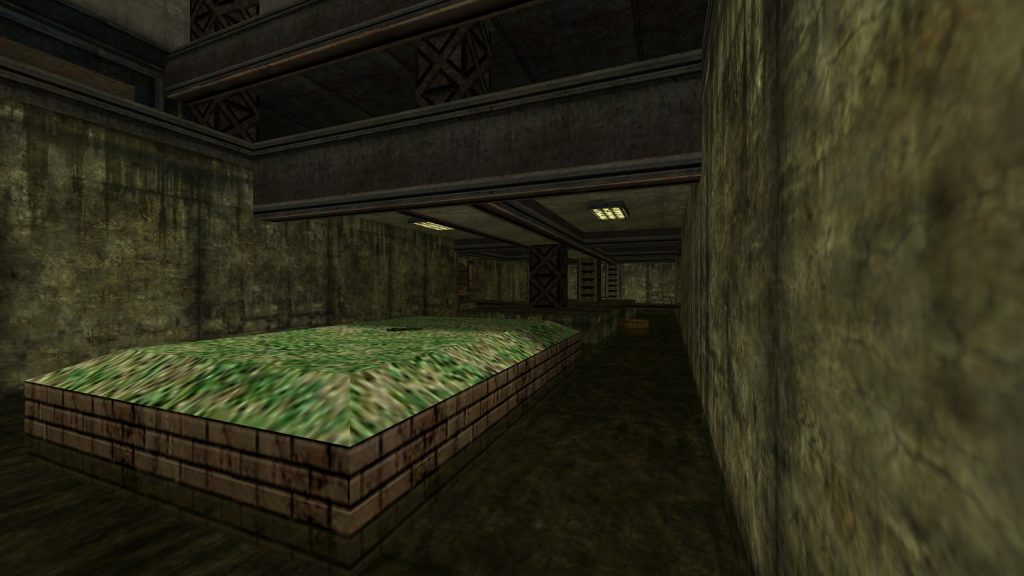
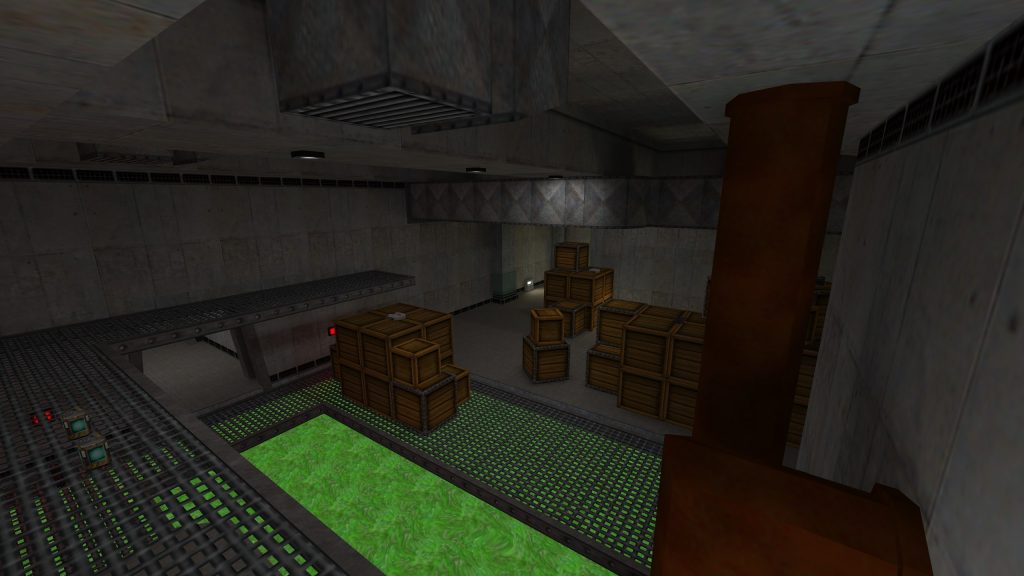
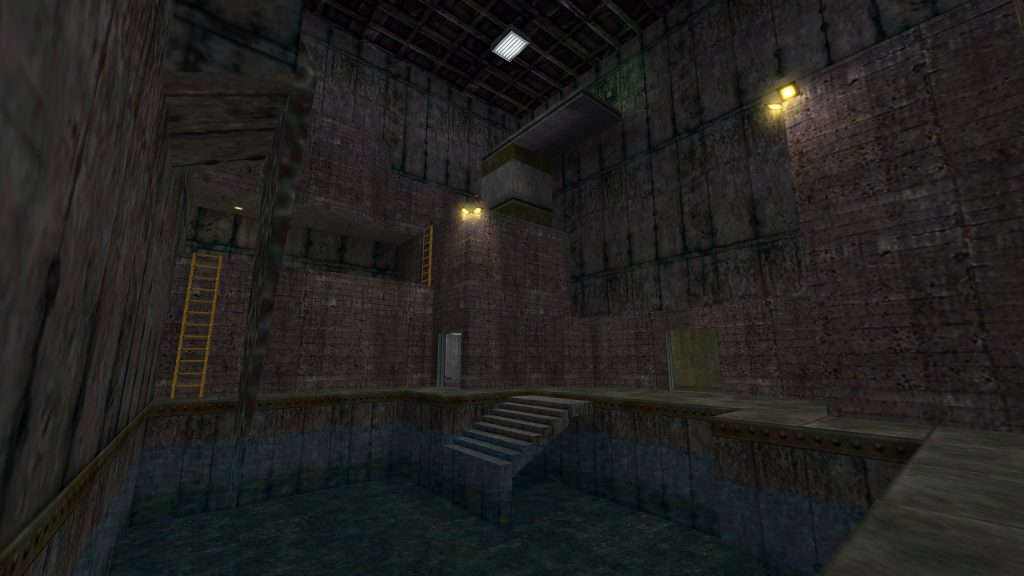
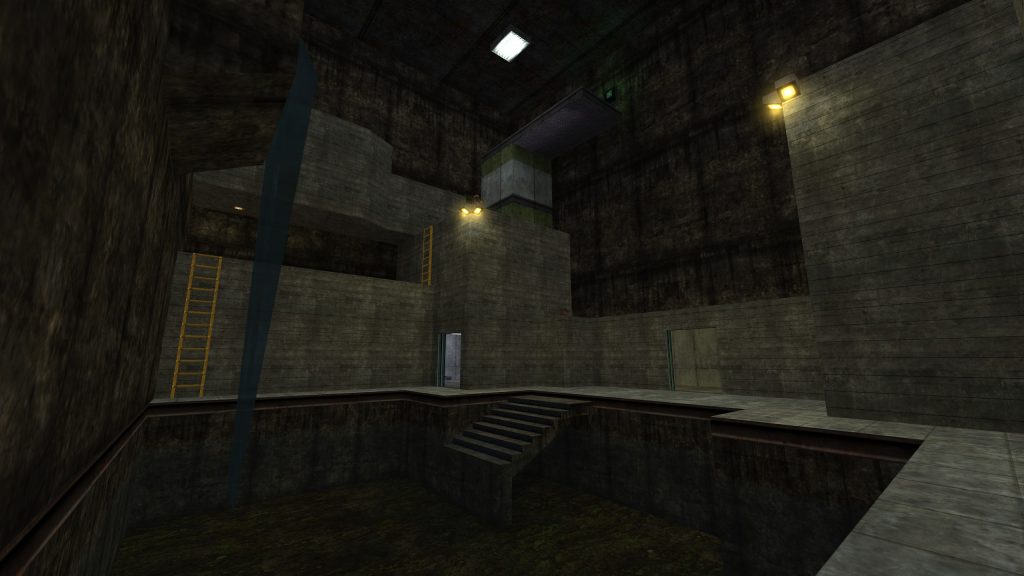
Below are a few examples showing the original textures alongside the HD versions.

Before You Start
Before replacing anything, I would recommend making a copy of your existing files. This makes it much easier to return to the original textures if you decide you prefer them or something does not work as expected.
Step 1: Back Up the Existing HD Folder
Open your Half-Life installation folder. On a standard Steam installation this will normally be:
C:\Program Files (x86)\Steam\steamapps\common\Half-LifeLook for the valve_hd folder. If it already exists, rename it to something such as:
valve_hd_backupThis keeps the original files out of the way while leaving them available if you want to restore them later.
If you do not already have a valve_hd folder, there is nothing to back up and you can continue to the next step.
Step 2: Install the HD Textures
Download the texture pack using the link above and extract it into your Half-Life installation.
The new files should be placed inside:
Half-Life\valve_hdIf the valve_hd folder does not exist, create it before copying the files across.
Once finished, make sure the files have not accidentally been placed inside an additional folder. The supplied folders and files should sit directly inside valve_hd.
Step 3: Enable Detail Textures
The pack also makes use of Half-Life’s detail texture support.
Open the valve folder inside your Half-Life installation and look for userconfig.cfg. If the file does not already exist, you can create it using a normal text editor.
Add the following lines:
r_detailtextures "1"
r_detailtexturessupported "1"
Save the file when you are finished.
Step 4: Enable the HD Content
Start Half-Life and open the Content settings from the Options menu.
Make sure the option to use the original models is disabled so that Half-Life loads the content from the valve_hd folder.
Load one of the original maps such as crossfire, undertow or boot_camp and you should immediately be able to see the difference.
Custom Maps and WAD Files
Not every map will use the HD textures shown here. Many custom Half-Life maps were created with their own WAD files and custom textures.
Those maps will normally continue to use their own textures, which is intentional. The pack is mainly intended to replace the standard Half-Life texture sets rather than override artwork created specifically for individual custom maps.
Restoring the Original Textures
If you want to return to the original setup, remove or rename the new valve_hd folder and restore your backup.
For example, rename:
valve_hd_backupback to:
valve_hdYou can also remove the detail texture settings from userconfig.cfg if you no longer want them enabled.
References and Credits
- WAD pack by Dr. Freeman – GameBanana
- Detail textures by rabworc – GameBanana
Summary
- Replaces many of the standard Half-Life map textures with higher resolution versions
- Custom maps using their own WAD files will normally retain their original textures
- The replacement files are installed inside
valve_hd - Detail textures can be enabled through
userconfig.cfg - Back up your existing
valve_hdfolder before replacing it - The original setup can be restored simply by putting the backed up folder back in place